
Weather | Buy&Sell | Forums |  |
Weather | Buy & Sell | Gallery | Forums | |

here is the assembled front end of the galv chassis. the 20mm shaft of the front forks passes through 2 washers welded either end of square tubing. to reduce the metal on metal contact I make up some plastic washers of 40mm OD and drilled out to 20mm OD in the centre. once assembled a minsup clip prevents the forks from dropping out when not in use. the drill tube chassis is a bit more complicated as you will see in the next photo.

A plastic bush has been cut out on a CNC? mill to fit into the square tube and seat the 20mm shaft of forks. We now realize that each batch of steel is slightly different so often the fitting will be to big or too small. If a 30mm round tube is used on the chassis instead of the 30mm square for the steering yoke then a suitable bush can be turned up on a lathe.
Here are the drawings of the square tube bush for those with access to a mill.
You will need to make sure the final fit is able to be knocked in with a rubber hammer, but a sliding fit on the 20mm shaft.


heres the rear of the seat on the galvanized chassis Again Ive placed a rubber washer against the steel for a bit of vibration absorbsion.
the seat belts Ive added are simple lap belts from wrecked cars. you need to look for units with an adjuster built in. I will take photos in the near future.The rolling Chassis is now completed and ready to admire. thanks for the name suggestions.
I still like " FENCE POST MODERNIST BLUES"
AND FINALLY THIS IS WHAT YOU GET

The handbrake and seat belt are fitted making liberal use of those plastic washers. the seat belt is a car lap belt and at the attachment point I double up the webbing ,sew it together then punch a 8mm hole through the 2 layers . a heavy plastic washer holds it all down

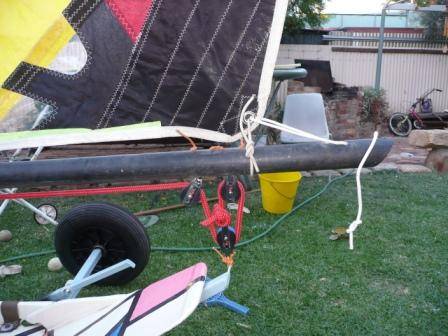
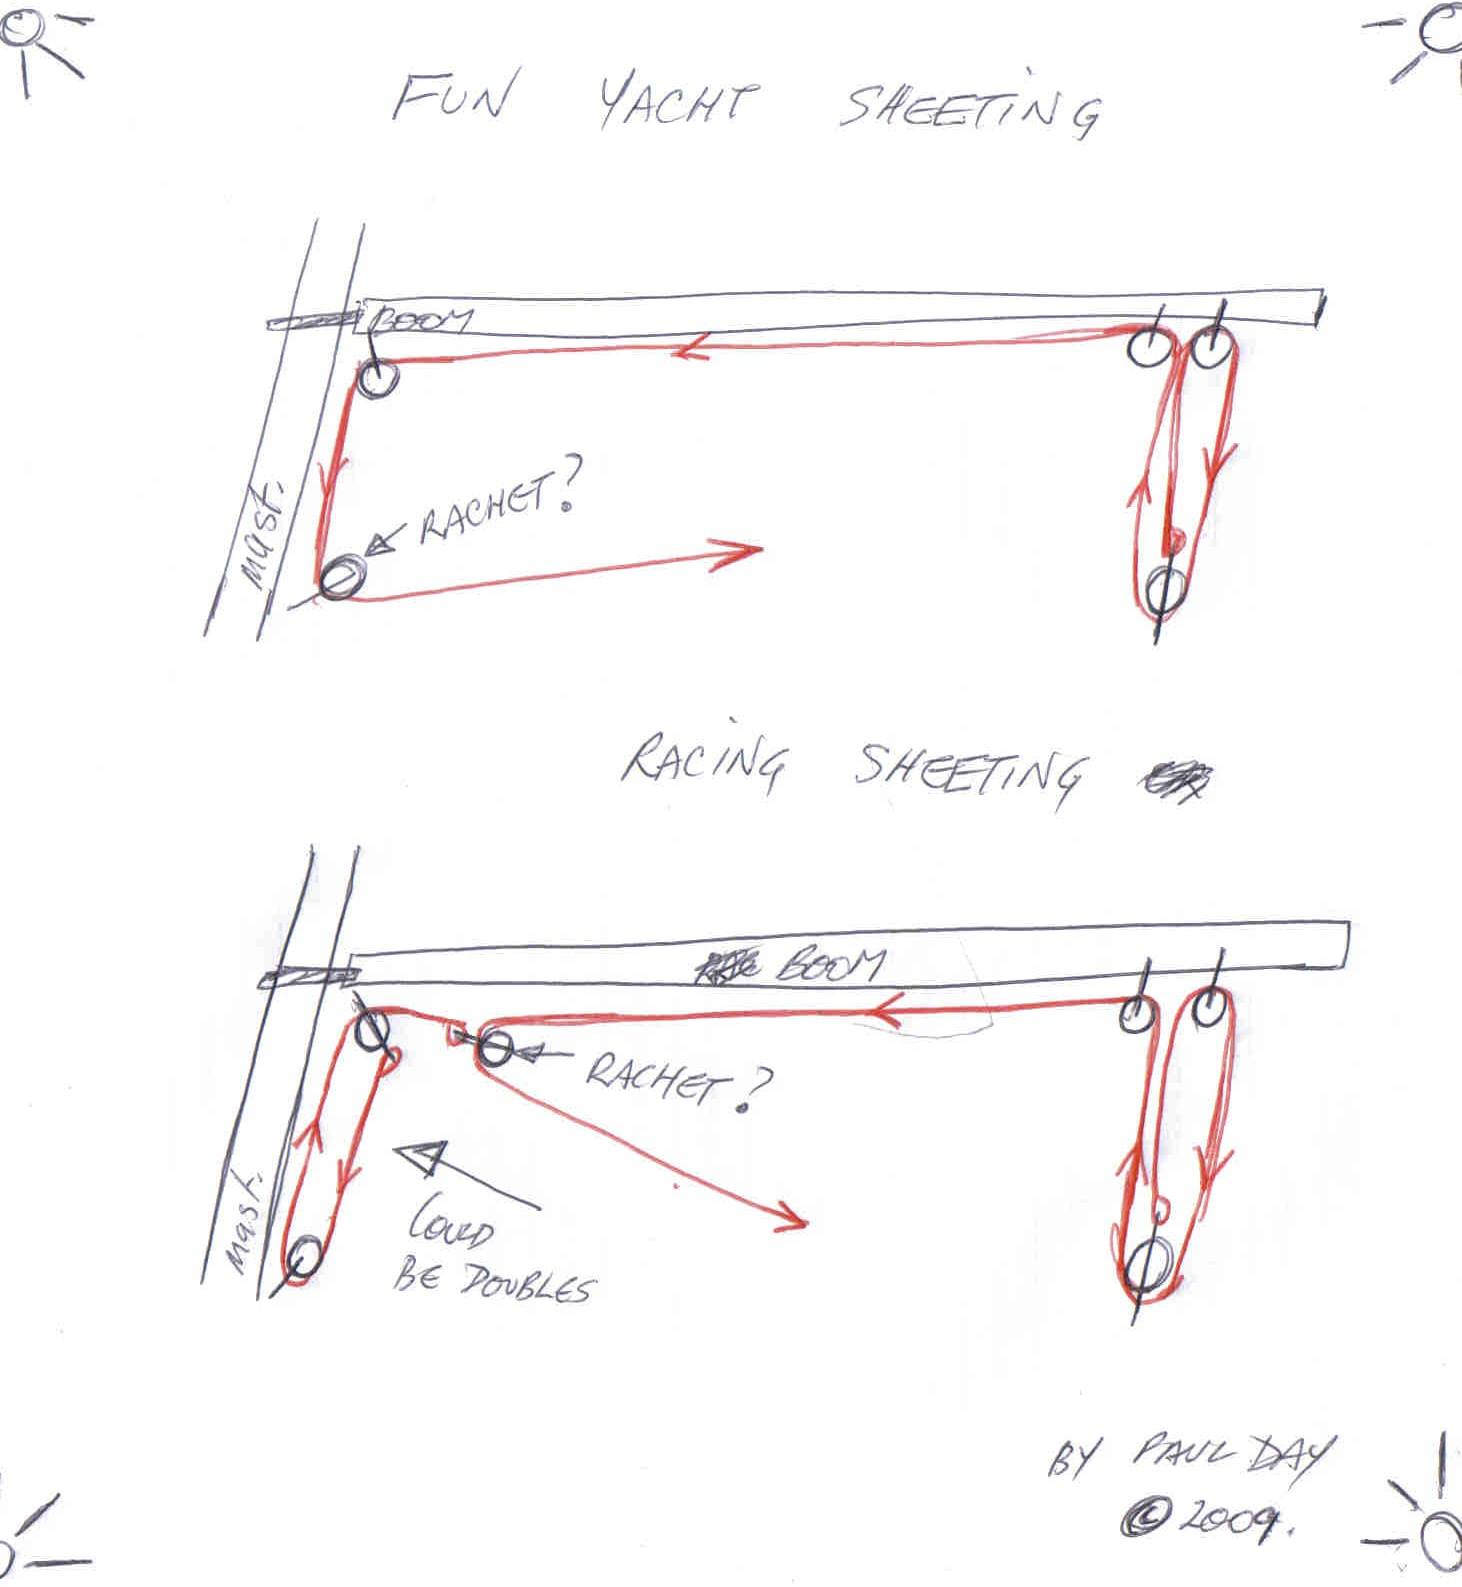
the mast, sail and boom details have been shown and discussed in detail on other threads so I will reshow the pulley/boom arrangement to give you an idea of the fitting of the pulleys to the chassis. they simply tie on with 4mm rope to the respective points on the chassis.


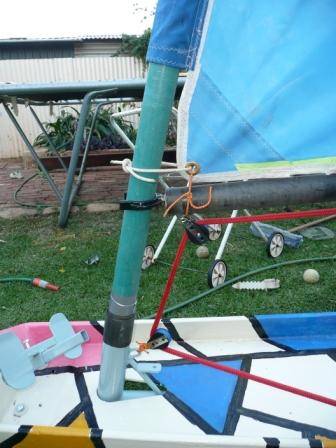
This is how it all looks as a completed yacht.

sail testing will be done Sunday but for now I might just take a break.

here is the lake , here are the yachts, where is the wind? having a day off after a quick early shower of rain

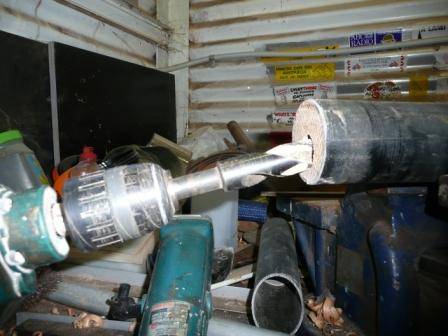
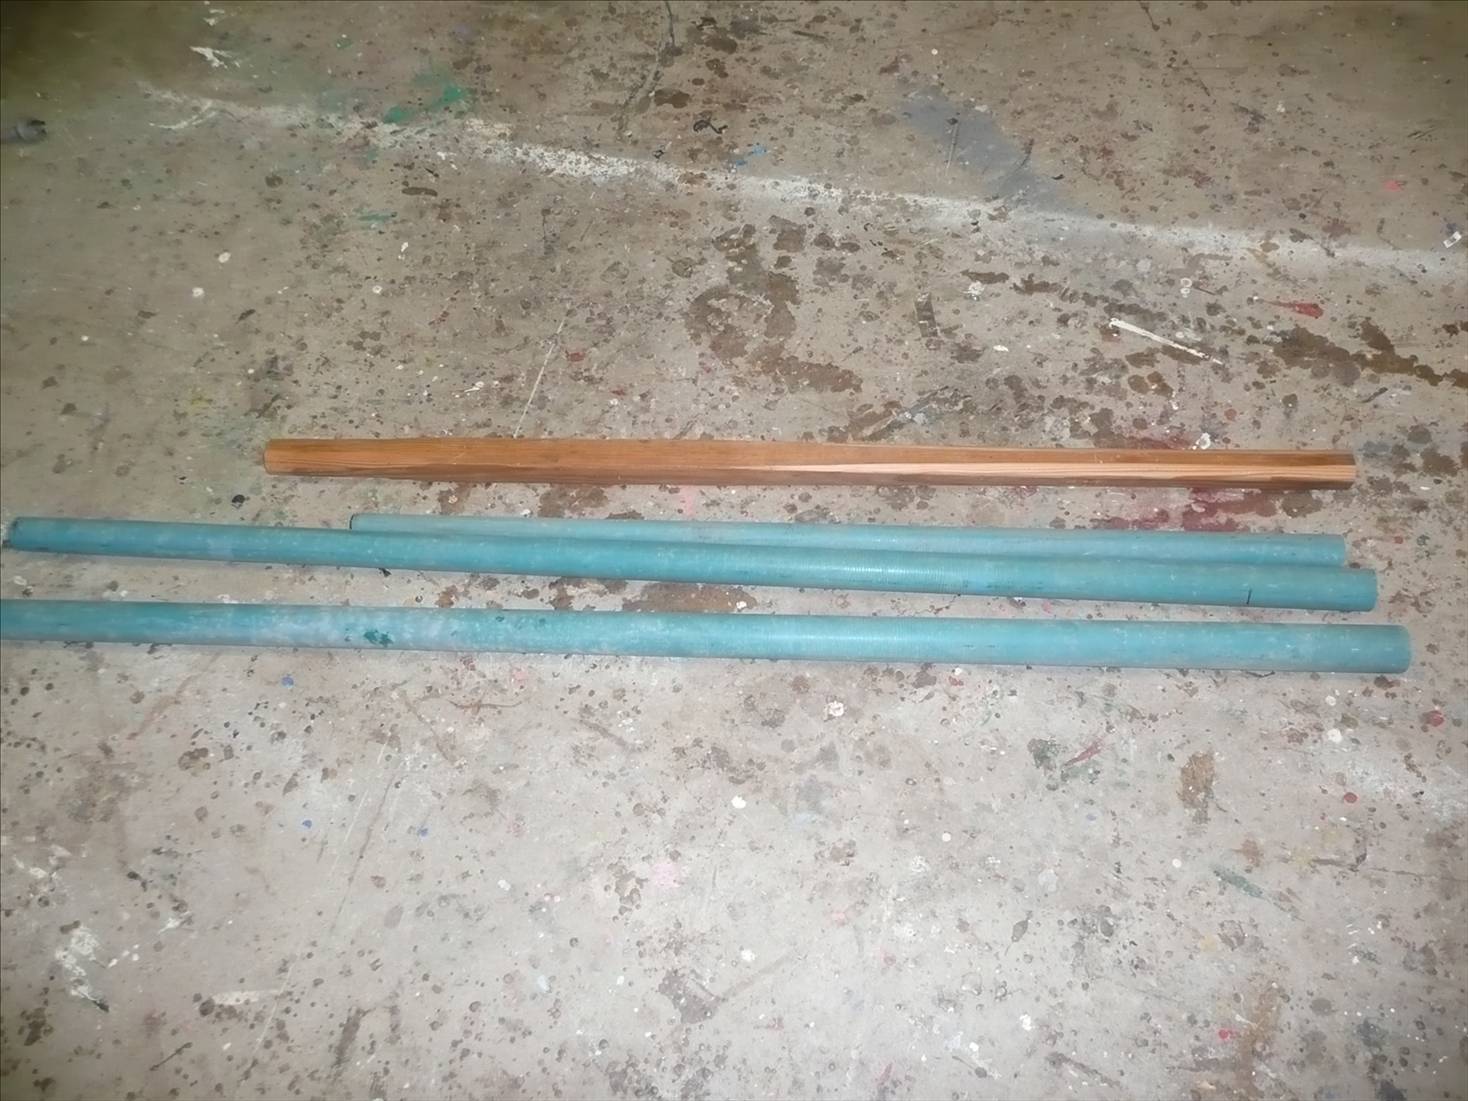
Time to build a boom for the mini Explorer. the first photo shows the possibilities in terms of materials. The one I'm going to use this time is the broken sailboard mast. Thease were ontained from the side of a shed in Falcon when I was buying all the unbroken half masts.
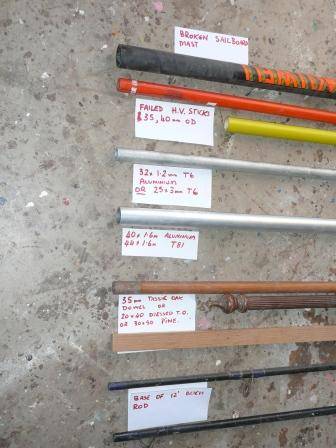
the fishing rods shown are 5' half sections from a rubbish skip. I you were making a sail with an internal boom like a Blokart they are ideal booms. we have used a number of them in some of our early sails and they work really well. just like this.
the boom I will build is the one in this plan.
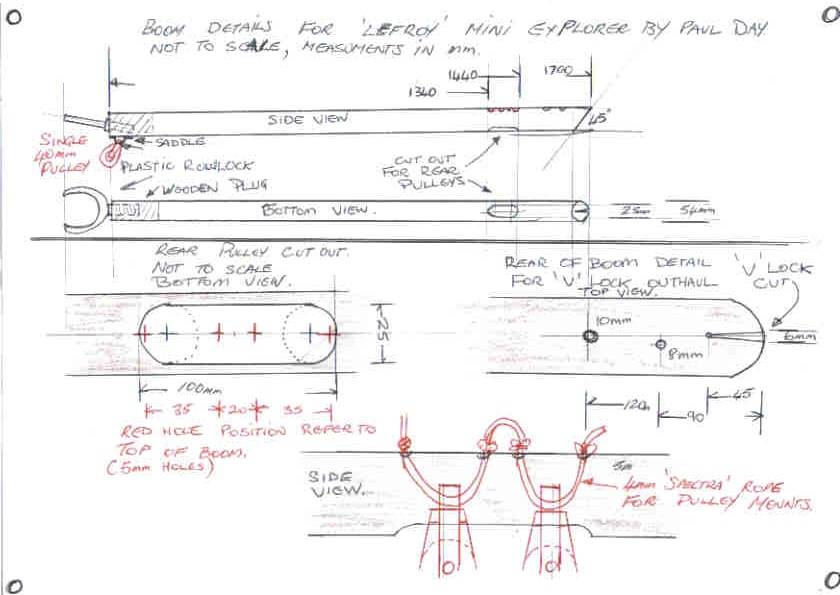
you will need 1700mm of material . the first step will be to put a plug in one end . Remember that 200mm of wood left over from the mast building. I used the liqiud nails again!
once the glue has set , a16mm hole is drilled at an angle into the wooden end .
I recommend drilling a pilot hole first as end grain drilling of timber with bigger sized drill bits can go astray very easily.. A plastic rowlock that you can buy in marine shops will fit in as a boom fitting. DO NOT use a METAL ROWLOCK.
The front pulley is now fitted with a saddle. the screws holding the saddle should be long enough to nip into the plastic rowlock that was glued into the 16mm hole you drilled earlier.
the rear end can be cut and the 'V' lock cut and holes for the outhaul added. The system gives a 2:1 haul on the sail. you will need to use a 5mm rope on this as thinner line will tend to slip.
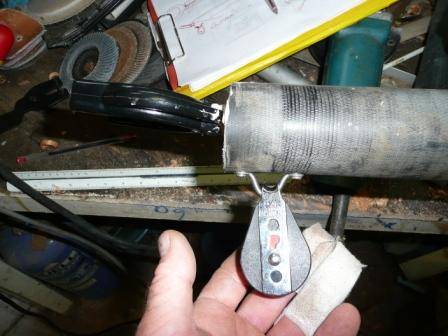
The rear pulley cut out is drilled out using a 25mm hole saw and a thin grinding blade. holes to take some 4mm spectra or 5mm regular marine line are drilled in the top of the boom. the pulleys are simply held in place with rope.

the pulleys I am using are from LW RILEY an Australian made unit. they are are 38mm ball bearing blocks. the whole yacht uses 4x PYF600 singles and 1xPYF601.
the system uses 5.5m of 10 or 12mm rope. Invest in good quality marine sheet rope. I will do a diagram of the final sheeting arrangement soon, and include some alternatives
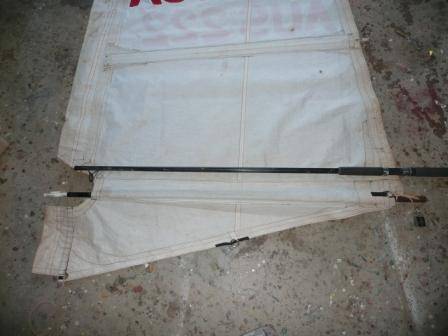
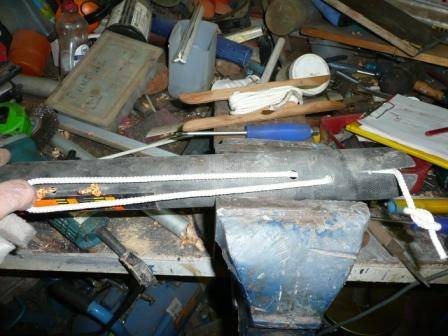
here is the boom fitted with a sail. the rear of the sheeting and the outhaul can be seen. A short piece of rope holds the sail down to the boom.
here is the front of the boom with sail and mast in place . Note the 2 pieces of rope at this end. they will prevent tearing of the sail
Here are some drawings of suitable sheeting systems . The unit with a adjustable downhaul is just right for a racing sheeting system.
Bill ( FAZE 5) recently turned up with a sailboard mast cut down to a nice little 3 piece. I decided that it fitted so nicely in the sail bag I would make some too.
the mast I'm using is a 4.3m mast which has a 49mm ID at the base.
I have cut the mast at 1.65 and 3.30m from the base.
. 
The joining plugs will be 300mm long giving an overall length on each section of 1800mm which is the same as the length of the seat and the boom.
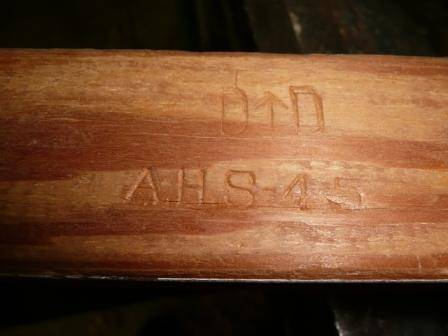
you will need 1500mmx50x50 of really strong wood eg RAMIN, TASSIE OAK, old growth DOUGLAS FIR(Oregon pine). I think Bill used Ramin. I am using 20 growth ring to the inch Douglas Fir. it comes from some 1945 army stretchers that had been stored in an air raid shelter until recently . they ended up at the tip and were rescued by me .cut into lengths of 2x300mm,1x700mm,1x200mm.
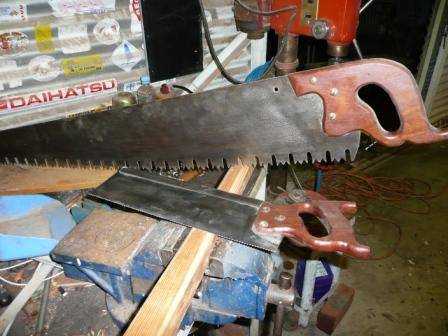
Always choose the correct saw as some larger tooth pattens may splinter the wood.
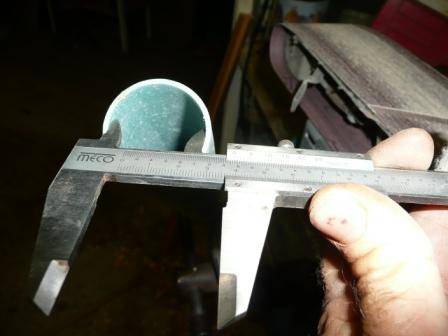
The cut ends are measured for ID then that is marked on the end of a 300mm piece of the wood. The square is rounded with a plane by 8 siding then 16 siding.
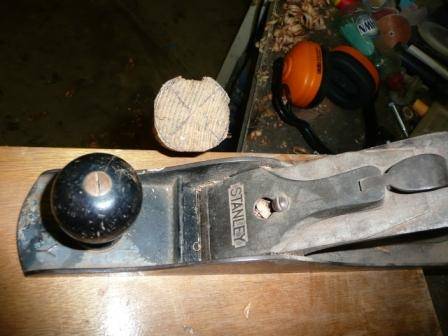
my choice of weapon is a lovely 1910 BAILEY /STANLEY No 7 with a 1920's sweetheart blade.
Next I sand the top 150mm to fit the upper section. This is how I cheat. be careful,especially if the fingers that are holding the wood are already missing some bits.

when fitted I sand the lower half so that it will fit up the tapered section and poke out 150mm. When the fit is good it is slid in with liquid nails on the lower half and rammed home with a broom handle.
this process is repeated for the next section.
the 700mm piece is rounded and tapered to fit in the base of the mast. the top edge of each plug should be rounded off so there is no sharp edges pressing on the inside of the mast.
when finished I waxed the exposed parts of the wood.
This being a project to build out of readily available materials, the choices I gave myself were, aquadhere,liquid nails,contact adhesive.. liquid nails is good to use in this application as it doesnt make a sticky mess. I would have preferred to use a good epoxy like WEST,Concorde plastics FRED or similar given the good fit I obtained for these plugs without the use of an expensive specialized machine I am well pleased with the result. this system didnt require constant unclamping of the piece and I finished 2 masts in 3 hours.
It wouldnt hurt to do a practice piece on a scrap of pine first.
FAZE 5 might be having a bit of a "told you so" moment when he reads on.
The green mast I cut down was a bit on the old sideand when I hit a repectable speed and a bump it split at the lowest join. Bill reckoned that the mast he went silly with at Gillies needed a wrap ofglass around the joins. HE WAS RIGHT!
Today I did just that using some continuous roving from a roll I bought. I used about 1.5m for each mast,(4 joints). tommorrow I will clean them up and get some photos.
(

