Weather | Buy&Sell | Forums |  |
Weather | Buy & Sell | Gallery | Forums | |
Hi all,
Well guys, you all managed to get my druling at some pretty nice constructions.
With the many ideas I got here, I finally started building mine after 10years.
Happy to be here!
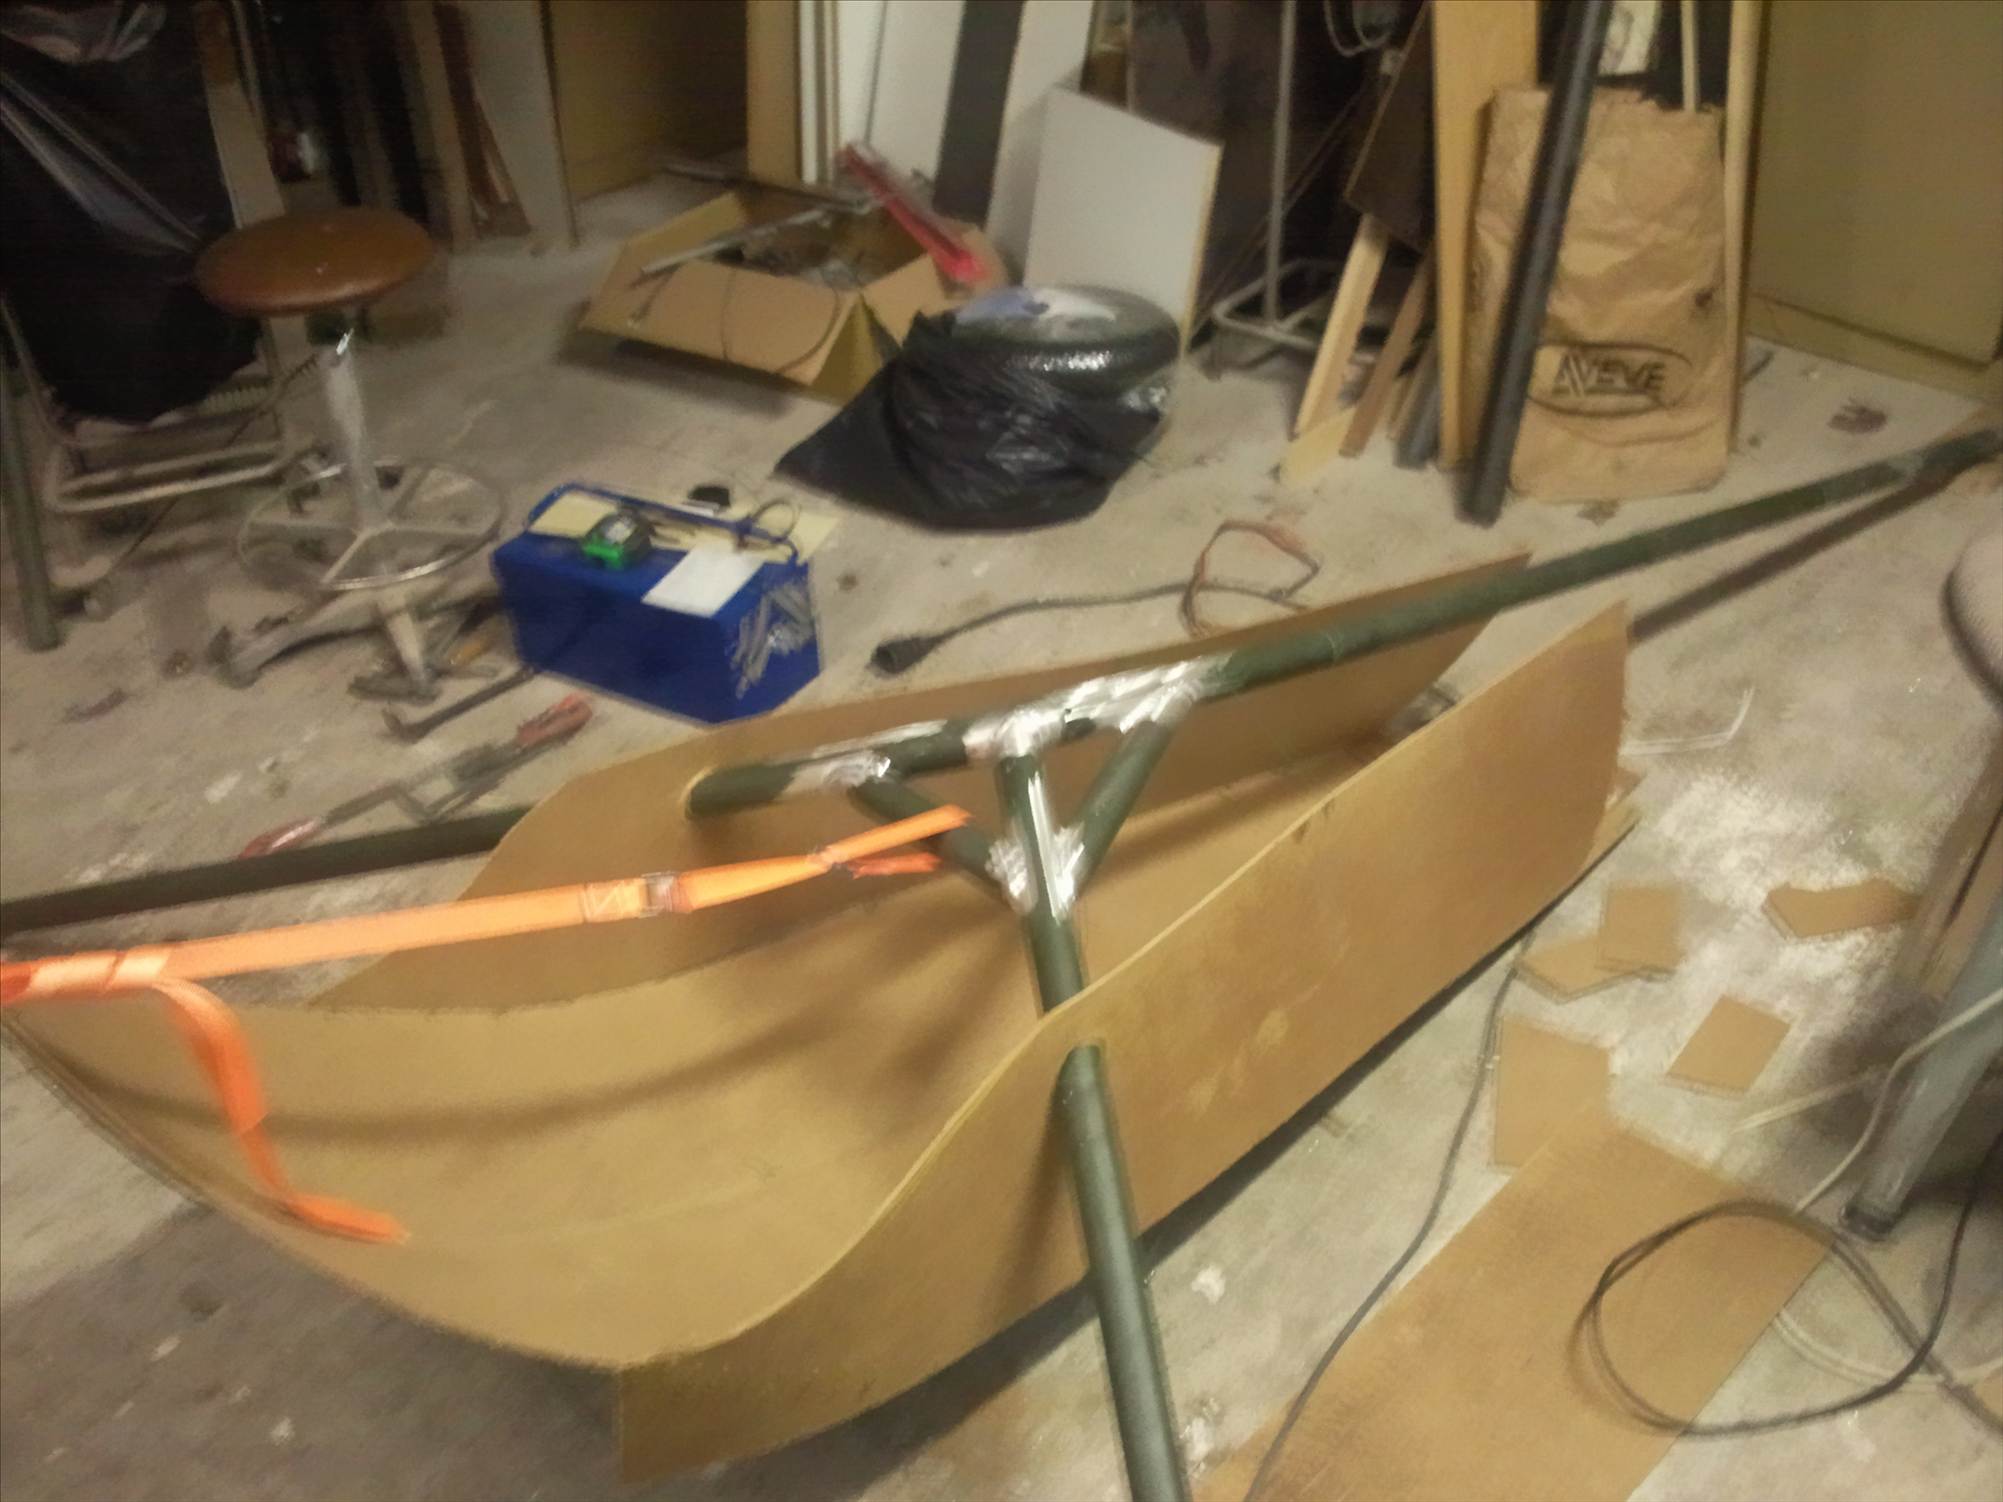
The seat is kind of a mold/try-out to make it afterwards in thin marine plywood and 273 layers ![]() of fiberglass & polyester. How large do you guys make seats? How do you reinforce and hold it at the frame?
of fiberglass & polyester. How large do you guys make seats? How do you reinforce and hold it at the frame?
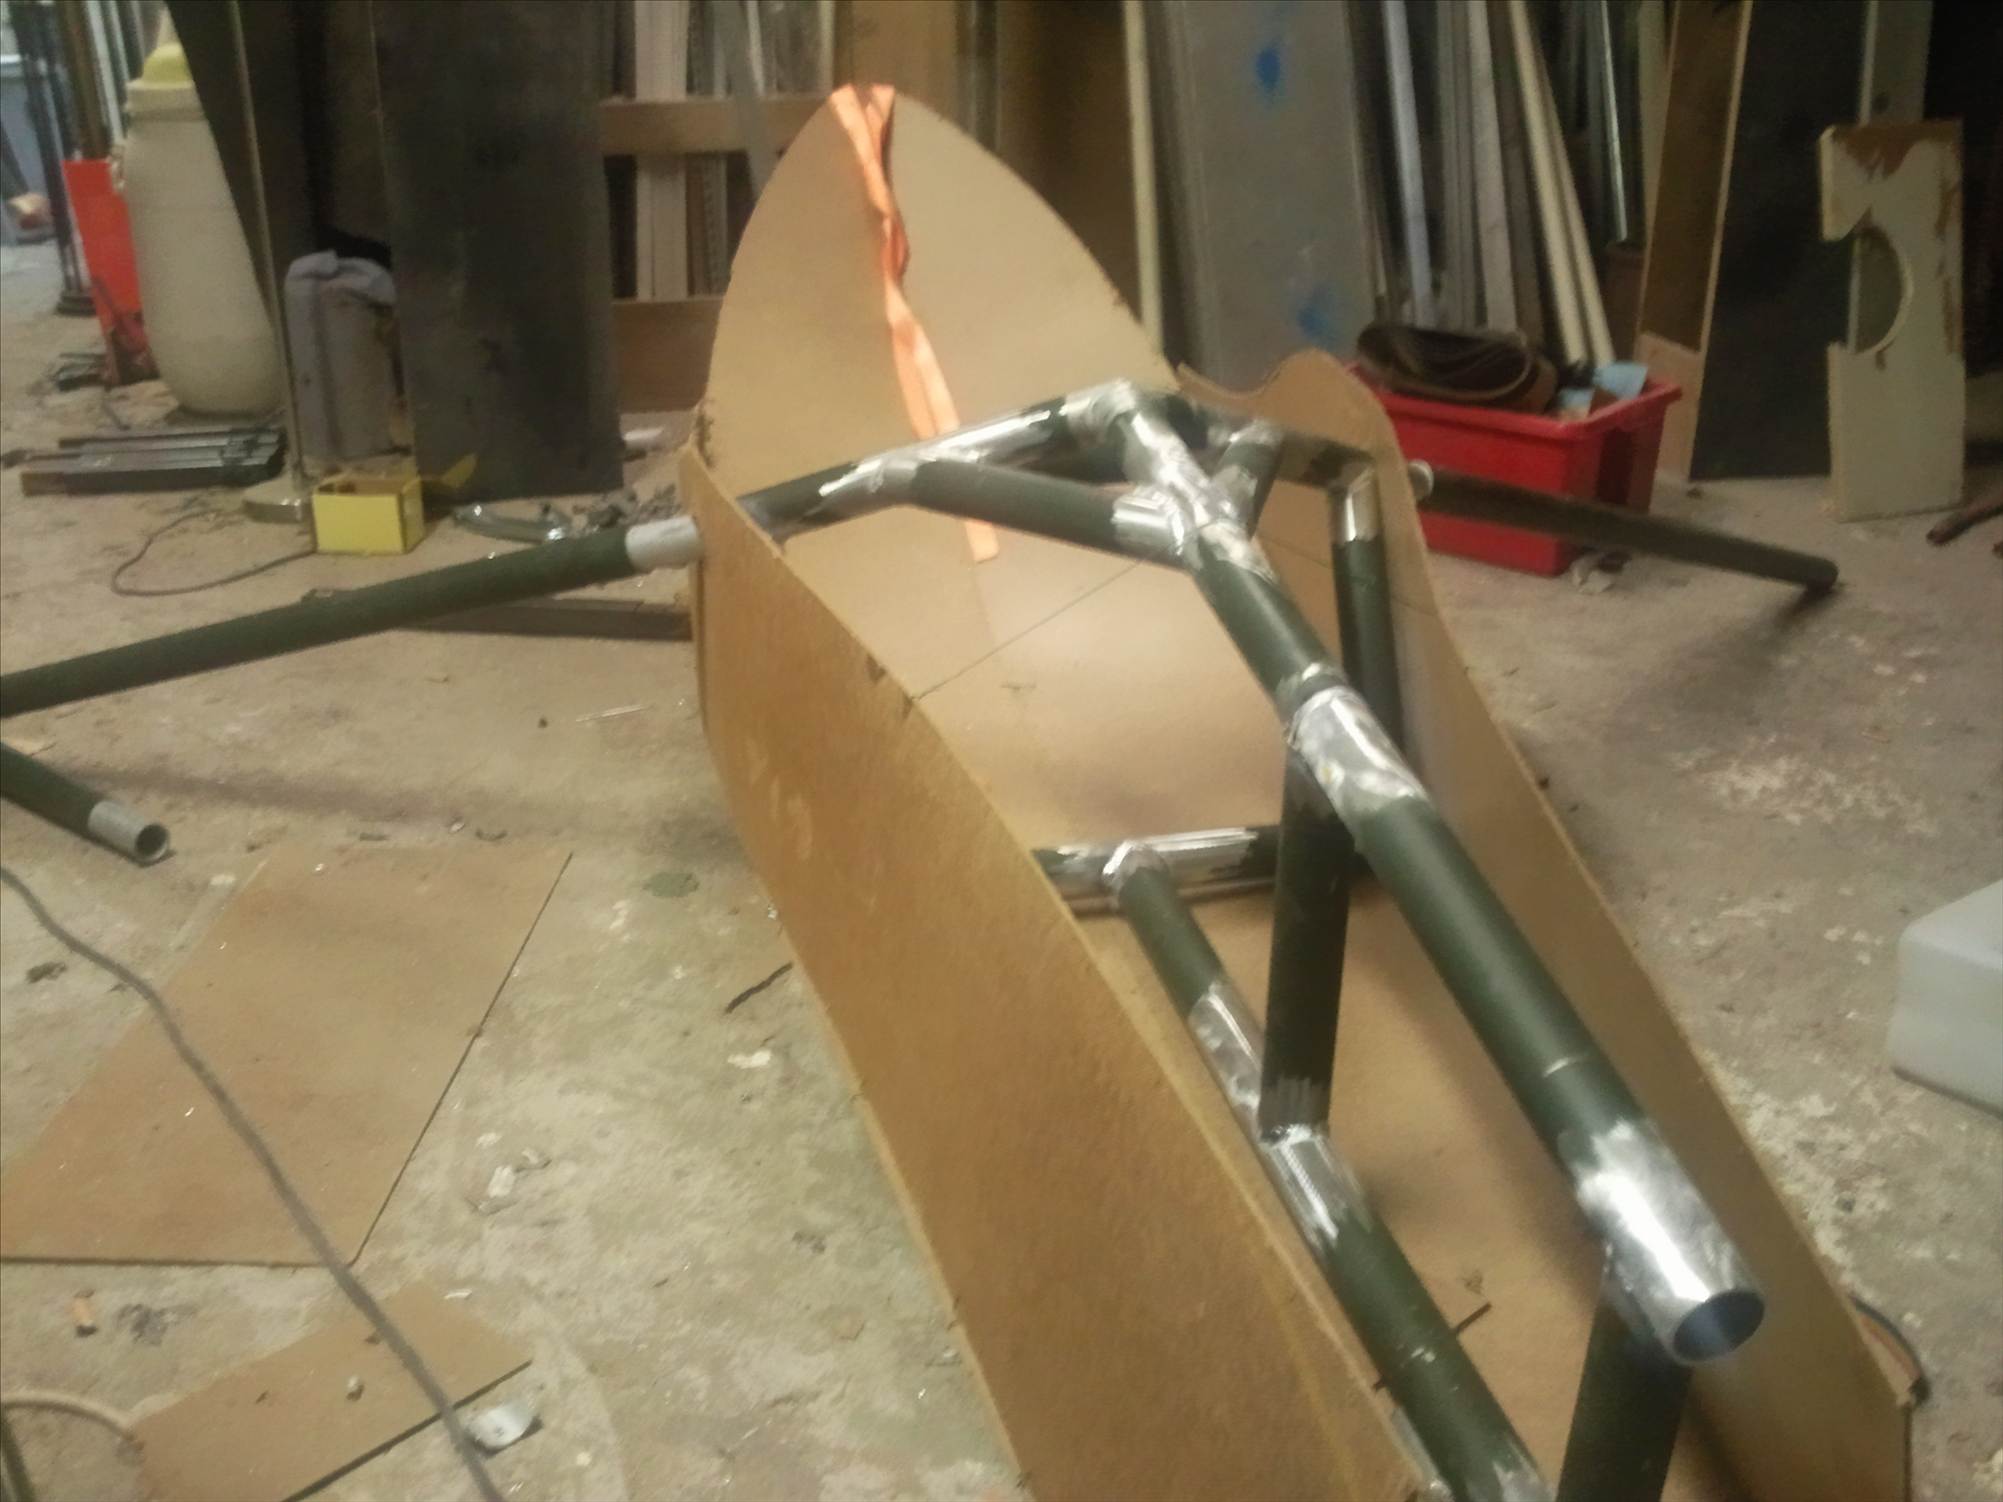
Got some (dur-)aluminium tubing and a nice helping magic hand of my brother to weld it all together.
I've been looking at some small motorbike/scooter-wheels, not found them yet.
Using some wheelbarrow-wheels instead.
Though, I did not manage to convince helpers & thinkers to make it lower...
"Why do you want it lower?!!! It is best for all bumps on the beach!... "
What do you think? 60cm back to ground... Too high? Why, how to convince others? how to fix?
Lower the angle of the seat, making it more laidback?
Any thought, shoot!
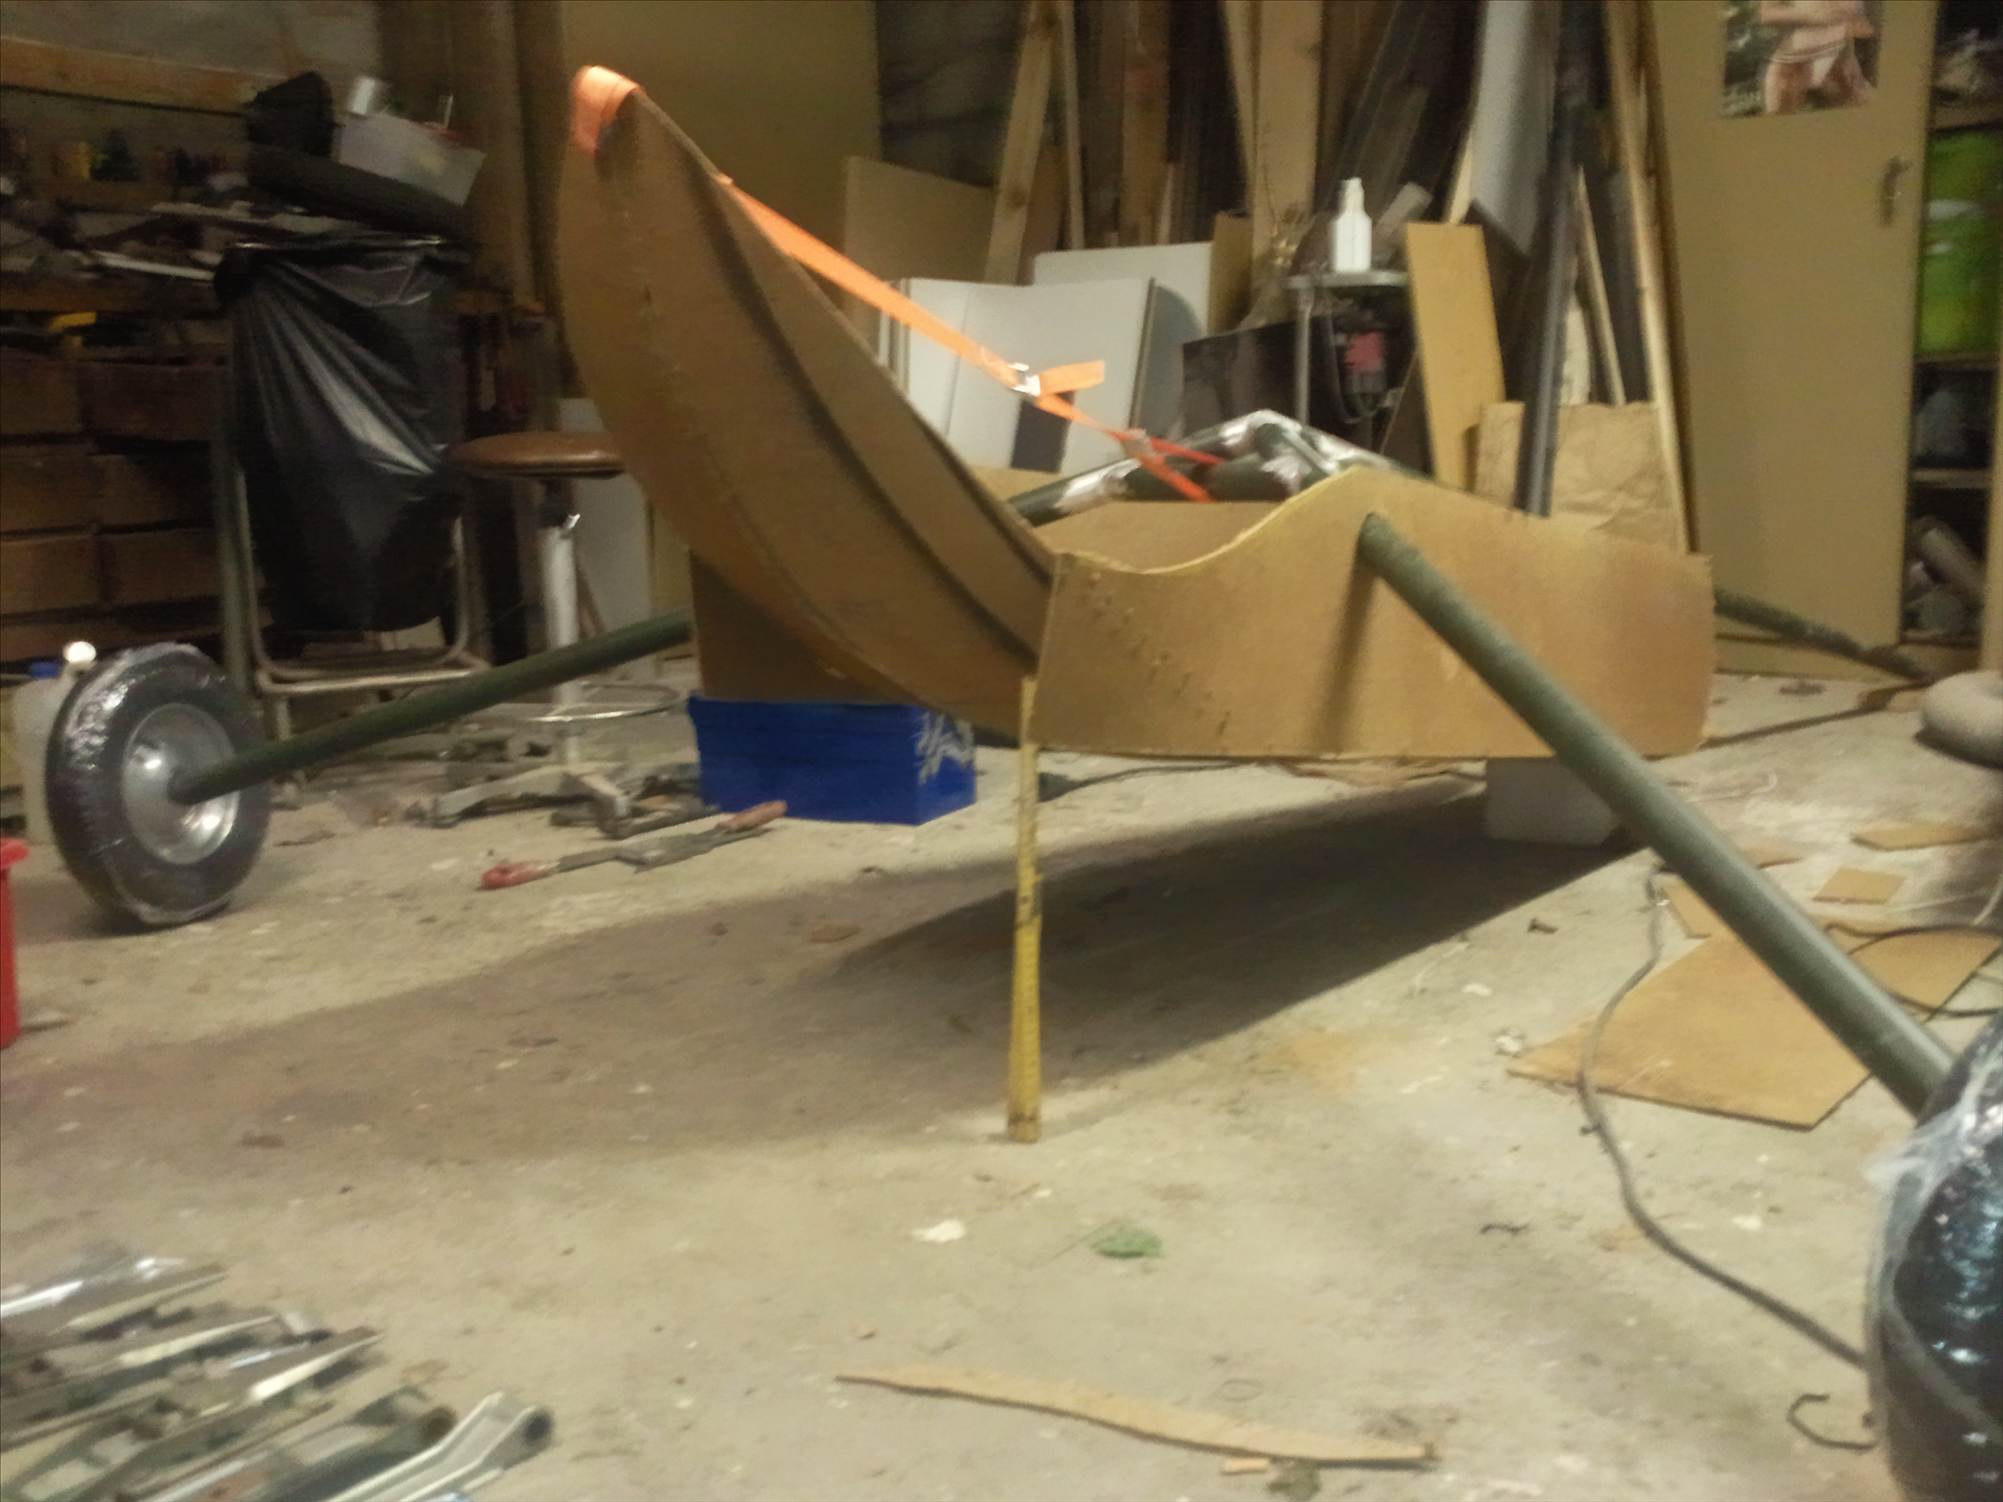
I would be inclined to set the seat so that it is sitting level with the ground about 200-250mm off the ground, otherwise its all looking happy.
enjoy your building experience.
which beach do you plan to sail on.
I think that is a really nice shaped seat. And another option in making a seat for a class5. really impressed![]()
Most of us build to FISLY rules for class5
SEAT AND FOOTREST
SF1. The yacht must have :
a backrest and side-restraint for the pilot (and a passenger)
a footrest
These accesoirs may be part of the seat. The seat may not contribute to the rigidity or the resistance of the chassis.
SF2. The foot-rest should present the pilots (and ev. passengers) feet inadvertantly touching the ground.
SF3. The external width of the seat may not be over 1.00 M.
SF4. The external length of the seat may not be over 2.50 M.
SF5. The front of the seat or footrest may not be further forward than the back of the mast.
SF6. Fairings that form part of the seat and extend no further than the limits of the seat are permissible. The shape of the seat must be such that the pilot's body is always fully exposed when viewed directly from above.
SF7. It shall not be possible to move the seat while the yacht is in motion.
SF8. Any sharp edges on the yacht must be made safe.
Aus,
Well, I hope it turns out solid enough.
Fisly-rules seem to contain some interesting points indeed.
Initially I meant to make a closed seat, style Standart, but for possible repairs
and seat-construction & design-tryout, I'll keep it open with an optional solid cover
to keep out cold (Belgium, you know), dirt, sand & water...
LY,
Here around Belgium & southwest Netherlands we only have sandy beaches.
Planning first tests on a little airfield nearby.
I got some "spare meters" between the rear wheels.
Will measure out how much cm-s I can lose by reducing the width to get it down more
+
when putting full body-weight-pressure at the centre of the triangle,
it goes down even more.
And if that all is not enough, I still need to really attach & finish the wheel-axles, and if needed then I'll just modify the whole big axle-arm-thing (how do you guys call this piece?) at the seat.
For the moment it's quite flexible, no idea how bouncy it's going to be, but it'll surely absorb the bumps (at least, that's what I'm hoping for.)
How much bumps are those things supposed to absorb? What's the consequence of to bouncy frames?
We call it a "big-axle-arm-thingy"![]()
Too much flex and bump can distort your sail rake angle. In high wind flex can help dump a bit of the power and store/rebound as speed![]()
![]()
As long as you have centre of effort of your sail over the centre of balance/gravity it should work just fine.![]()
hi there freco,
the construction does look very nice,esspecialy the seat,
nice technique with the bandstrap to bend the plywood,
i,m sailing a LLF mini,build and inspired of this forum myselve on a beatch called brouwersdam in holland you might know,
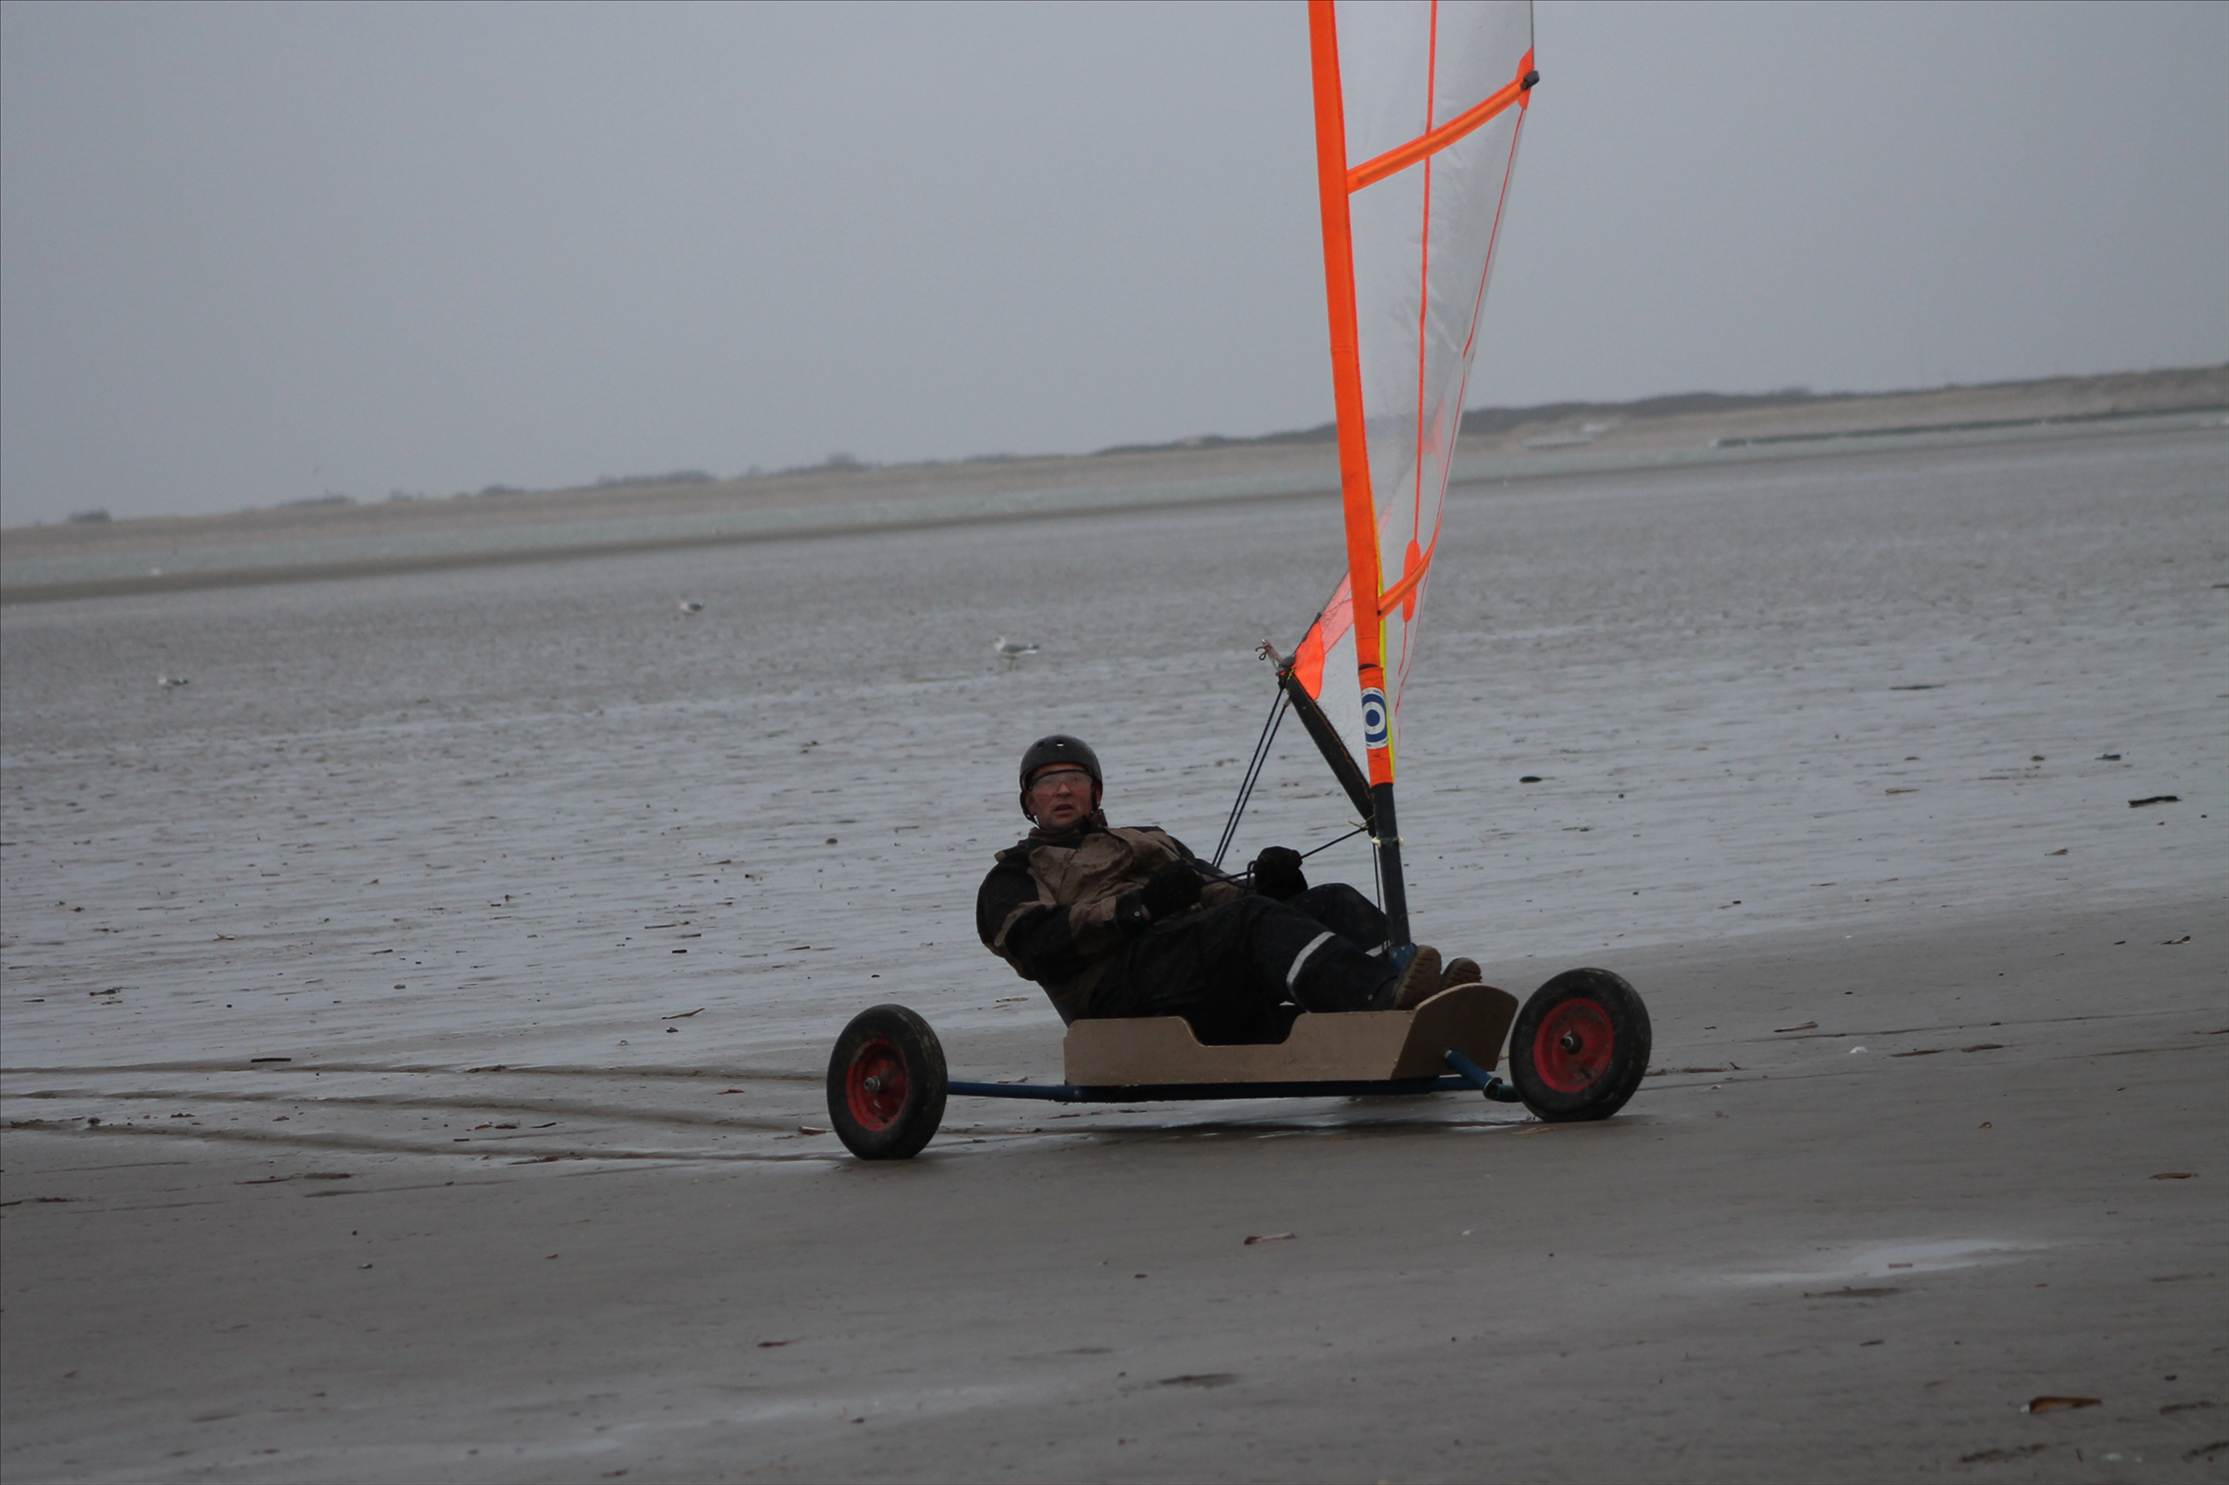
i found out that sinse the sand is quite soft it tend's to be a bit of a bumpy ride.and weelbarrow weels tend to dig in.
this will tipp you over quite easely.
if you look for the right surfice ,near the waterfront at low tide,
it is a beatiful ride!![]()
![]()
however you might want to concider to lower your rig a bit so it wont tipp over that easely
greetz Jacco
Well... More tubes added (pictures will follow, cant find the data-cable).
I wanted to have the boom as low as possible, and so for the mast & sail.
Plus tiltable with 2 solid suspension-points.
My little brother convinced me to add more stiff- & solid-ness. ![]() . And he welded it all.
. And he welded it all.
It's getting kind of nascar-cage... ![]() Kinda lucky it's all aluminium, weight is still near to nothing. IF I'll ever want to join competitions, I'll have to add 35kg of ballast.
Kinda lucky it's all aluminium, weight is still near to nothing. IF I'll ever want to join competitions, I'll have to add 35kg of ballast. ![]()
As he left for a month of travelling, it's time to get the seat right.
It'll get lowered to groundlevel without the wheels, so wheelheight will decide ride-height. ![]()
The only thing I'm afraid for is that jumping-in-part. It might not get that easy...
Maybe I should just shift the seat more backwards...
Hey Jacco.
Super! Ja, ik ken brouwersdam wel. Kom er nog wel s voor te kiten.
En ja, die had ik idd in gedachten voor mijn testritjes. ;)
Vrouwenpolder wel s geprobeerd?
Greetz,
Fré
Looking good, and keep going and posting pics ![]()
If it were me I'd go with your standart seat idea and continue the seat to the front wheel, just because it should look cool (no practical reason) ![]() . No reason to cover the top in, other than what you have already stated.
. No reason to cover the top in, other than what you have already stated.
What are the planned measurments of your yacht (ie: length and Width of wheelbase)?
Played with the Standart-seat-idea, but it would be too long to fit in a normal European car. ![]()
Seat-length-limits were as such defined at 2m max. Might think about a 2-part-seat, indeed. ![]()
Wheel-base-width is currently around 2m30. Probably reduced to 2m to get it down.
Length-wise it will be around 3 or 3m50.
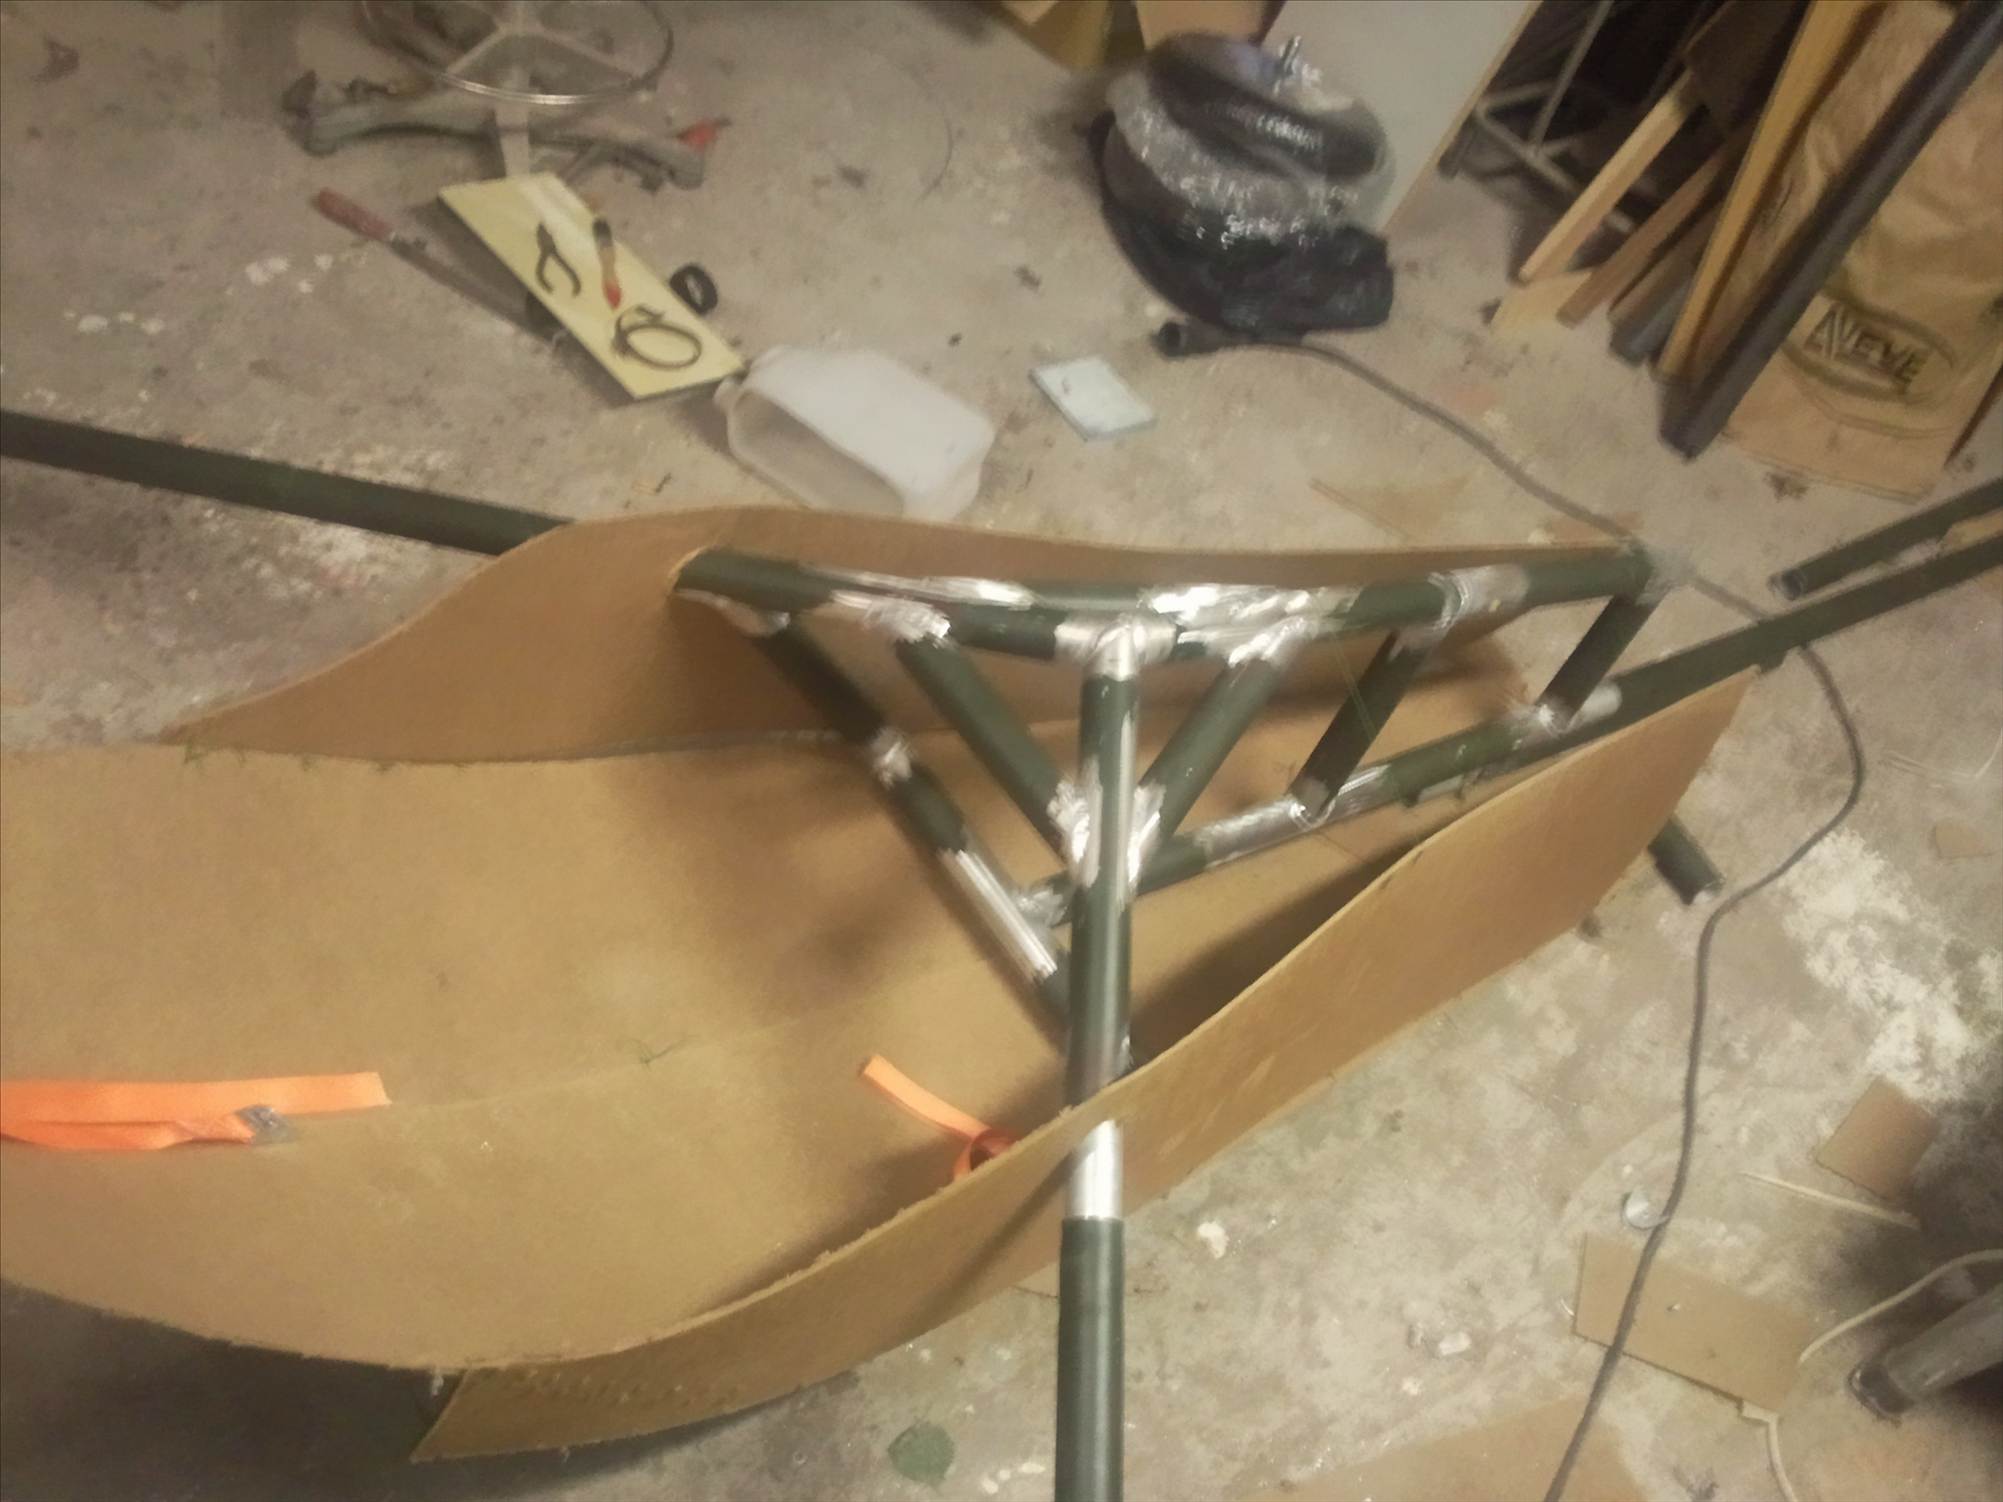
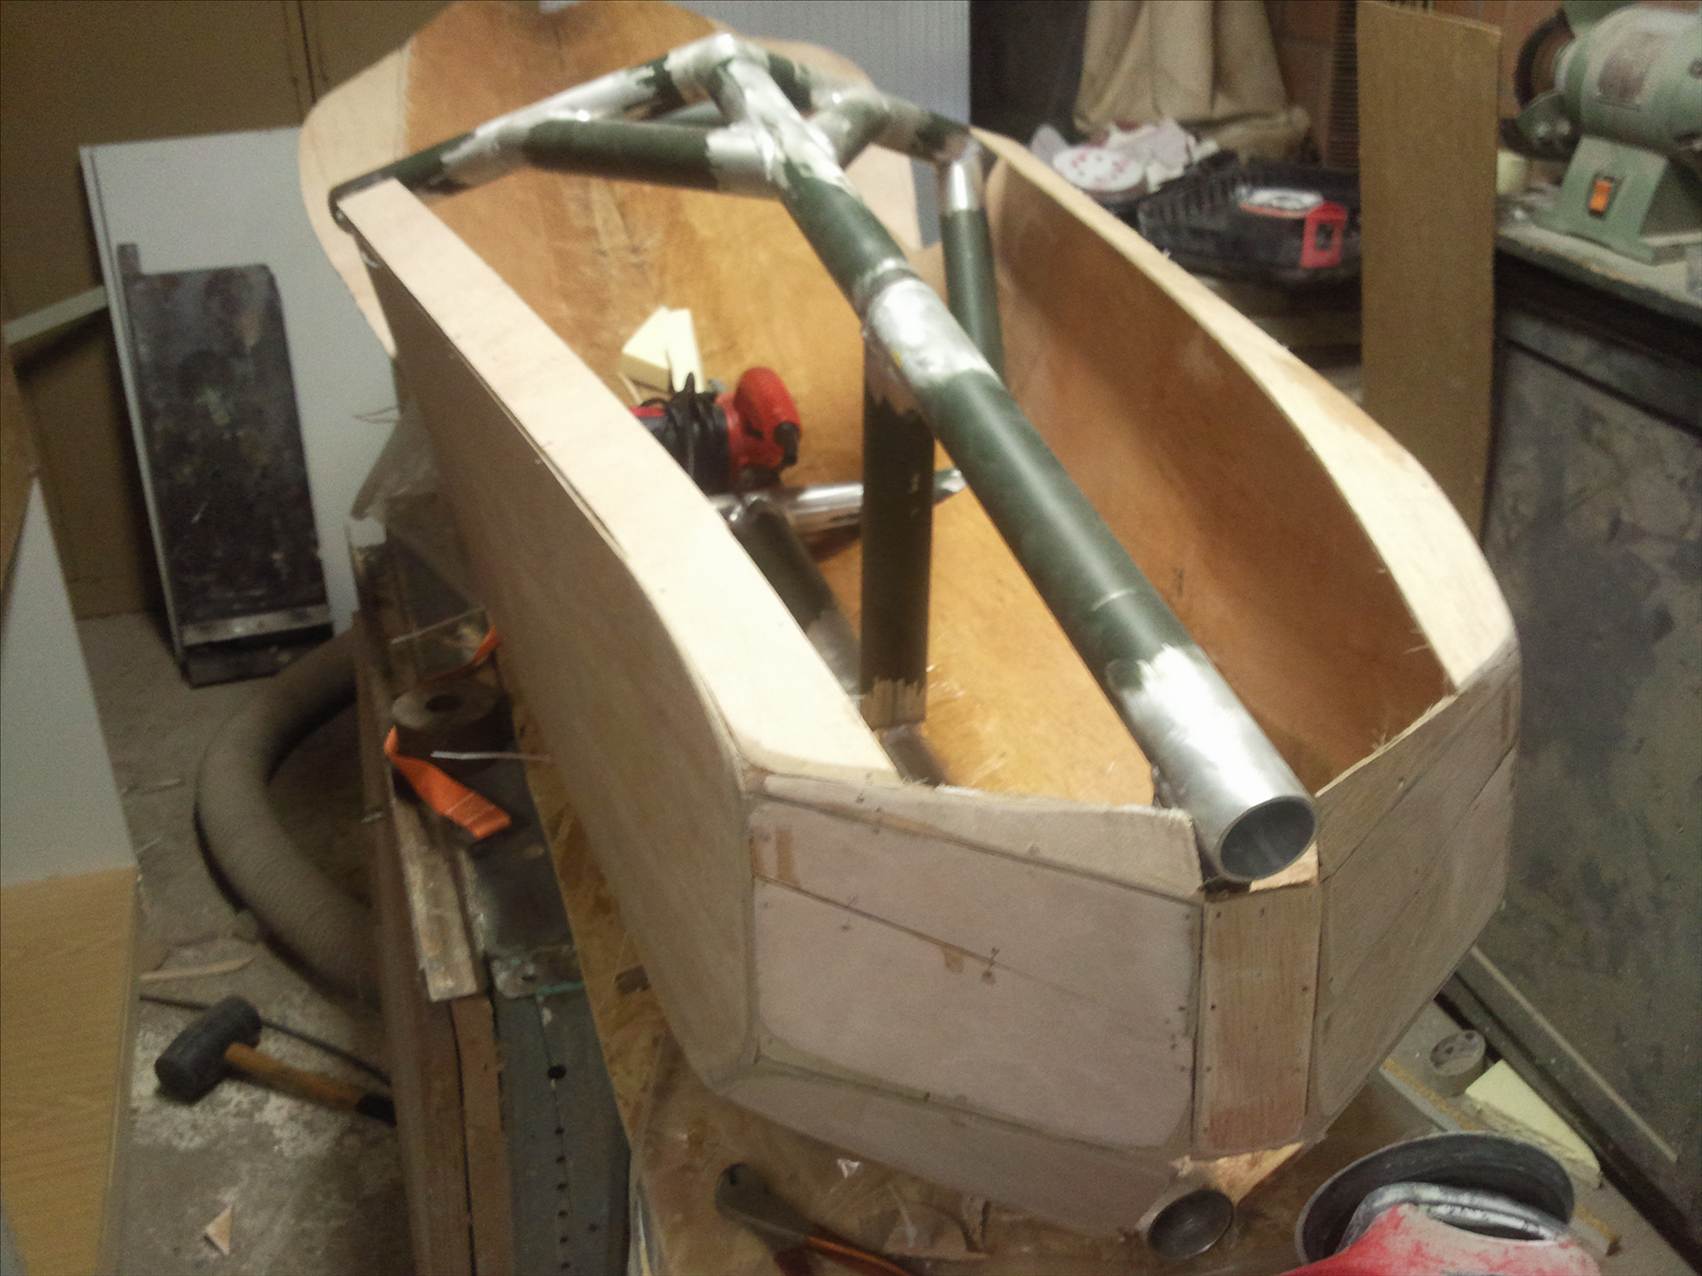
As we don't really have an idea about the involved forces, the whole structure has been conceived to prevent possible deformations due to high load on single tubes.
The upper tube in the construction is meant to end and be the attachment point to hold the mast in place, with a hinge to allow the mast to tilt.
Lower tube will hold the mast on a gliding foot.
Wouldn't be able to tell you.
They were salvaged from tentpoles.
I'm being told it's some kind of duraluminium...
Looks like serious overkill, doesn't it. ![]()
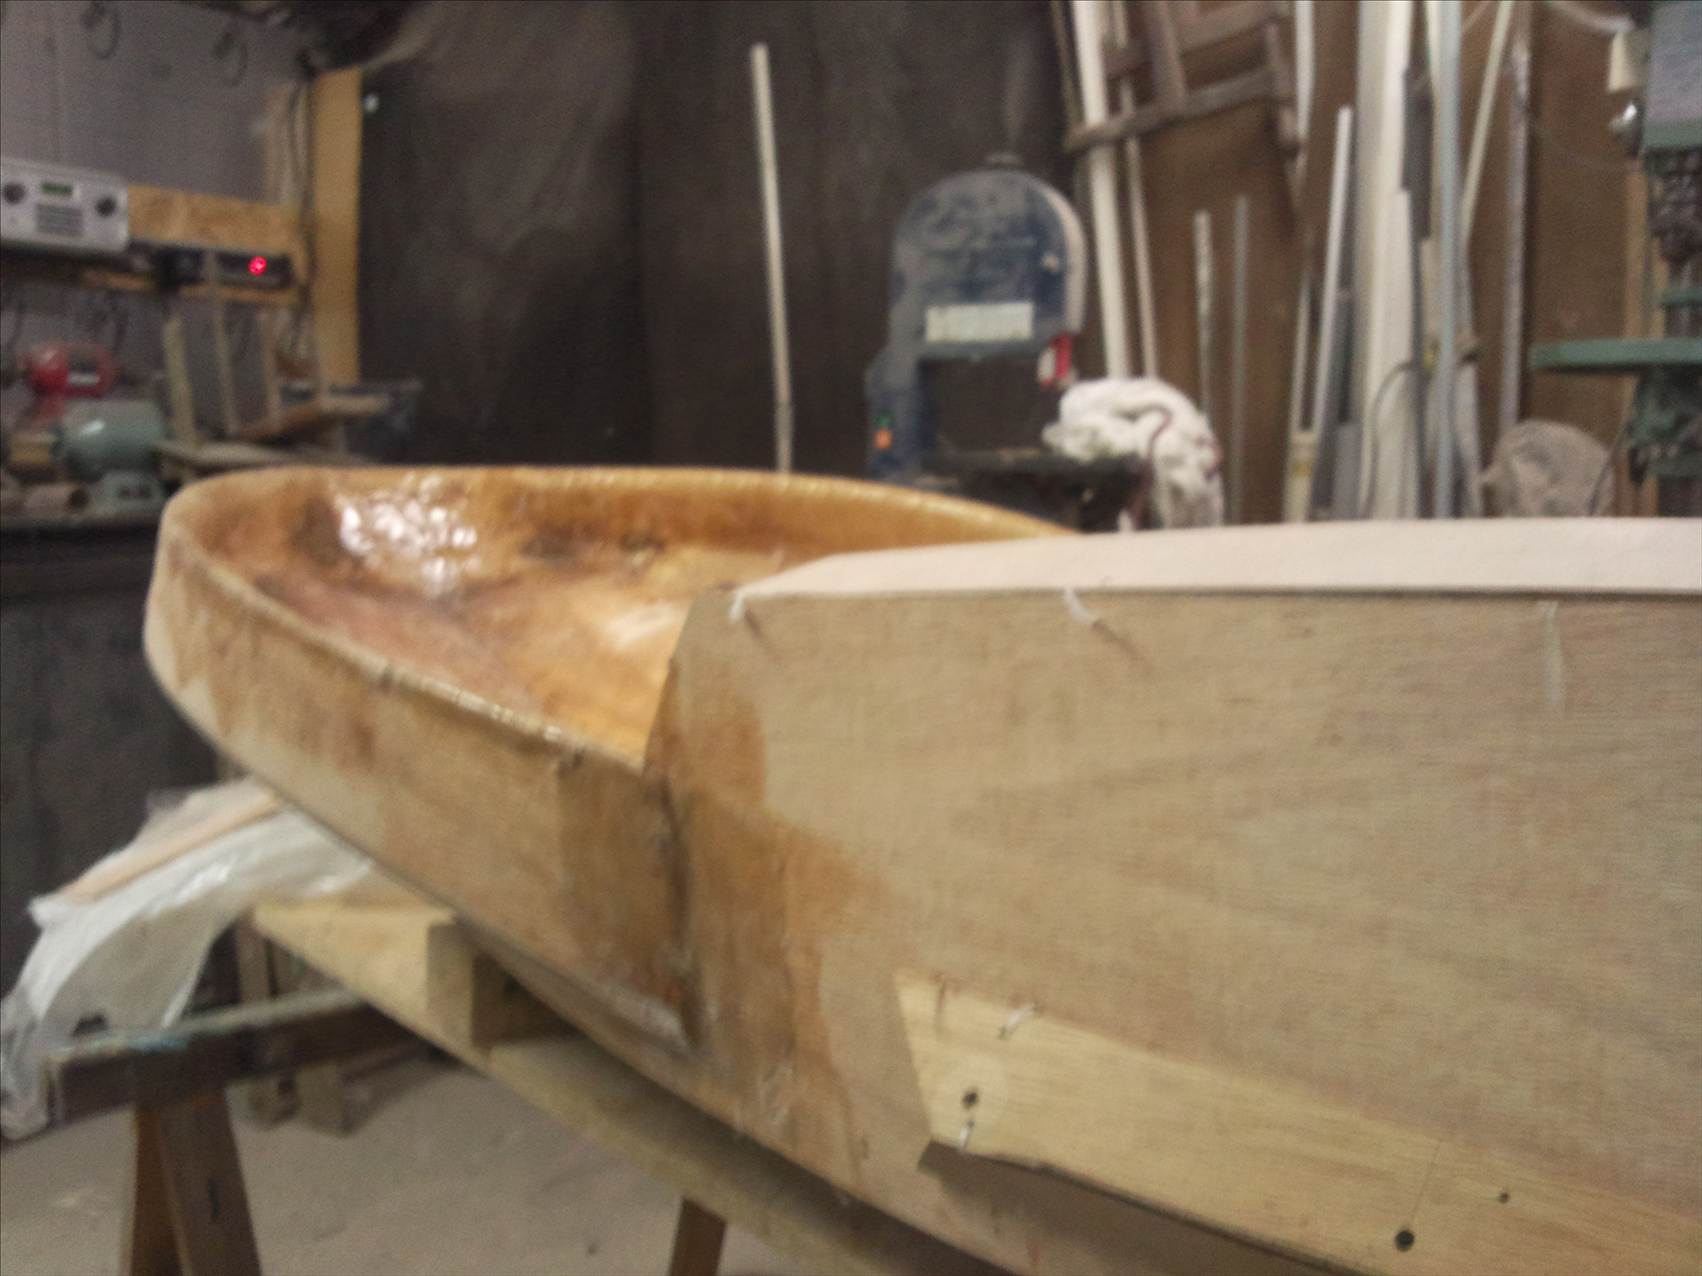
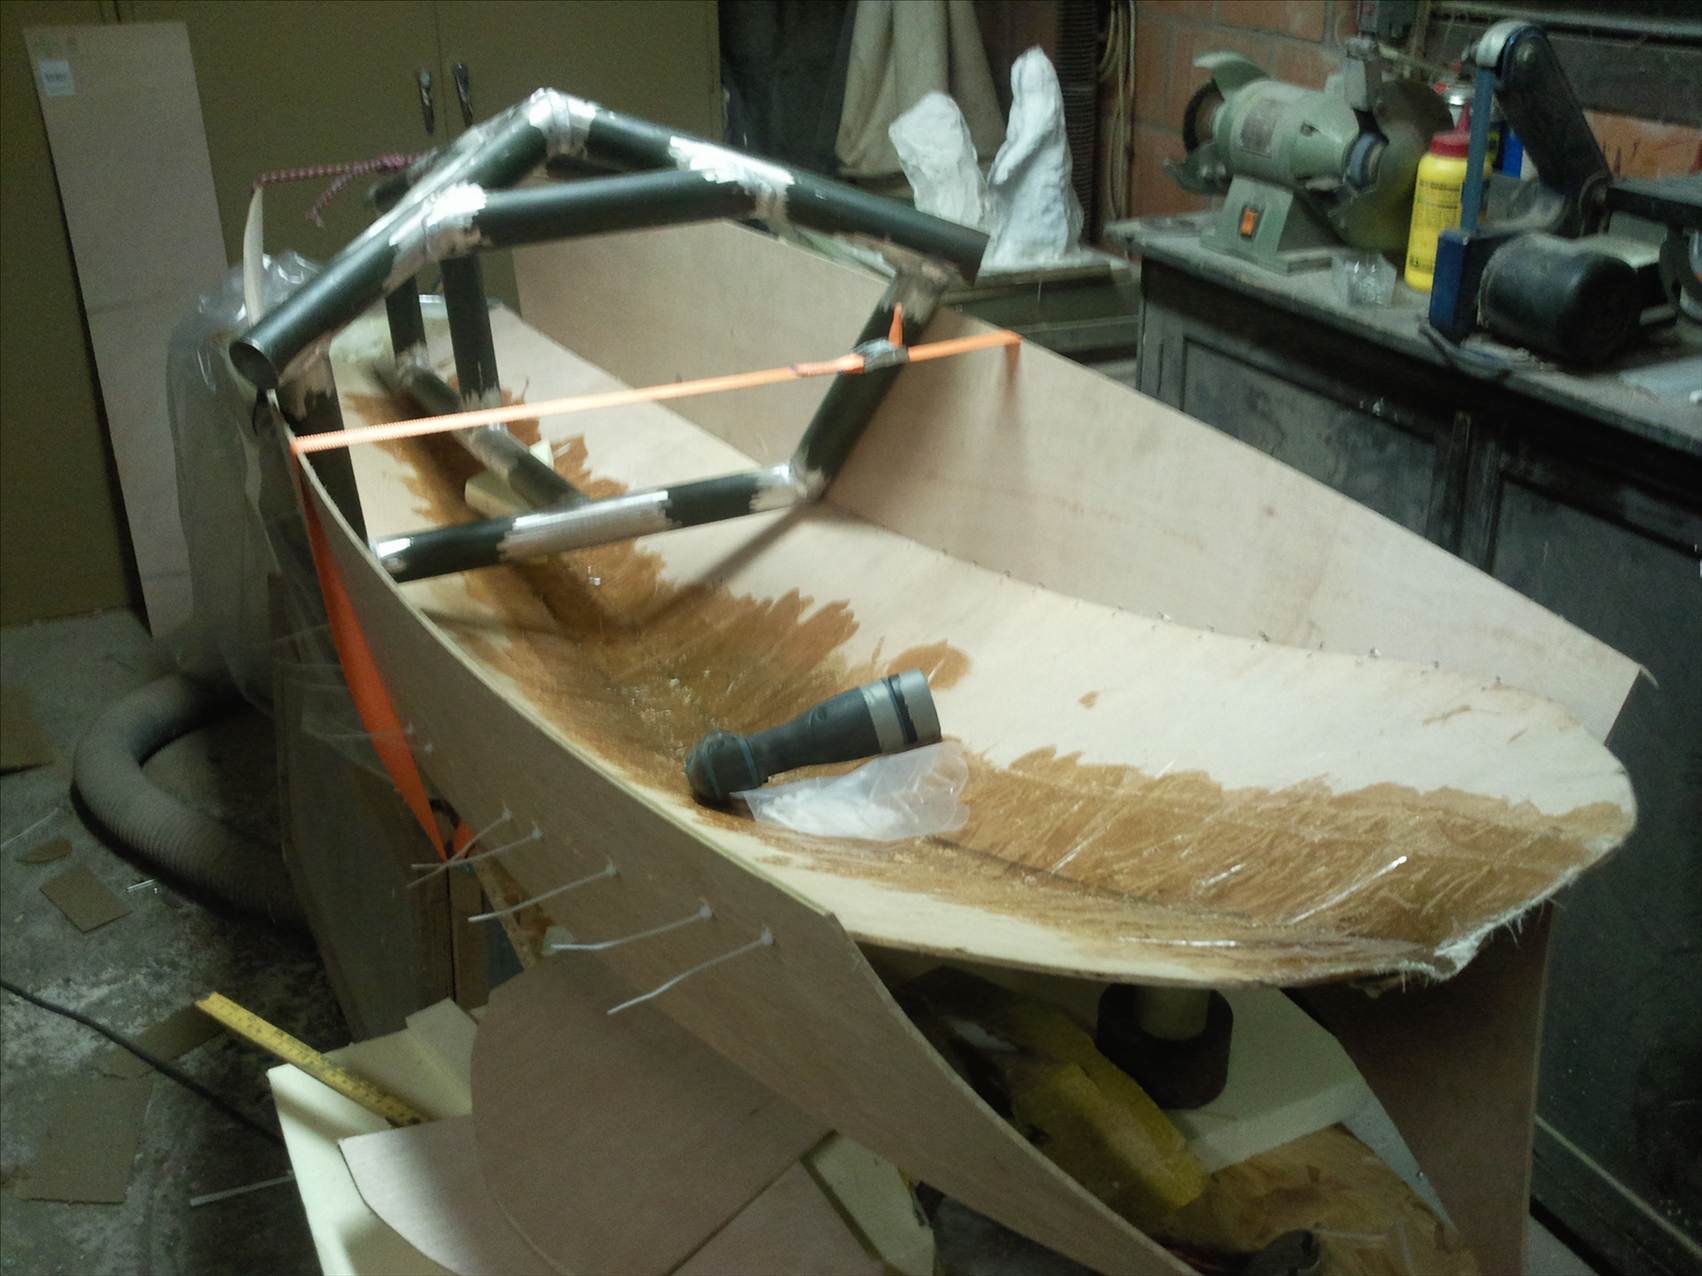
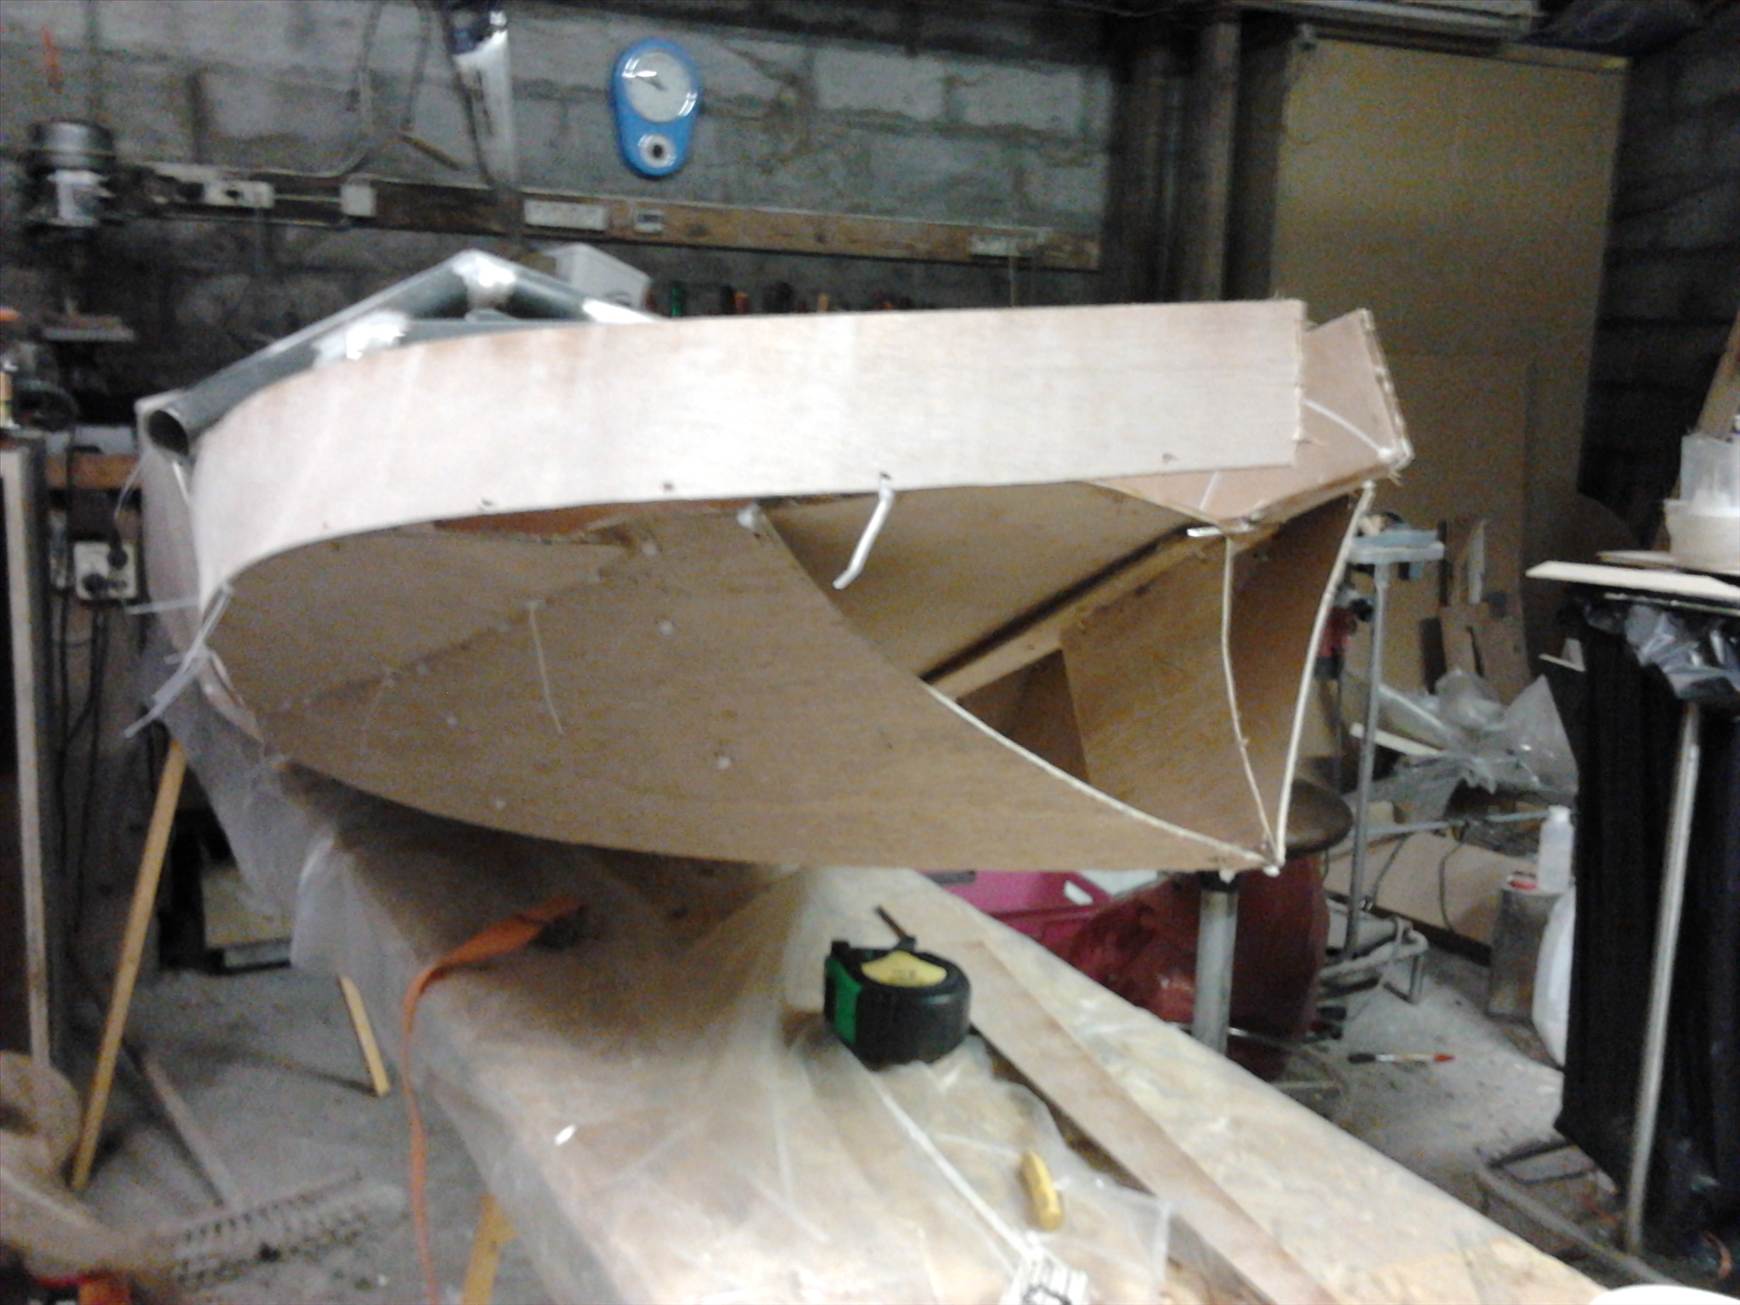
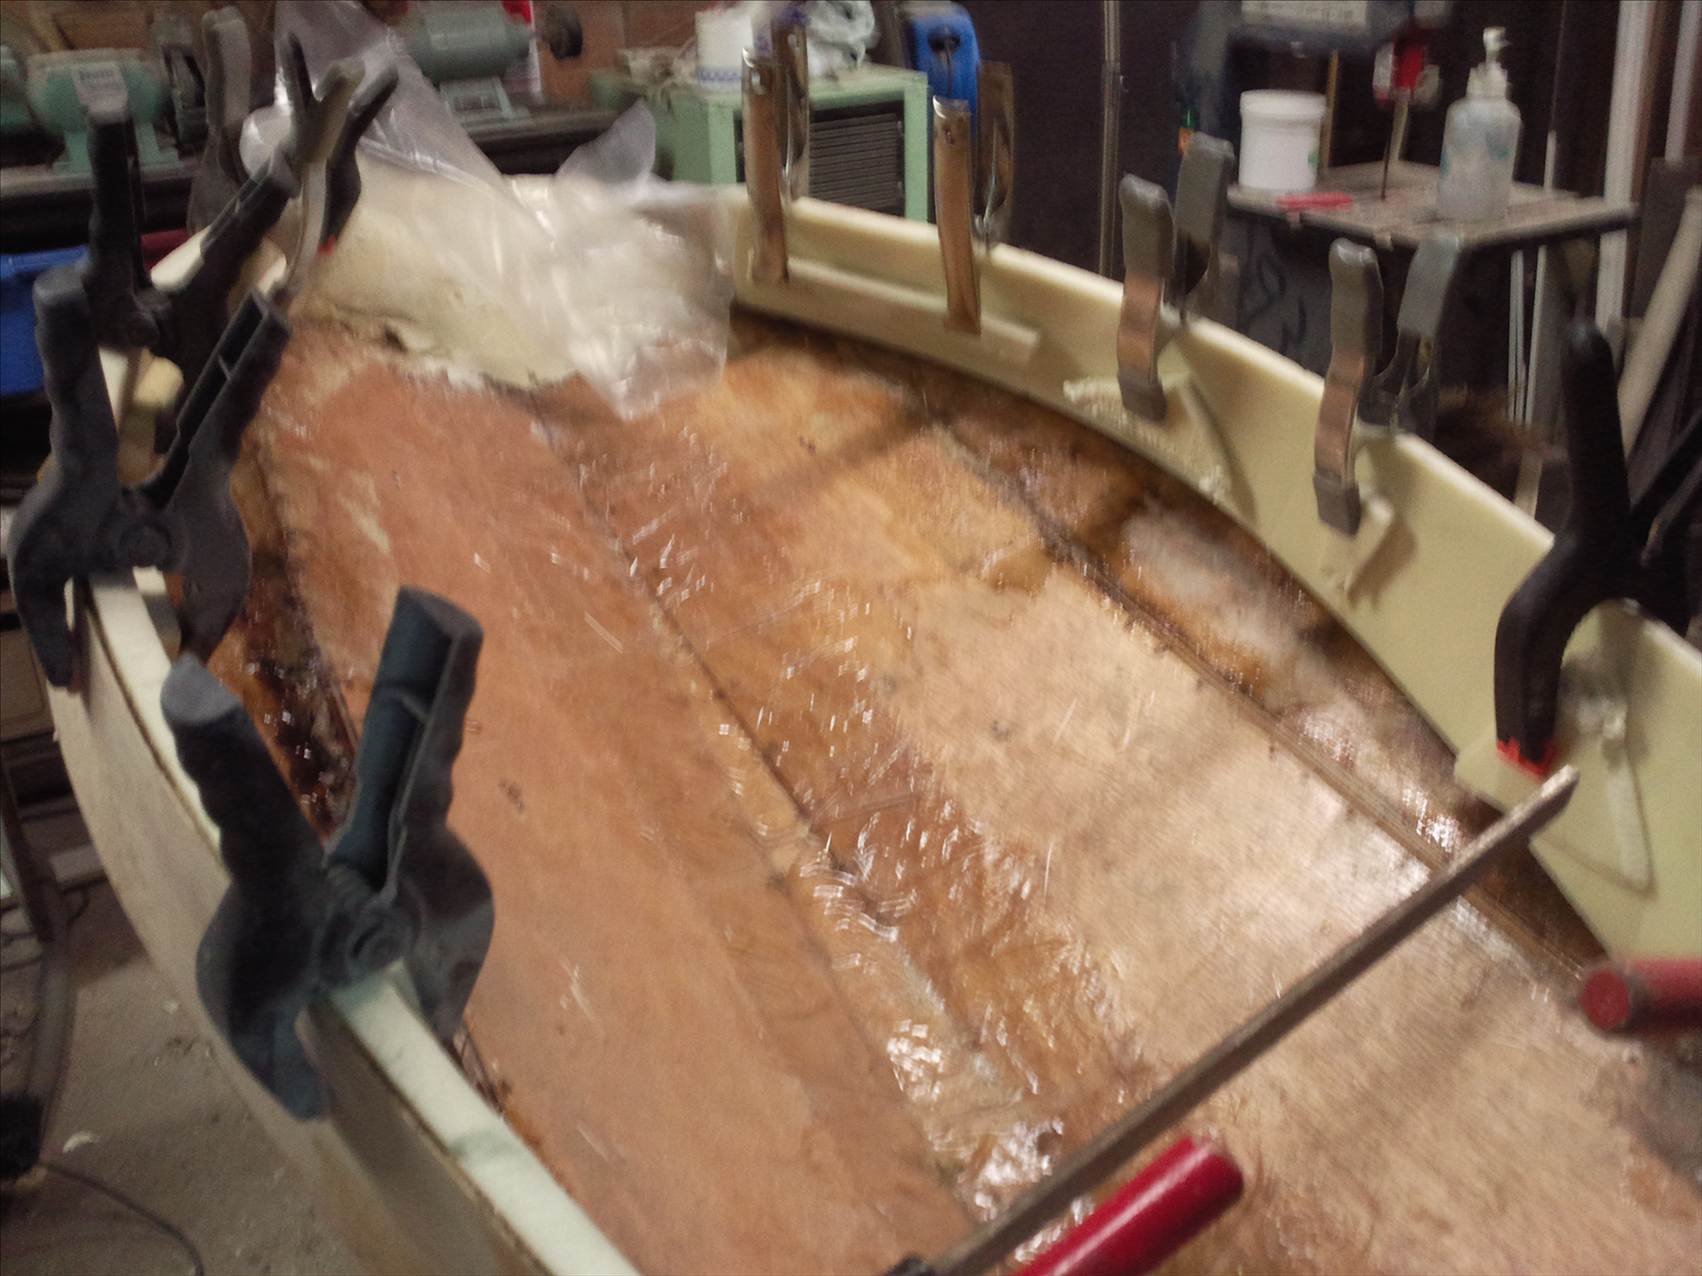
Plywood cut, attached with tiewraps & partly glue-stiched together with polyester.
Sadly the frame looks too high considering the seat and related head-height.
I'll probably cut out a part of the bottom at the sides to fit in the tubes and to lower the frame a couple of cm's.
I didn't like the flat bottom of the first tryout, seems like I should have sticked to the plan. ![]()
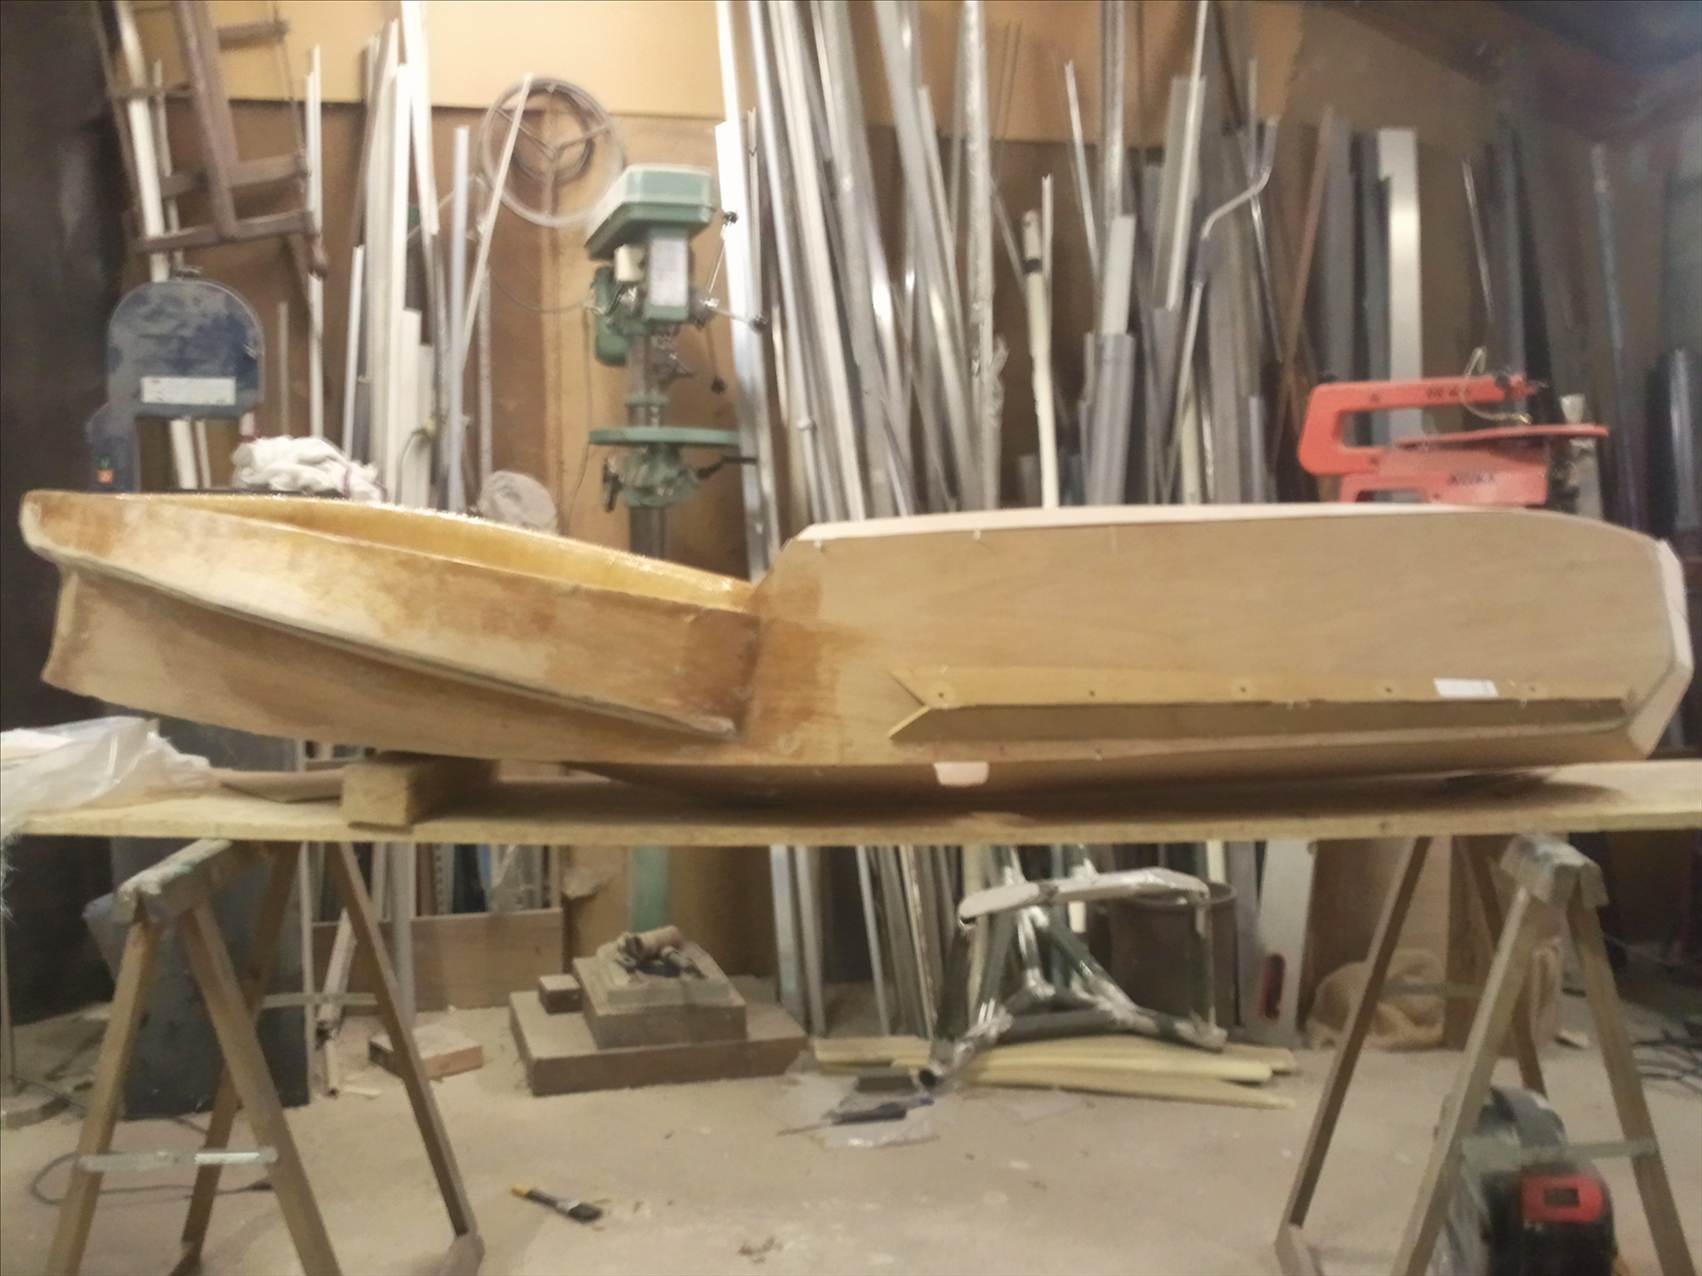
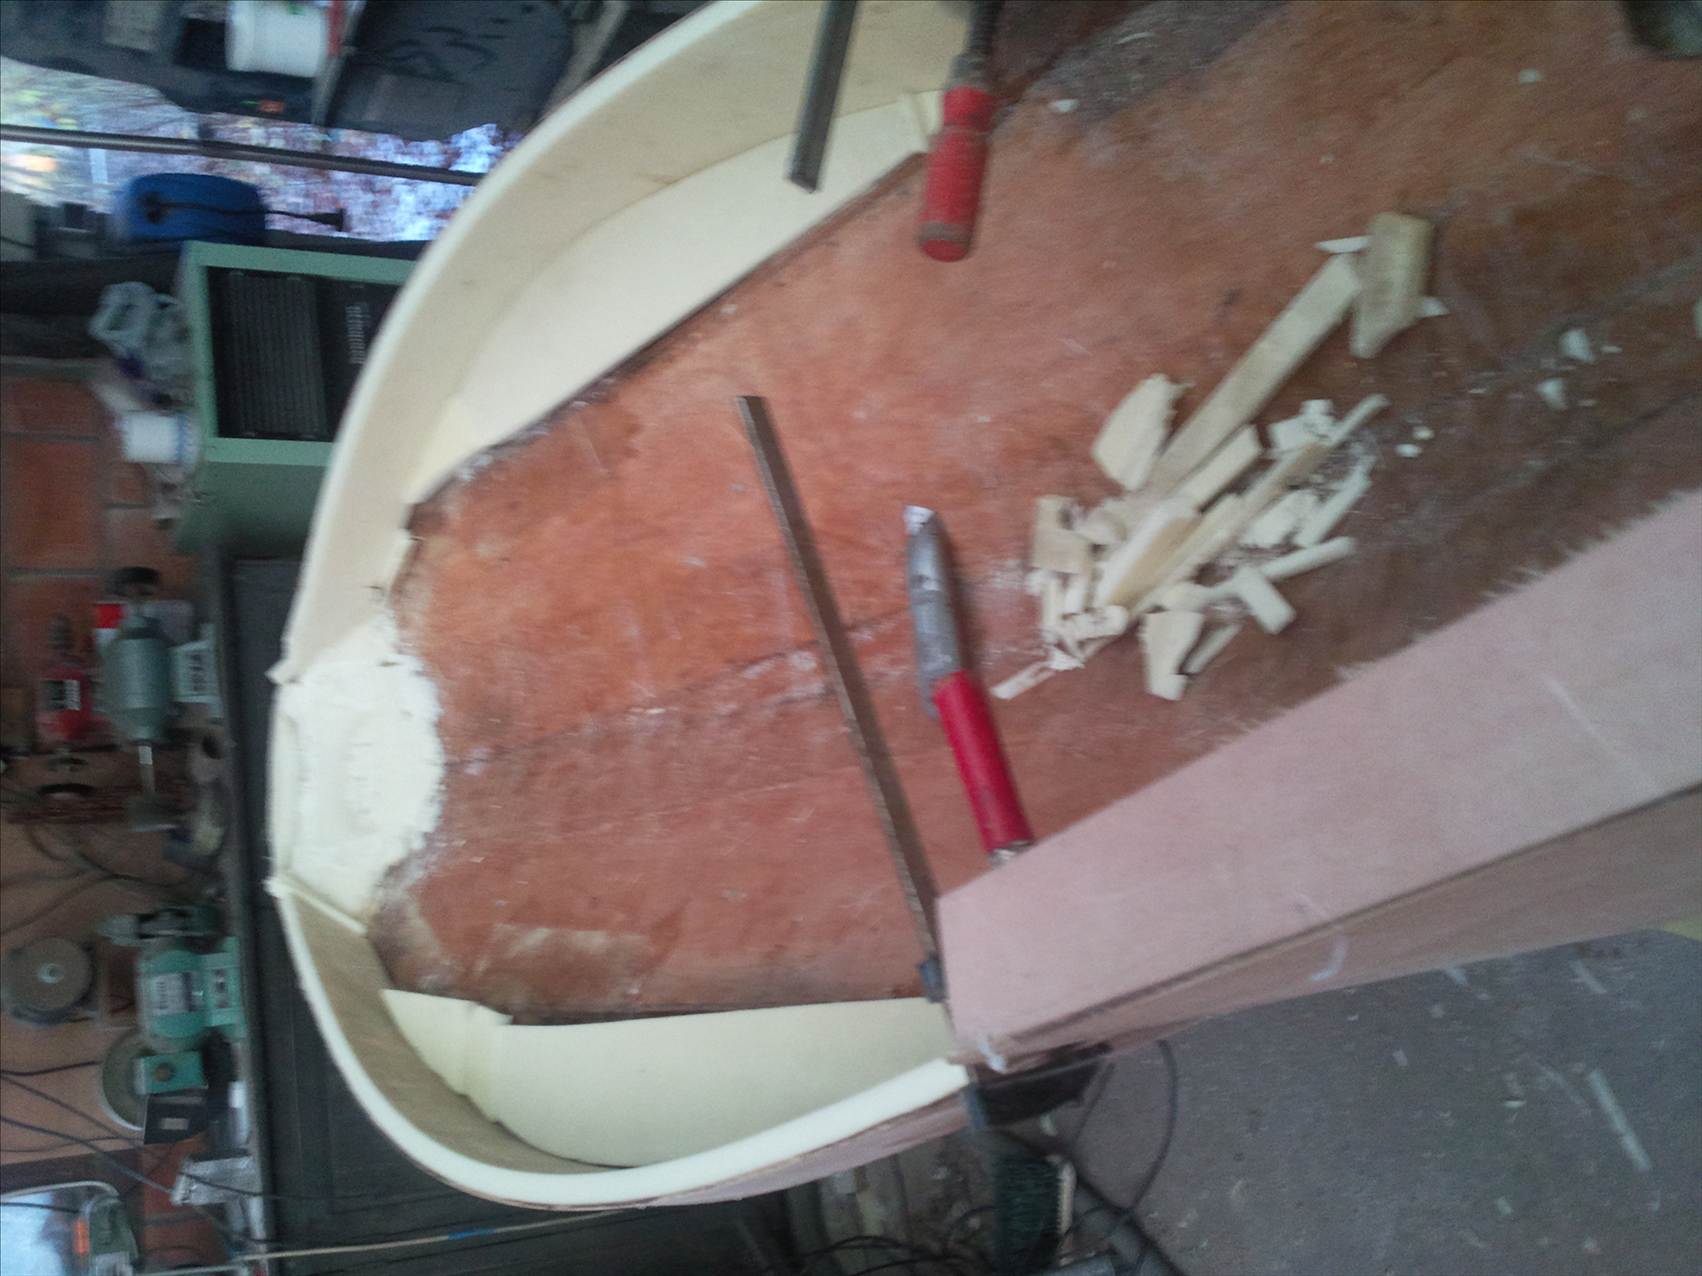
Considering to attach some extra elbow-space-"boxes" at the sides that have been cut away.
Bottom will be filled with foam and closed with plywood.
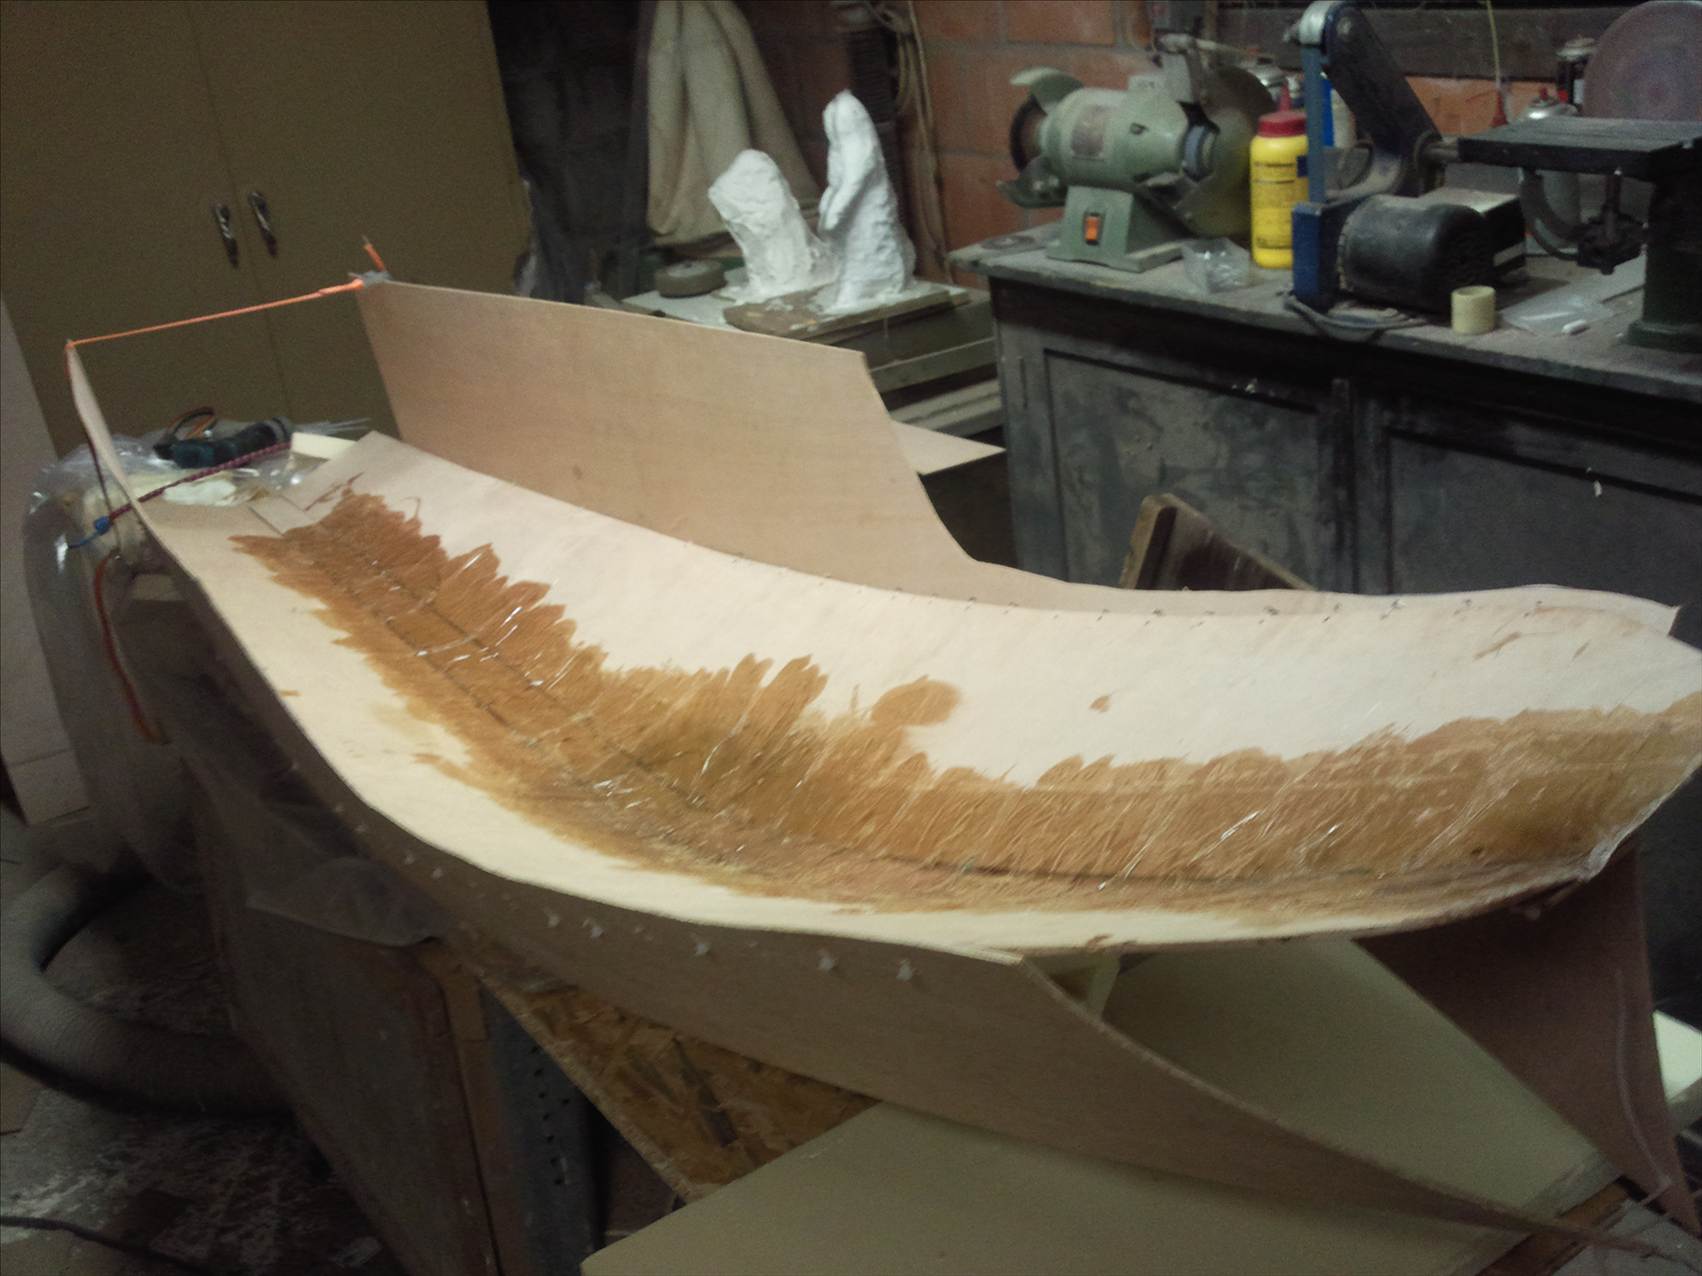
Getting a bit further...
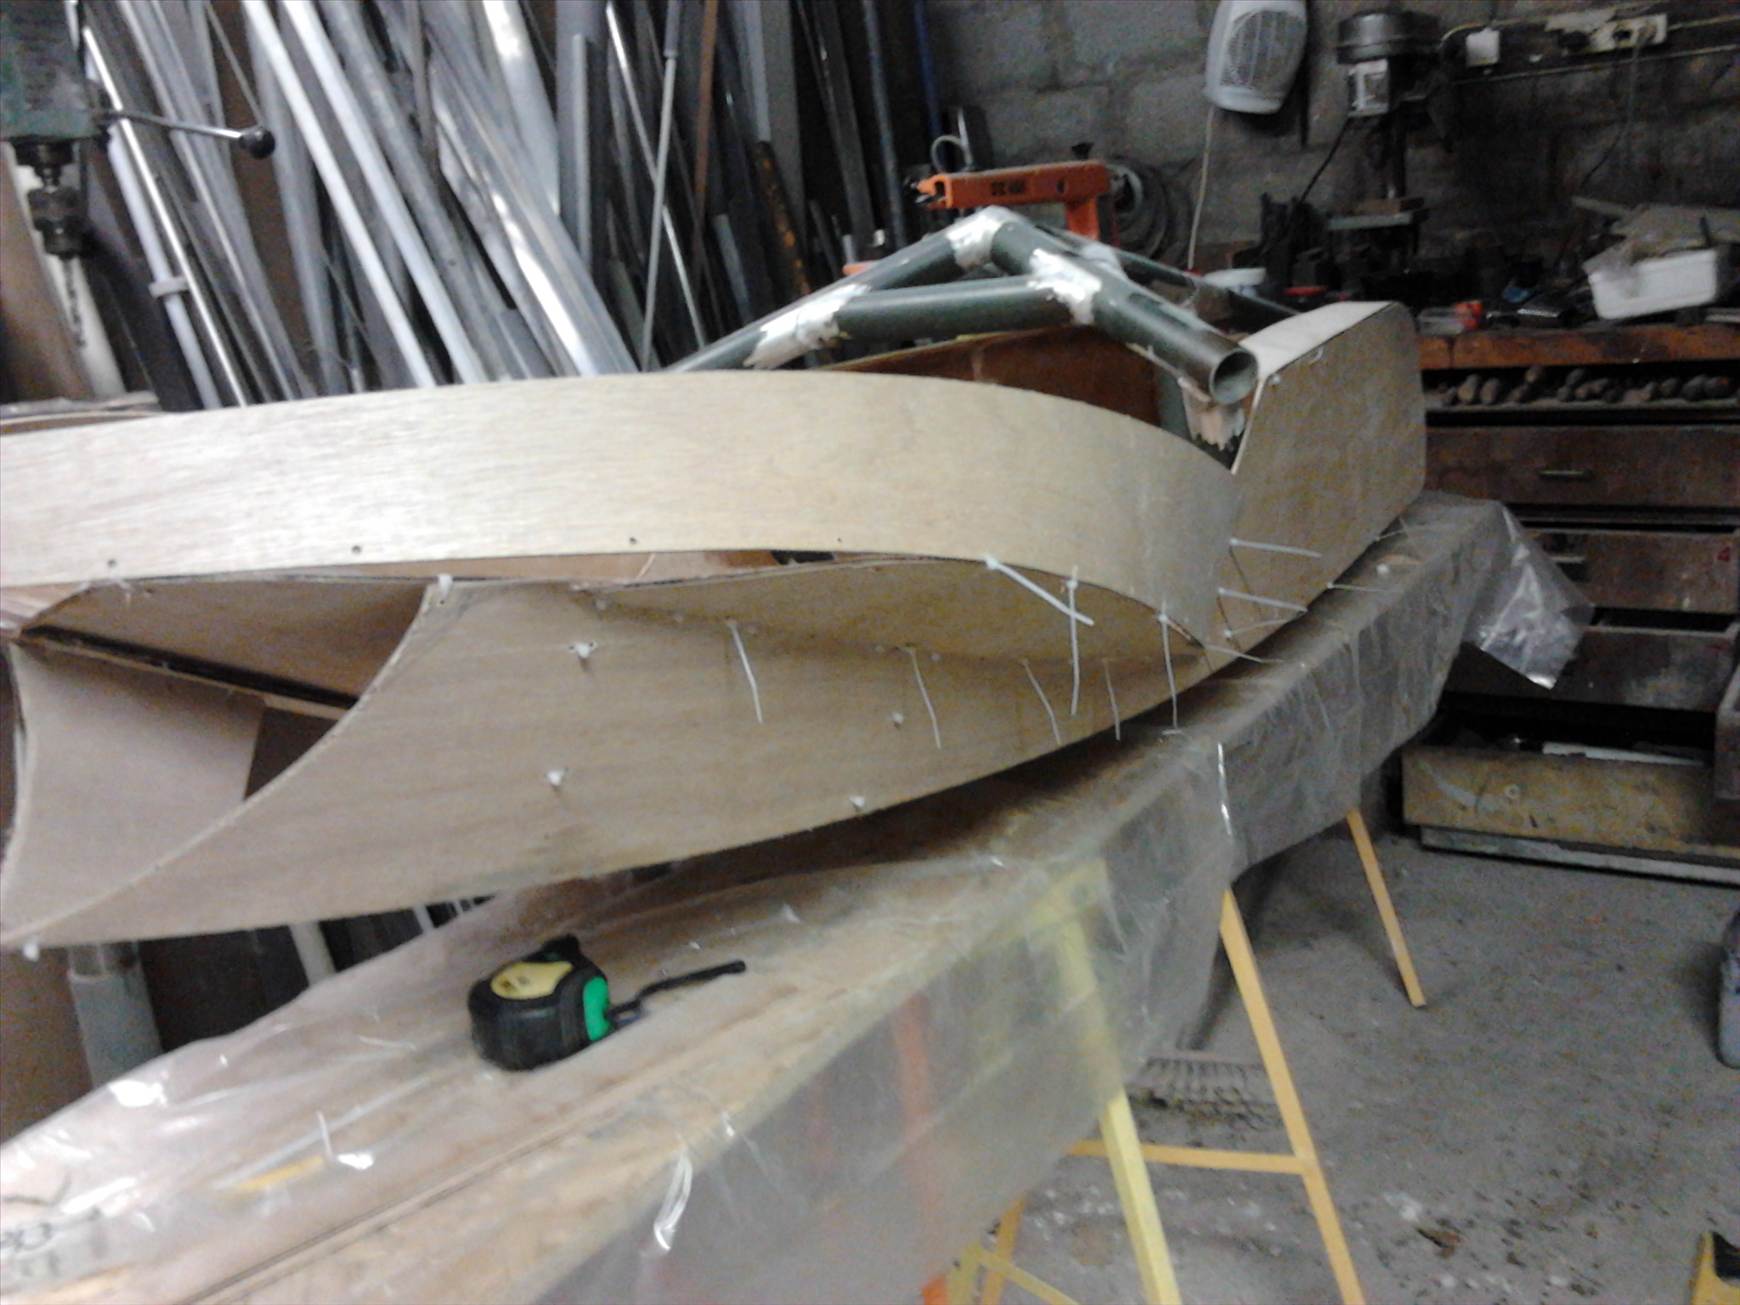
Added extra space for shoulders + some wigs to prevent torsion. I hope this works...
Still some minor wood-stuff to do, then fibreglassing for strength...
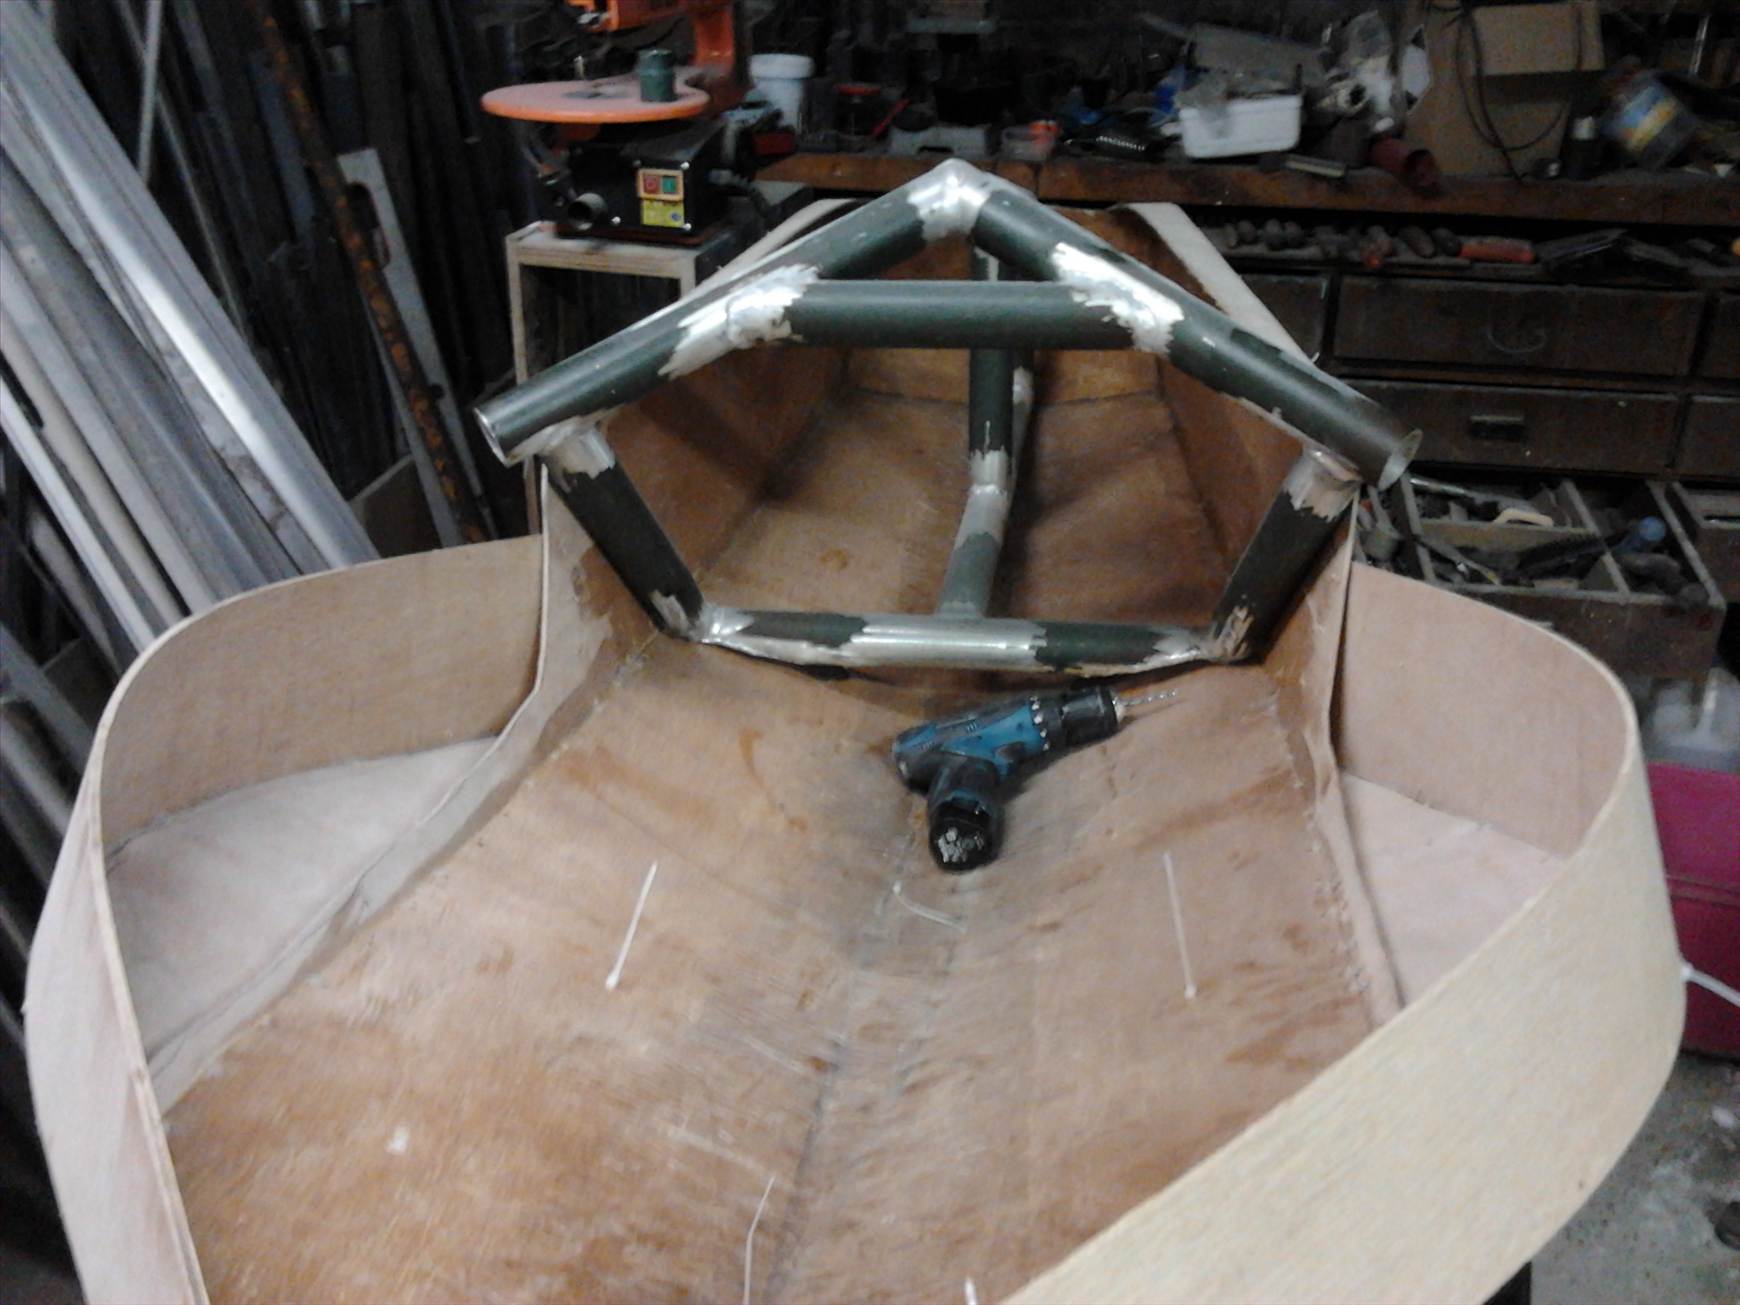
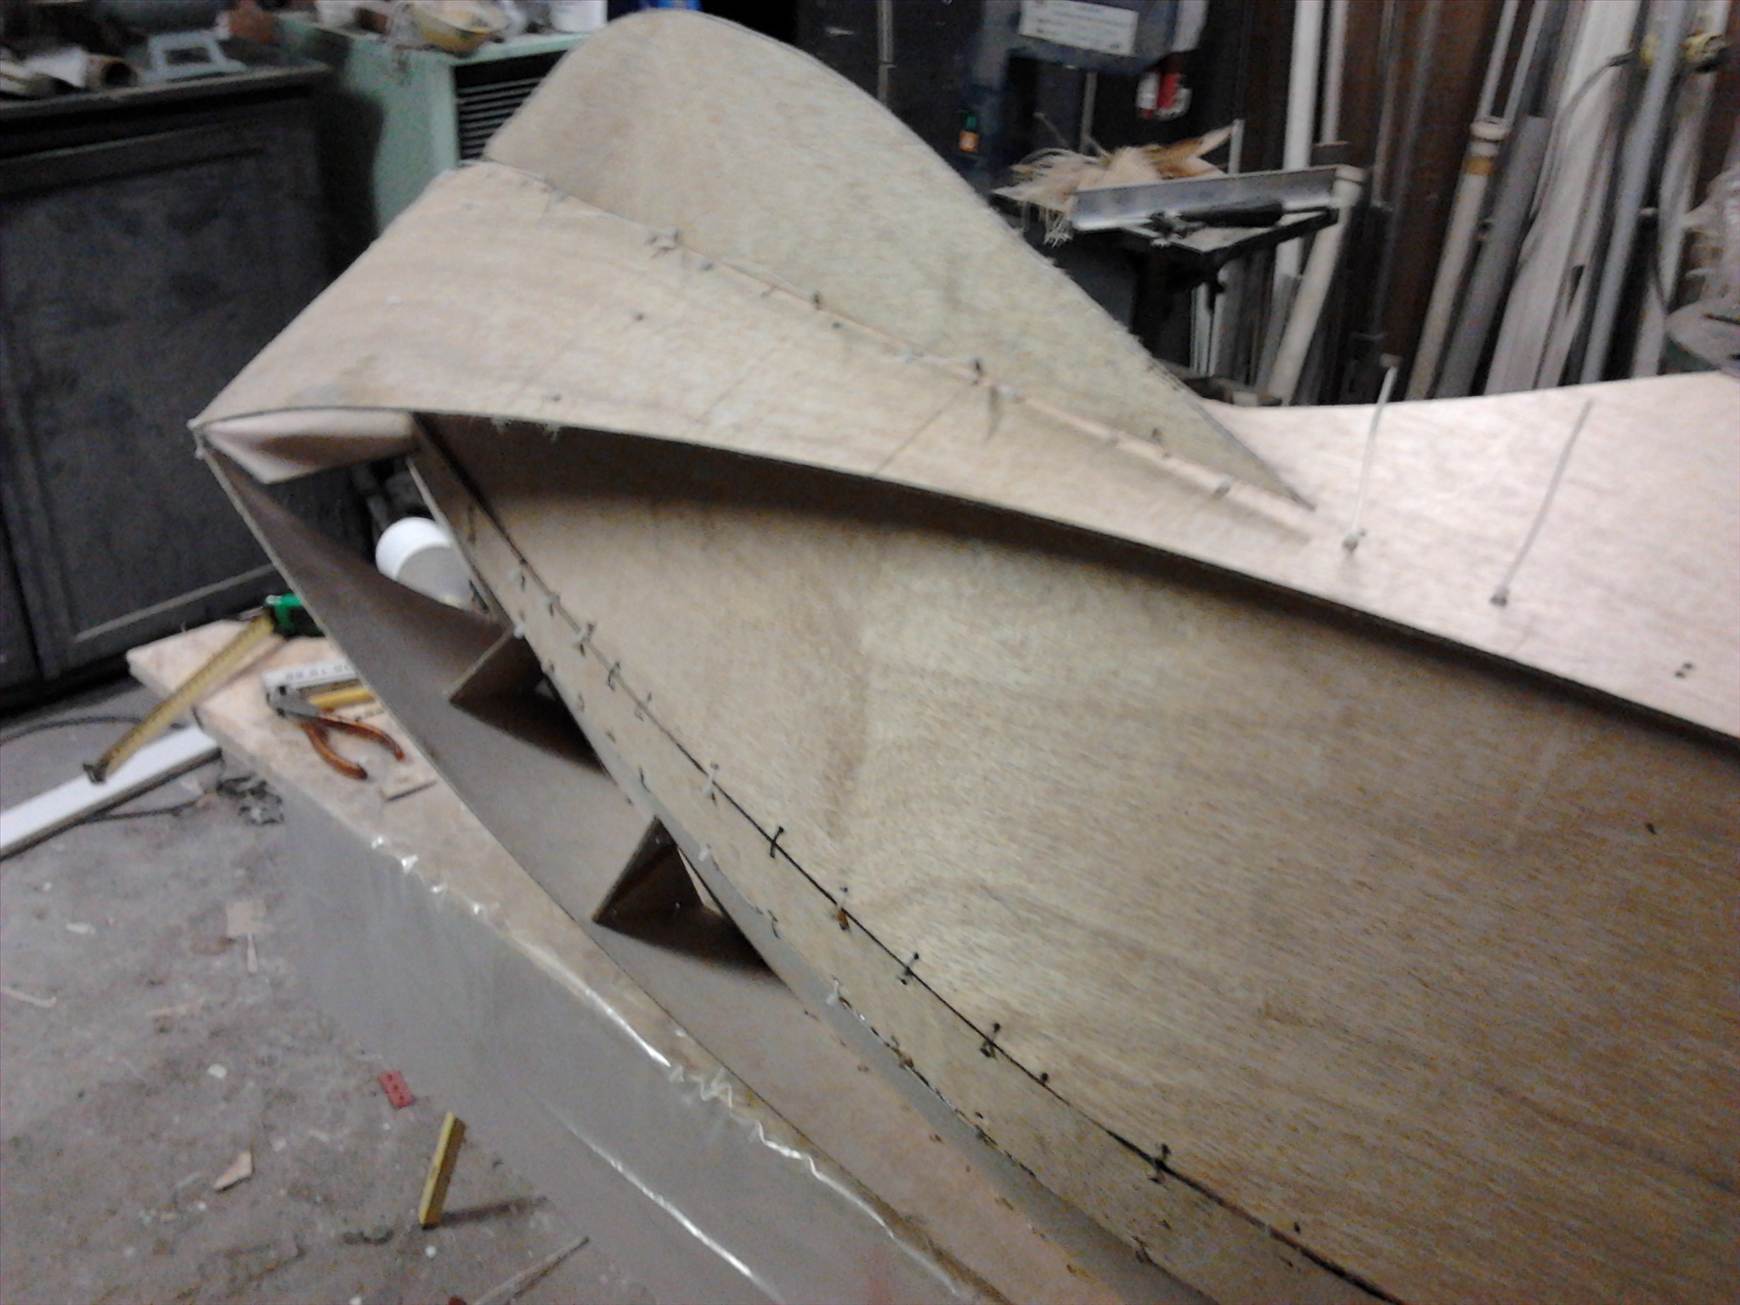
I'm in awe of what compound shape can be achieved with the humble zip tie.
A very impressive project there.
Can't wait to see the final result!!!!!![]()
![]()
![]()
FreCo,
Given that this is your first build it looks great.. Learn because it won't be your last build.. You have the BUG and it will lead you into some interesting places.
"Do or Die" is the motto..
Ron
I have little doubts about my mast, being not long enough to provide enough height to the sail to place my boom above the seat.
So, what I've been thinking about, is adding a piece of a second mast (I've got 2 spares left. ;) ) inside the first one, then adding the "normal" aluminium mastlengthener connect to the frame, into the second.
All 3 masts are the glass-polyester-kind of stuff...
This way I can add as much height to the mast as I want and stiffen the lowest part of it, buuuuuut...
Is this a good idea? What's the consequence on the "outer" mast, strength-wise?
Will it resist or add some breaking-points, considering the polyester-into-polyester-friction?
we shove 1 mast up anaother all the time. initially it feels soft but as you sheet on it gets stiffer. a great way to make a landyacht mast
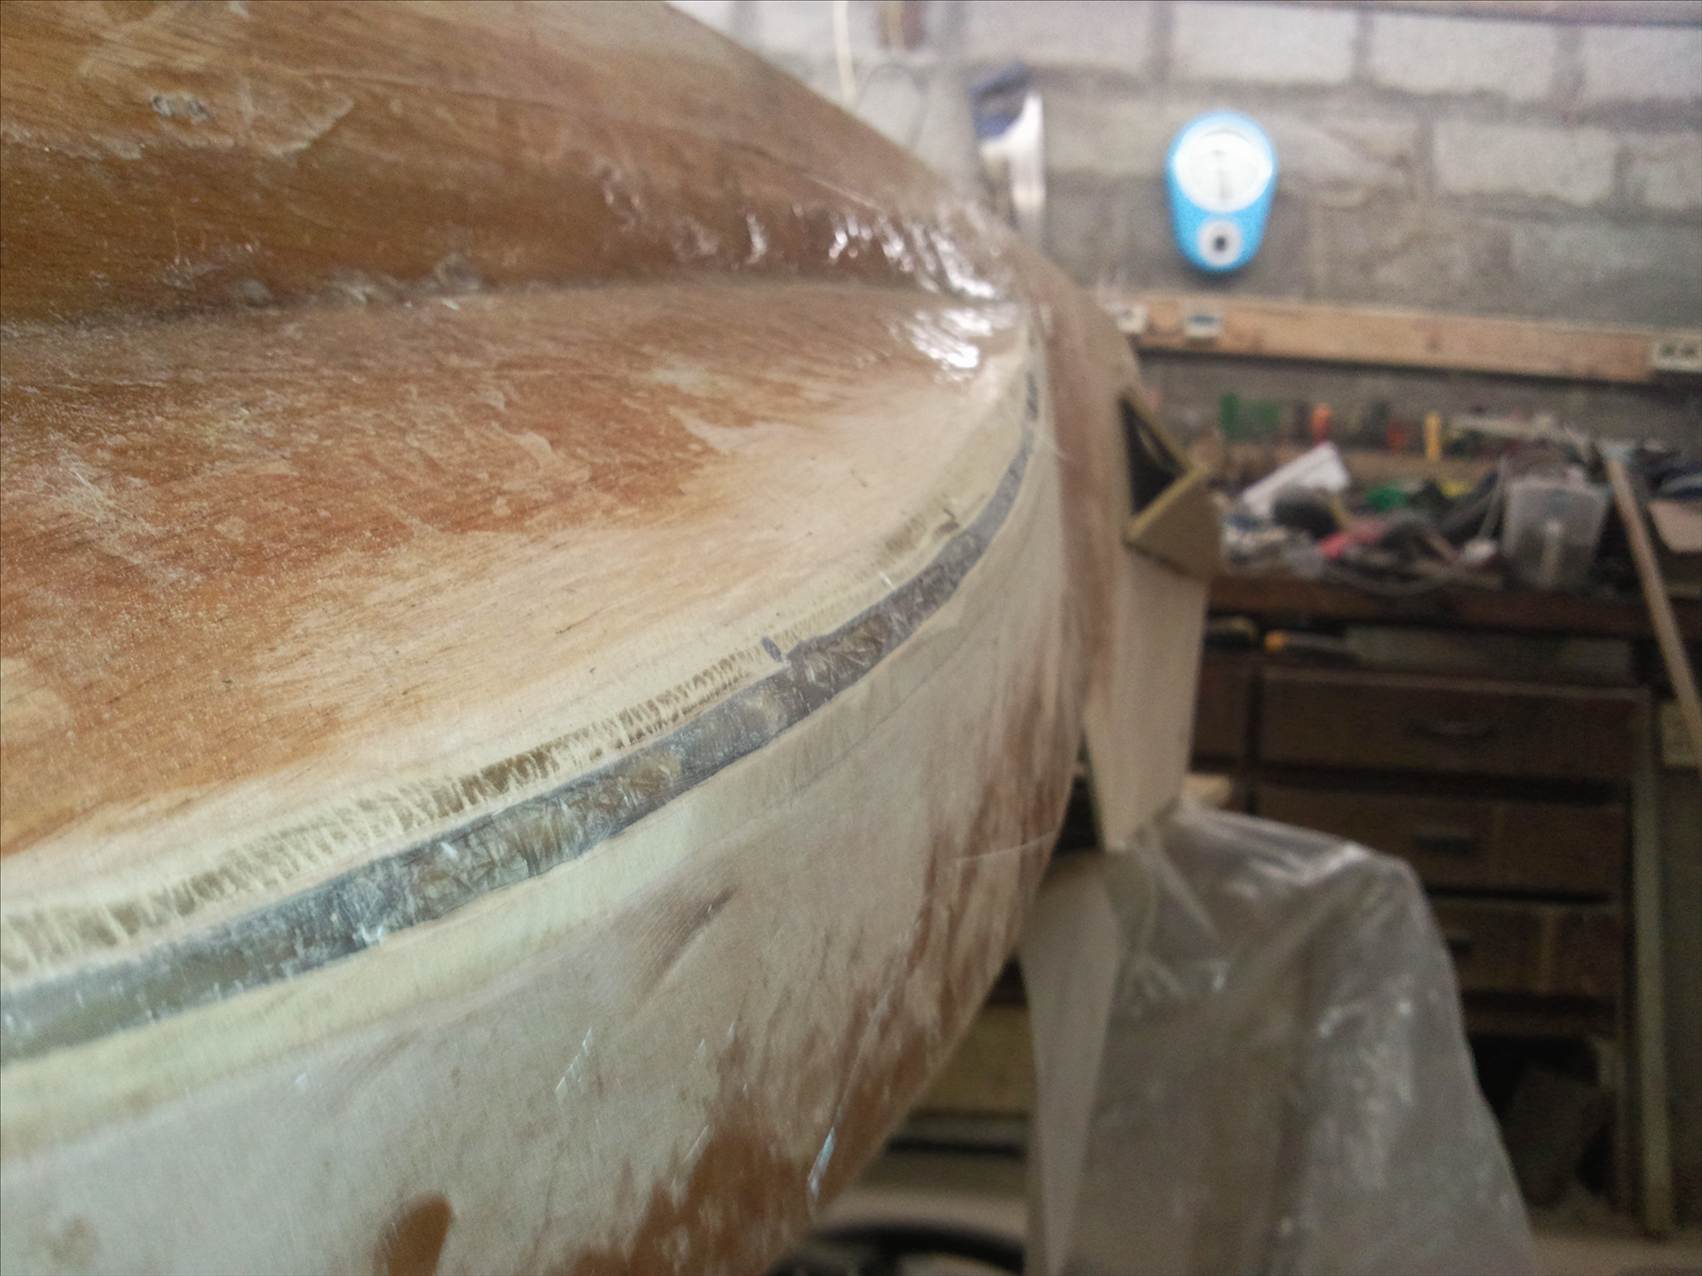
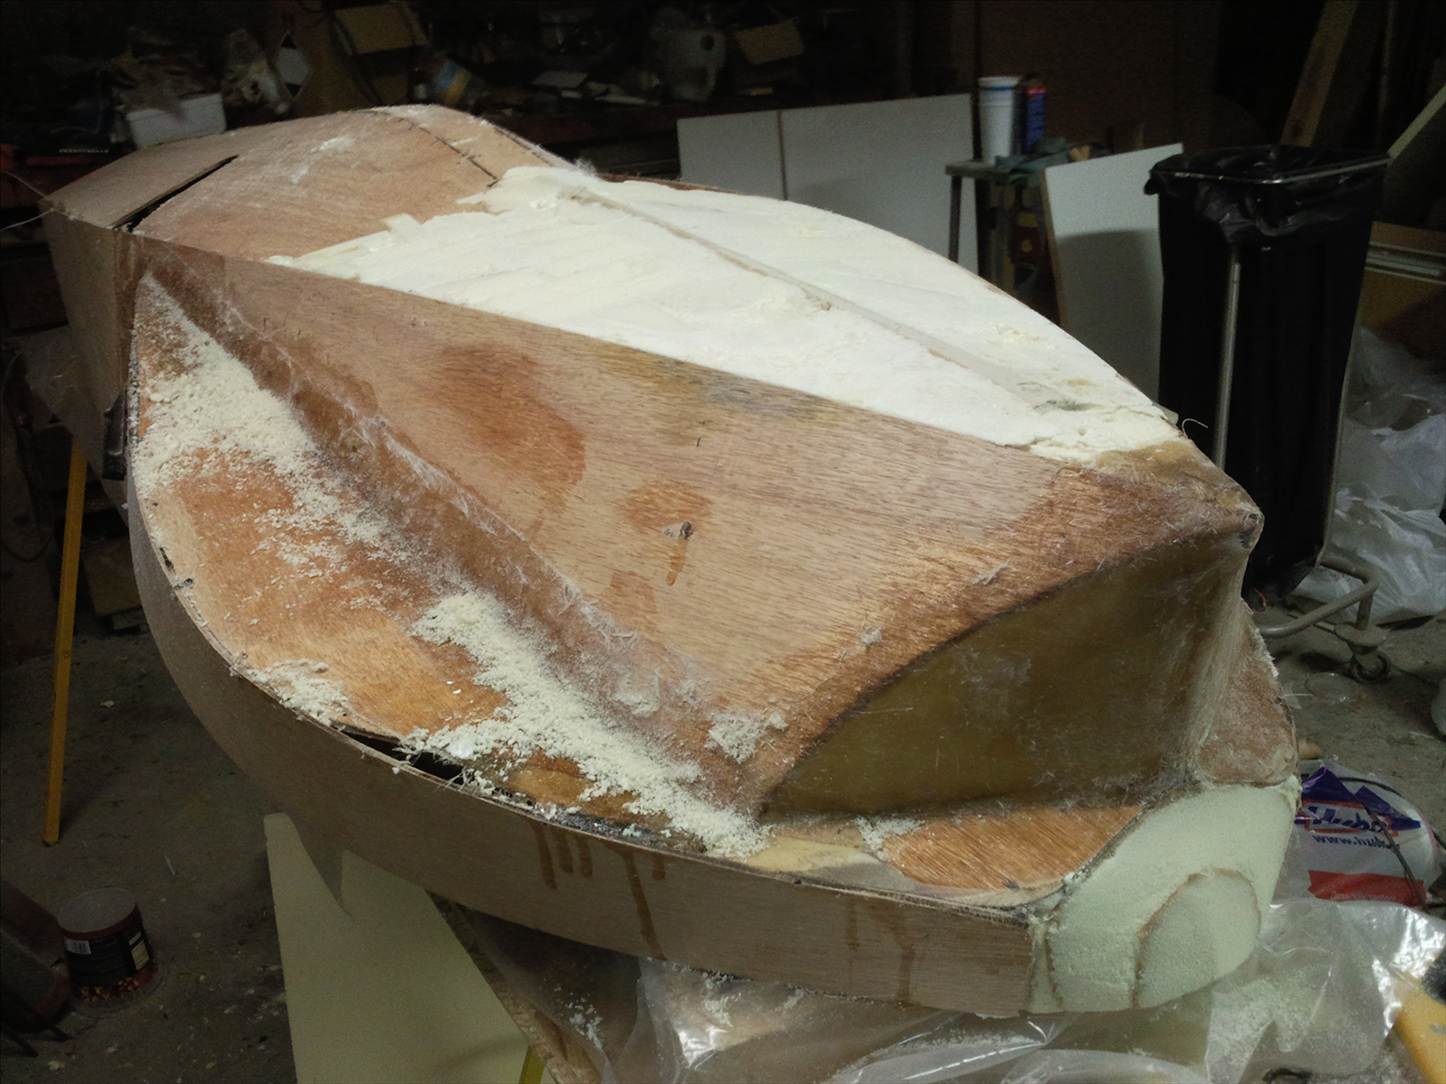
Proceedings...
PU-foam added to give the borders thickness. PU is polyester-resistant, so no meltdown in contact.
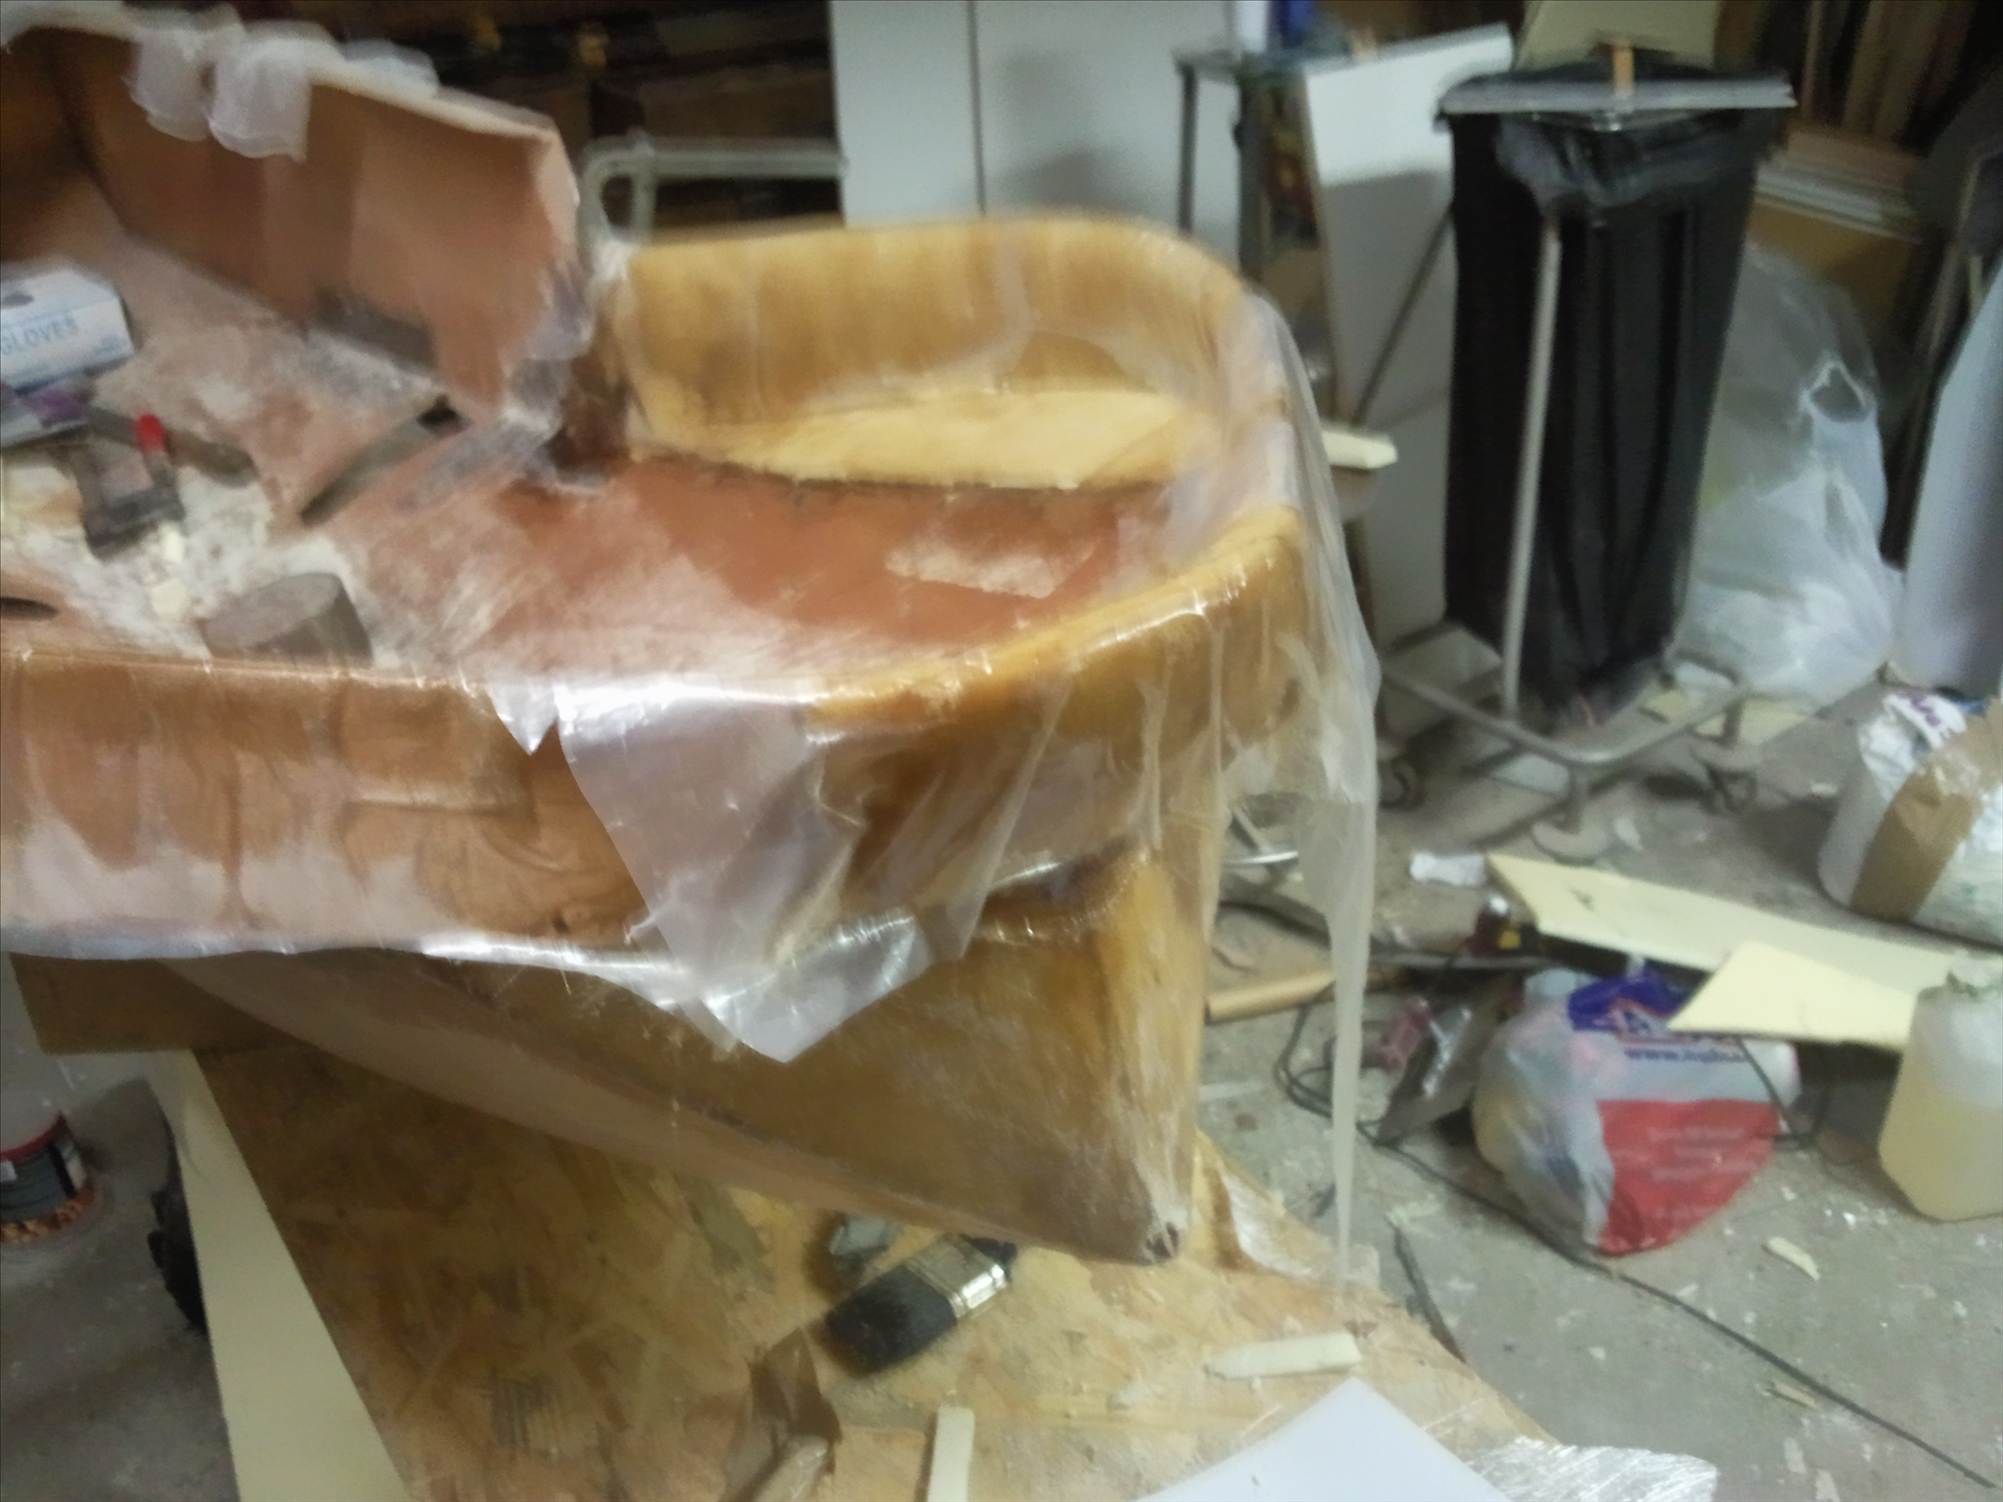
Back/head-part shaped, rasped, glassed and filled & glued with isolation-foam from a can.
Can-foam used to fill and glue a bunch of foam-pieces into the bottom, then shaped with saw and glasspaper.
As finishing the seat is currently difficult due to incompatibility of polyester & cold weather,
I've started to think what I can do myself about fitting & finishing parts of the frame.
While welding alu is not (yet?) one of my powers, I started measuring & fitting the big Y-axles.
Due to welding, the "female"-sides of the frame are too small to insert the big axles.
So I took a rod and sawed a long slip into it, just wide enough to fit some 60grit-sandpaper in it.
Then, using a drill with the sanding-rod, I tried sanding the inside of the receiving part. Yet, it doesn't seem to be the nice & quick solution.
Any idea how to make male & female fit again? What's the Good Solution?
Use 40-grit? Then 60? 120?
Do I try to sand only the inside where the outside has been welded?
Or do I sand the whole innertube at the welds?
How do I know where exactly to sand? And how much?