My last name is Saby. the dent referrs either to a whack I took on the head leaving a divot or my profession, dentistry. You decide. Www.saby.com
Got the mini back from clear coating today, painted and clear coated the wheels. Hopefully get the boom done by Friday. The clear coat will be cured enough by then for assembly. Then sewing the seatbelt and seat pad....done. Praying for wind on Sunday. Photos to come as soon as I get it assembled.
Yahoo!
"My last name is Saby. the dent referrs either to a whack I took on the head leaving a divot or my profession, dentistry. You decide. Www.saby.com"
Or if it's MY dentist, it's the dent he puts in my wallet !!!![]()
hey Sabbby.. just dropd off the sail at the parachute shop.. guy said no problem....
still gotta build the boom but hey , If i need to i can get it out in an hour...
where u at? or is it done? already.... keep me posted
Harleyd:
Just the boom and seatbelt left. Broke the sewing machine today. So I have to get someone to sew the ends of my belts. Hope to finish Friday, Saturday at the latest. If there is wind I will take it out for a sail on Sunday.
I may have to make a mast extension as well. I have a lathe from my dad's estate stuff that I will have to set up, I happened to find a three foot piece of red oak that he had turned already and it fits my mast step perfectly, all I have to do is narrow a section to fit in the mast.
Photos either tomorrow or Sat. Hopefully video on Sunday (if my kid is around to do it).
Great that you are almost done.
Brian
are you sewing the ends? one idea... rivets and washers? originally i wanted to do a wooden boom , but for now i will use a old piece of mast... hopefully my sail will be done soon... keep me posted
Just folding the belt over and sewing then I am going to use a bolt and washer as shown in the plans. I am gong to make my boom from an old mast as well. What are you using to glue your wooden plug in place? I am unfamiliar with the Austrailian products and am looking for the North American equivalent. I was just going to use epoxy.
epoxy will be fine, or contact adhesive , silicon, or even just screws![]() It doesnt have any great stresses
It doesnt have any great stresses
My mast is just a bit short and I want a bit of head clearance room. I am going to use a oak dowel in the mast step. The dowel will also insert into the mast. I do not think it is necessary to glue the dowel to the mast. Should I glue it?
Brian,
On thwe subject of sewing the Webbing. You could always use the Saddlers method of sewing using two Leather Needles. Get them from a saddler. I didn't have any Saddlers Thread but I did use Bow String material, 70lb, It worked a treat. You can always use a vice and lightly clamp the belt using the Jaw as a guide for the stitching and placing the stitches about 3/16" apart. iying off is then done by back sewing threw the stitches about 3 stitches ans a little Super Glue. Hand sewing Webbing is easy to do.
Ron
PS; Just pull each stitch up firmly, do not over tighten
One of things to have in your tool bag that is handy for sail repairs/making
stitchitawl.com/

Dental floss is good sewing thread too... used it many times
mint tasting or plain ...your choice ![]()
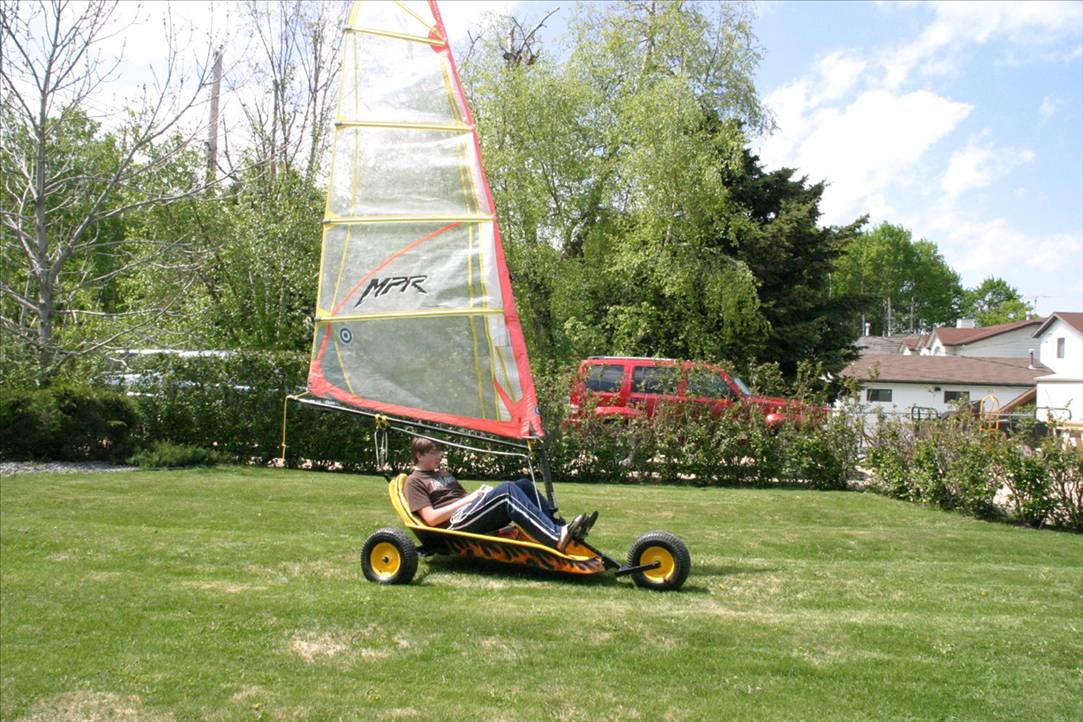
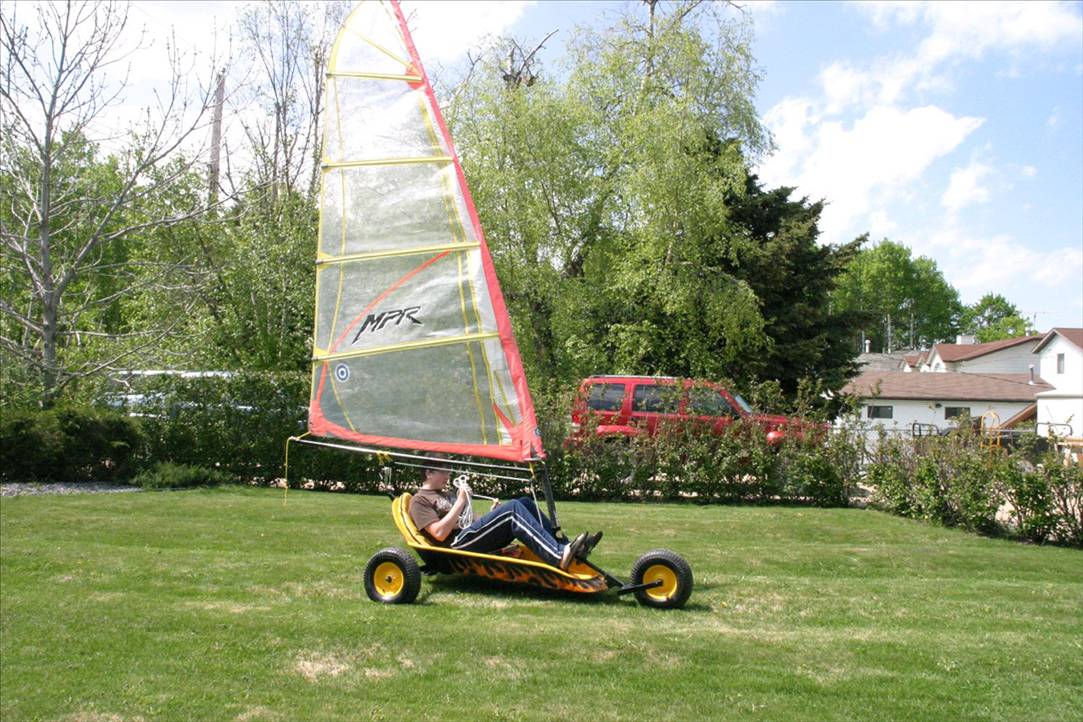
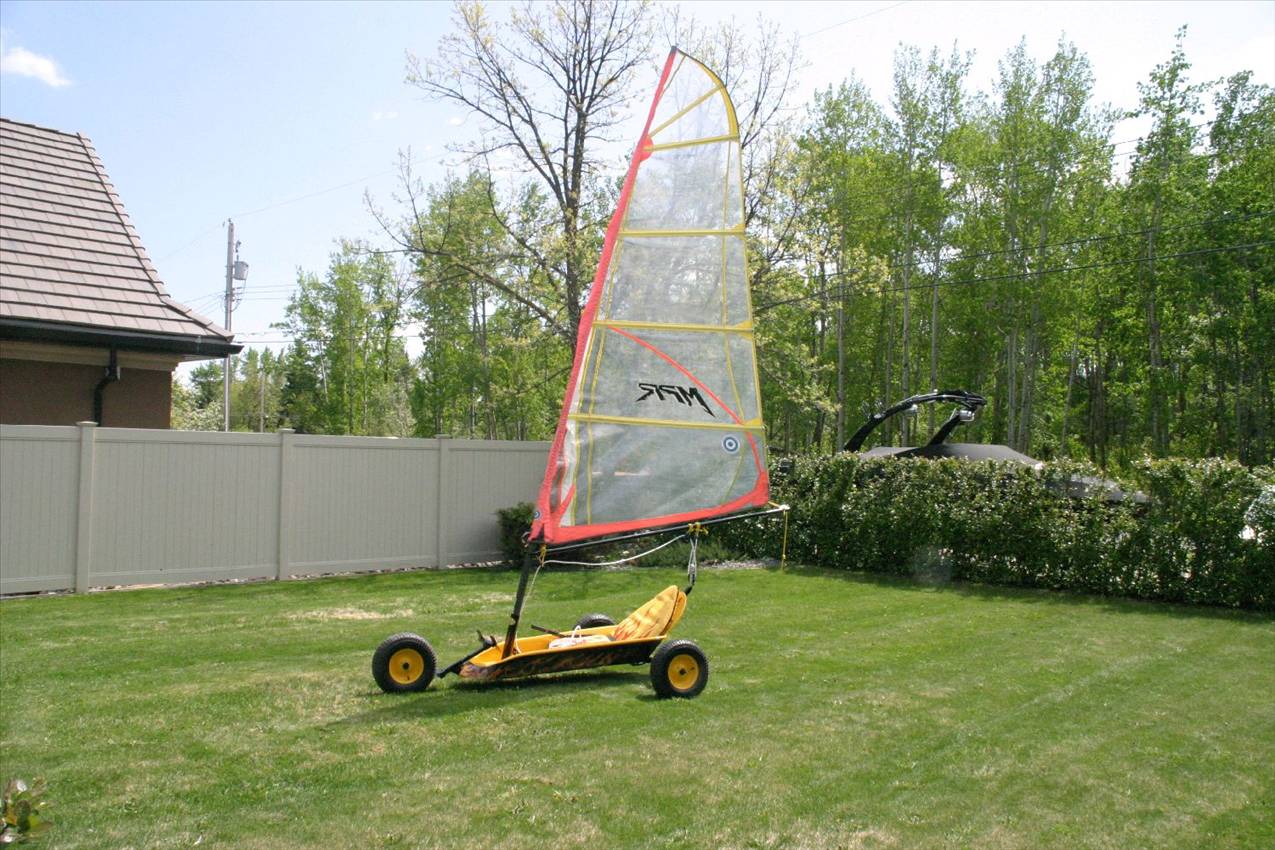
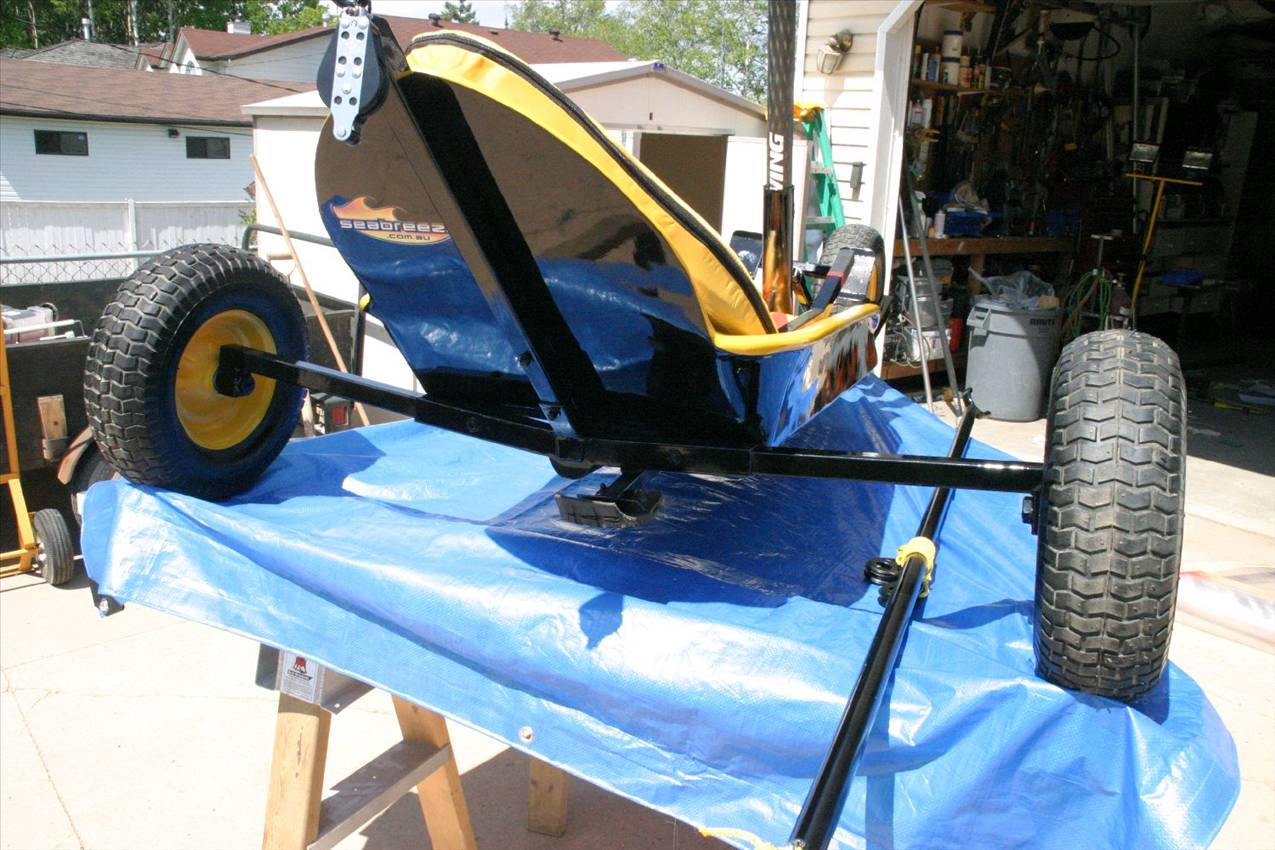
GOT IT FINISHED!!!!!
It is late and getting dark so my photos are not that good. I will post some new ones with details tomorrow.
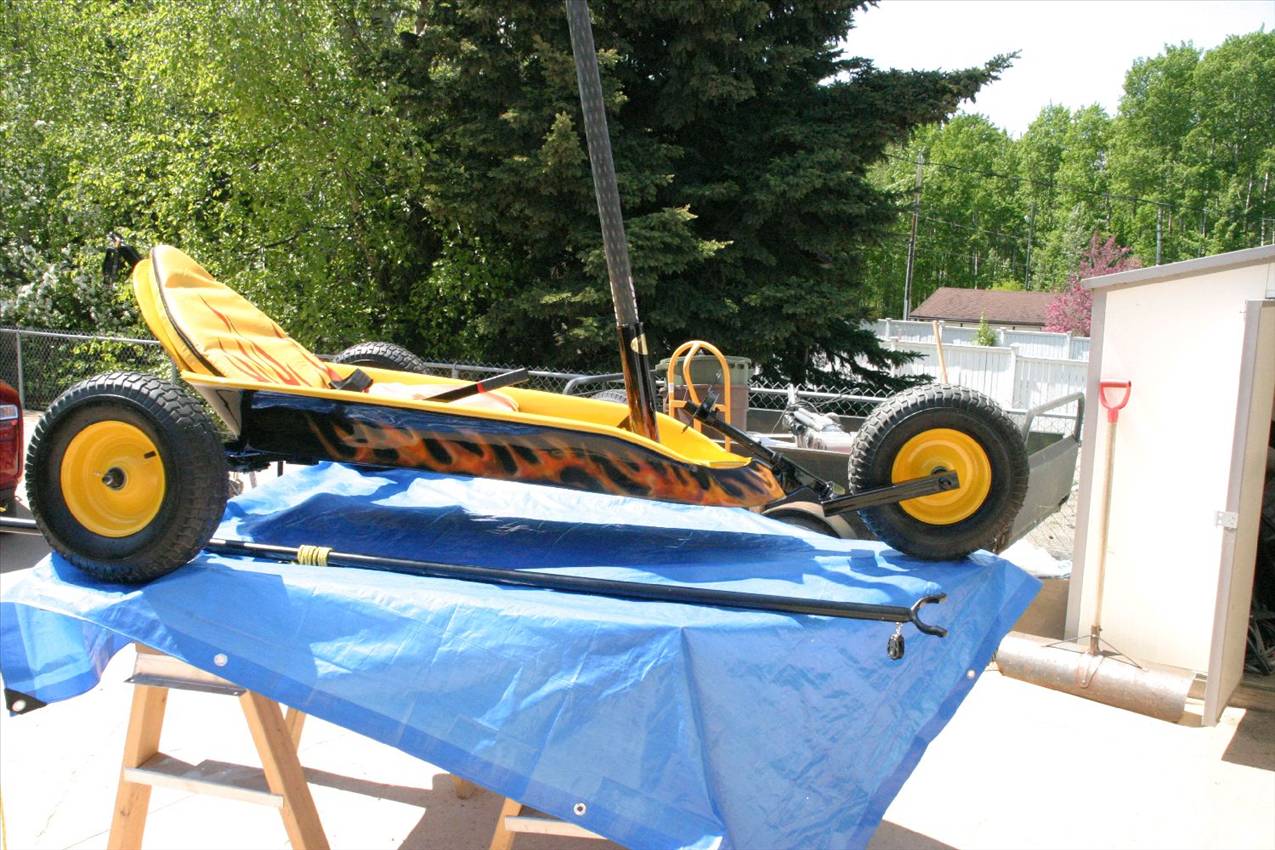
ladies and gents sabydent presents his new mini:

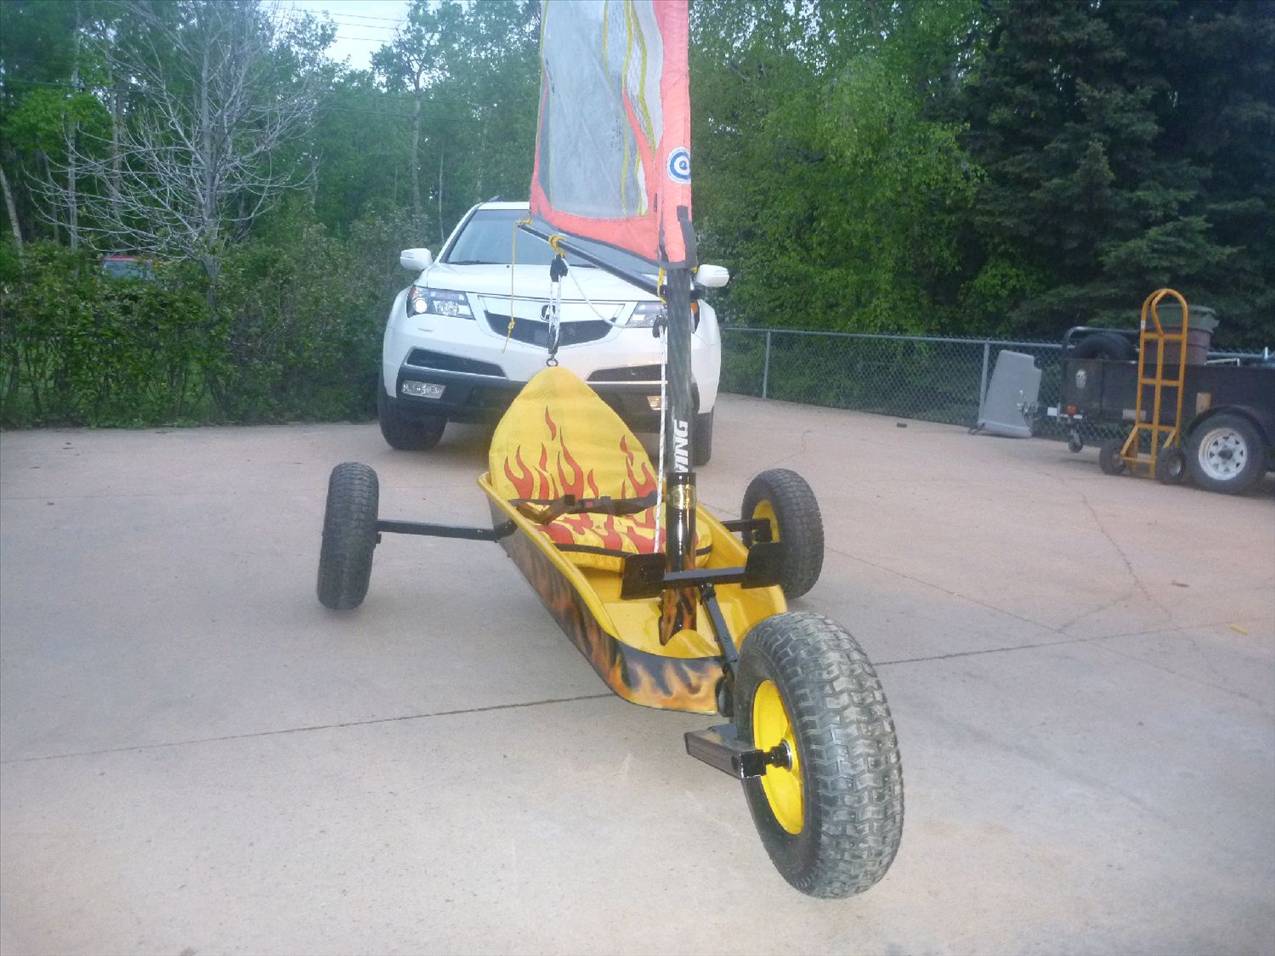
put a bit of plastic packing around the mast where it comes out of the mast step, just so you dont damage the mast, but otherwise a 9 1/2 out of 10 big smiles from me![]()
![]()
![]()
![]()
![]()
![]()
![]()
![]()
![]()
Damn! Like I said you Northern Boys are Anal about finish.. That is Beeeeuuuudiful. That is a work of Art worth a bunch of Pride.. Let us see it in action. Is "Blaze" male or female?
Ron,
PS; LY's suggestion. Plastic packing.. Look for some Ice Cream Container Plastic in a suitable color and cut it so that an angled peice from the bottom will tend to fold down over the Mast Step Top to prevent it from slipping inside the Mast Step.
Now get sailing and GET PIC's.
Thank you for your compliments. As a first time builder it means a lot to have positive feedback from vetrans.
Wanted to sail my mini today, but absolutely no wind. Go figure. It snowed yesterday, today is only 13 degrees. I sometimes wonder why I live here.
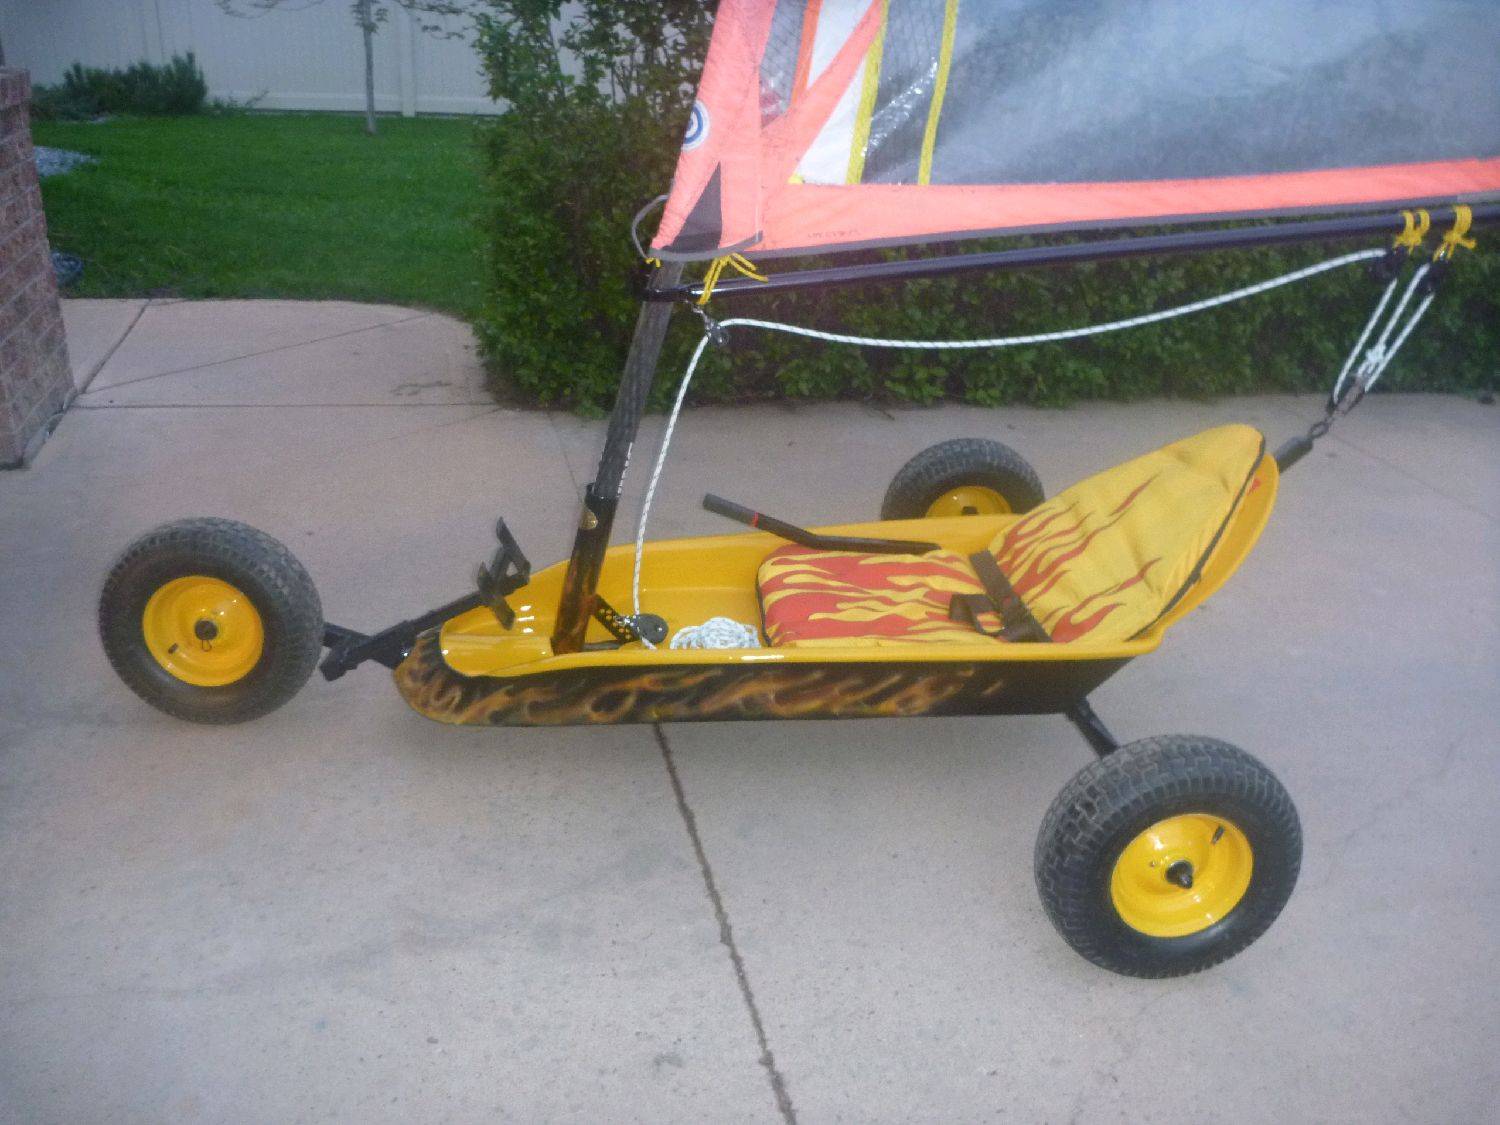
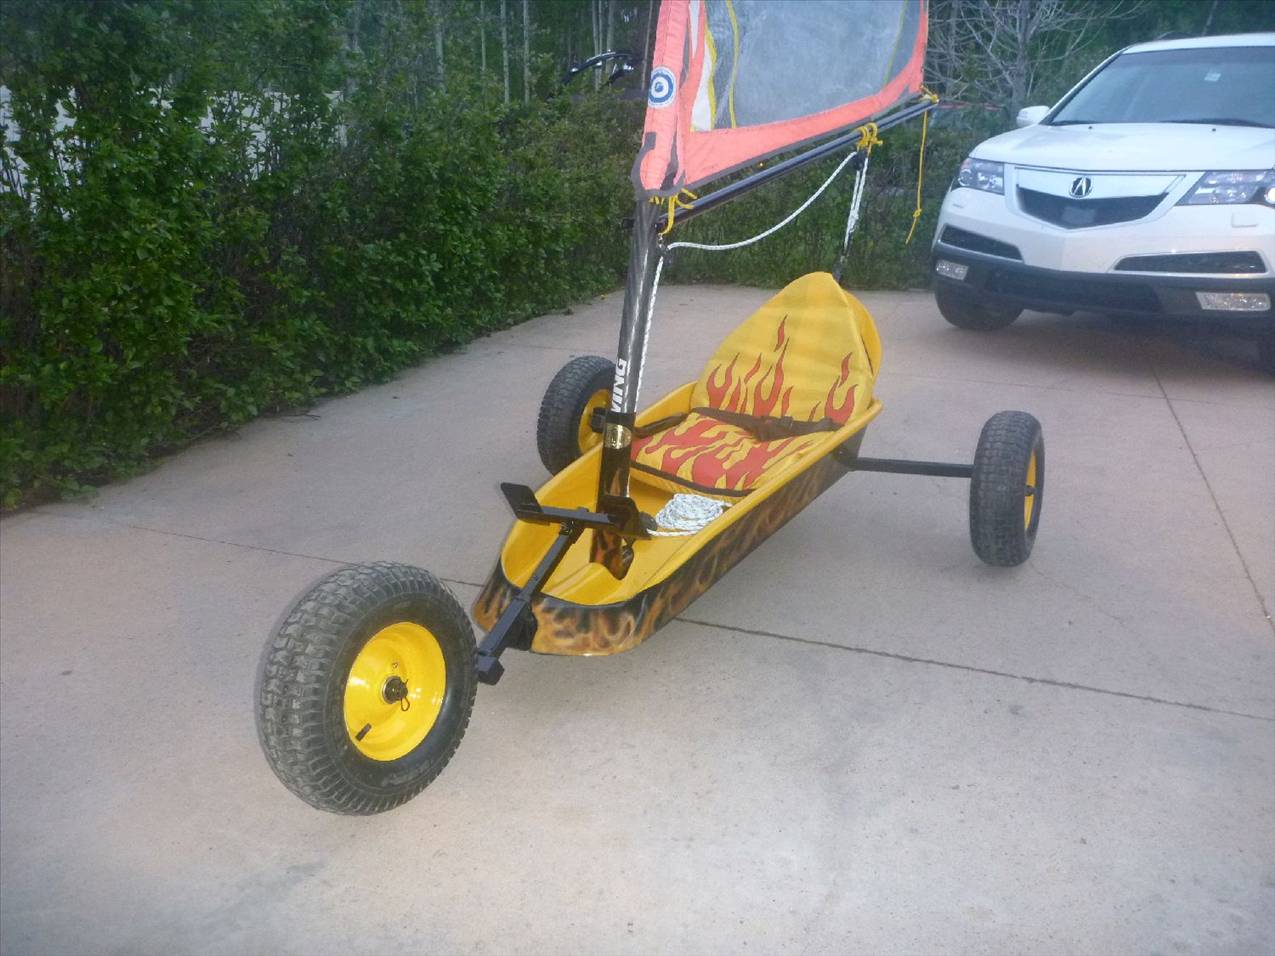
Going to photograph my mini in the afternoon to highlight the details.
Brian
When I started this build, I just wanted to build a landyacht so I could try out this sport. As I progressed and received feedback, I changed my goal and decided to make a mini that looked like it was commercially produced. To do this I had to read and learn. I had only tried spot welding, had never worked with fiberglass and had never airbrushed. To top it off, I have only seen a landyacht once, a Blokart in Bonaire where we rode in a circle for 45 minutes.

Thanks to your help I think it turned out pretty good.
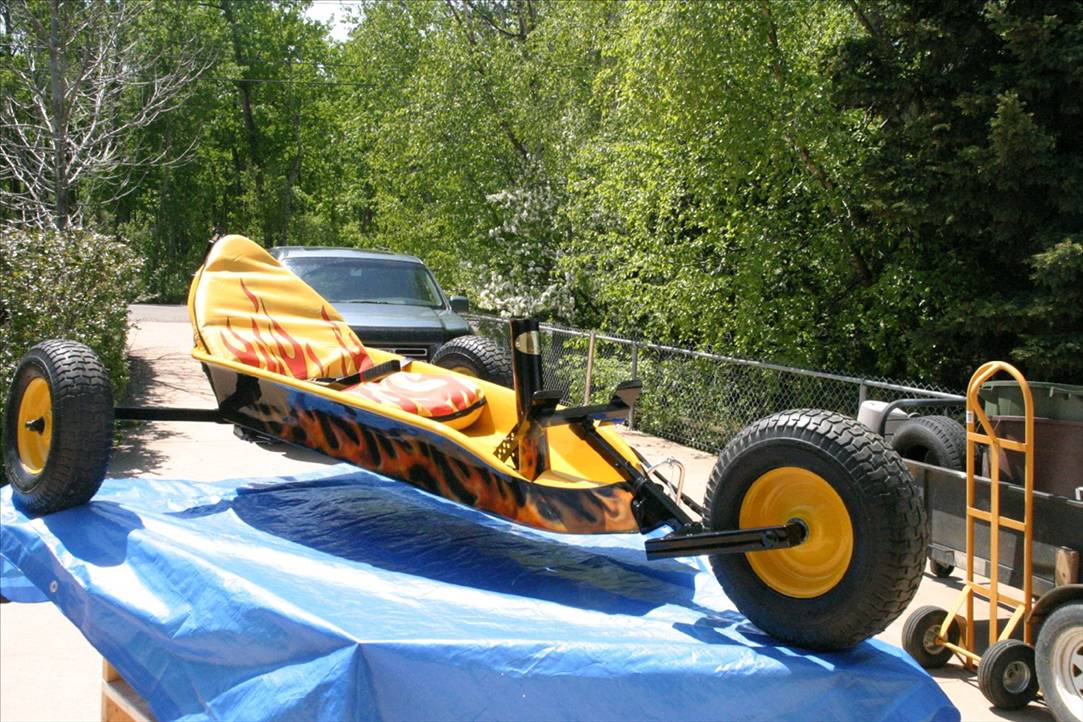

Bought an airbrush off ebay for $1 (19.99 shipping). watched some U tube and gave it a go.
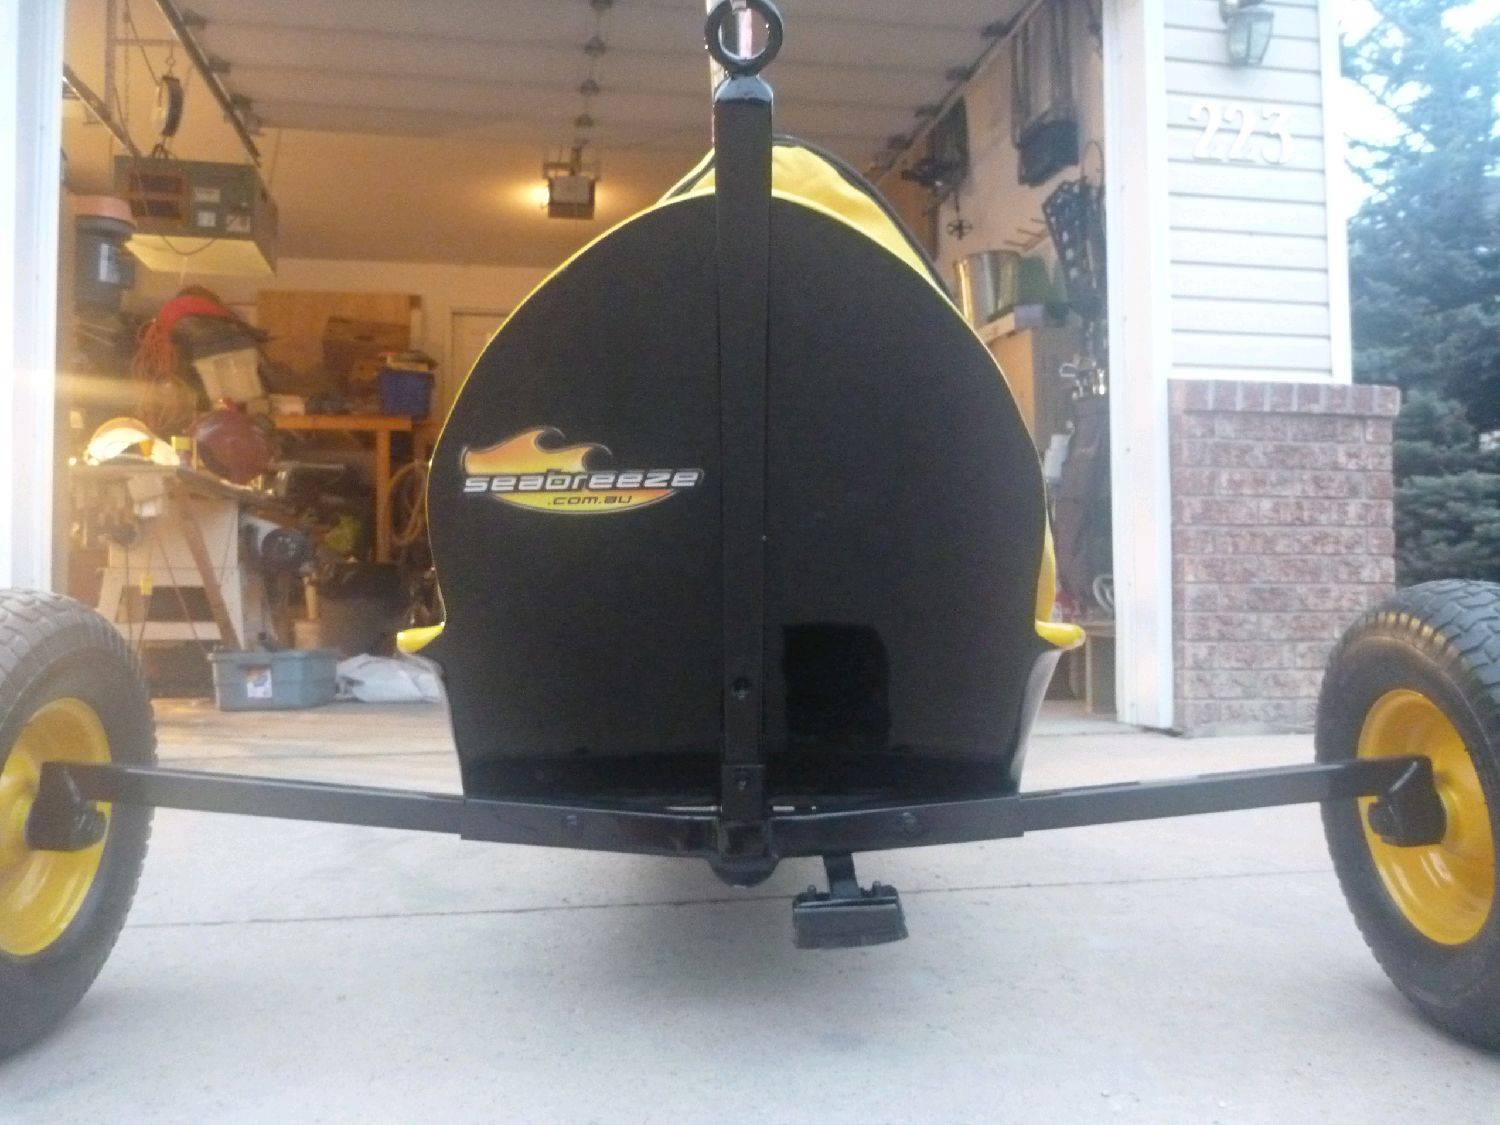
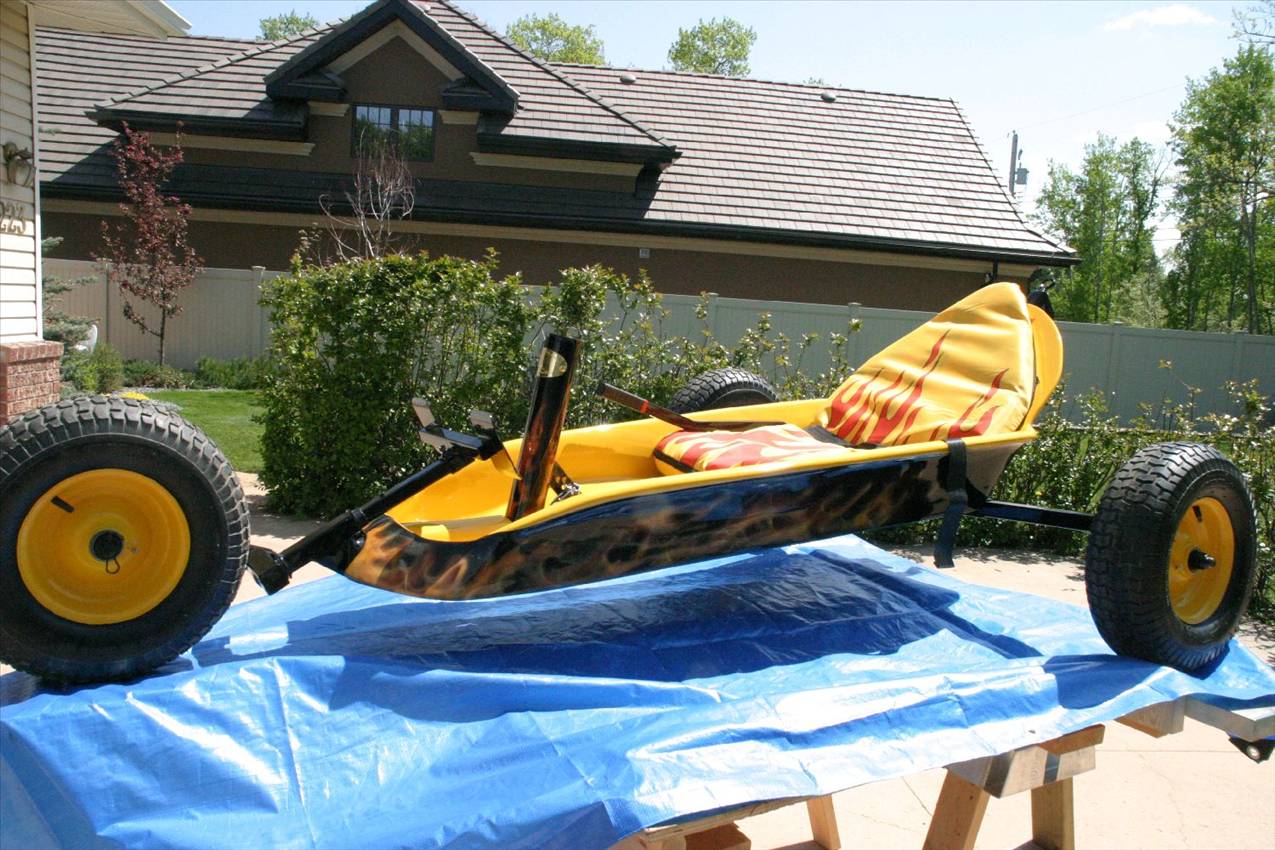
Had to put the Seabreeze Logo on the back. Room on the right to put a name...Suggestions?
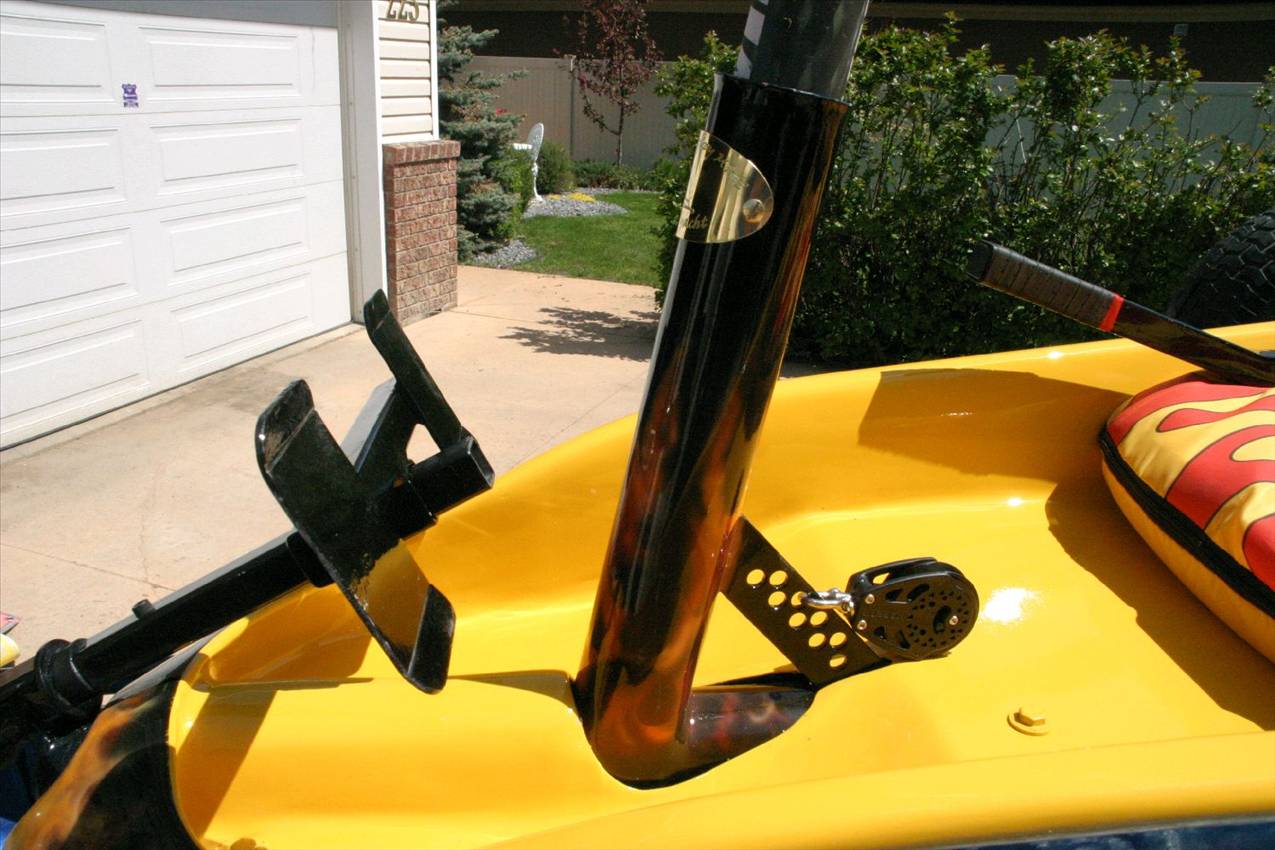
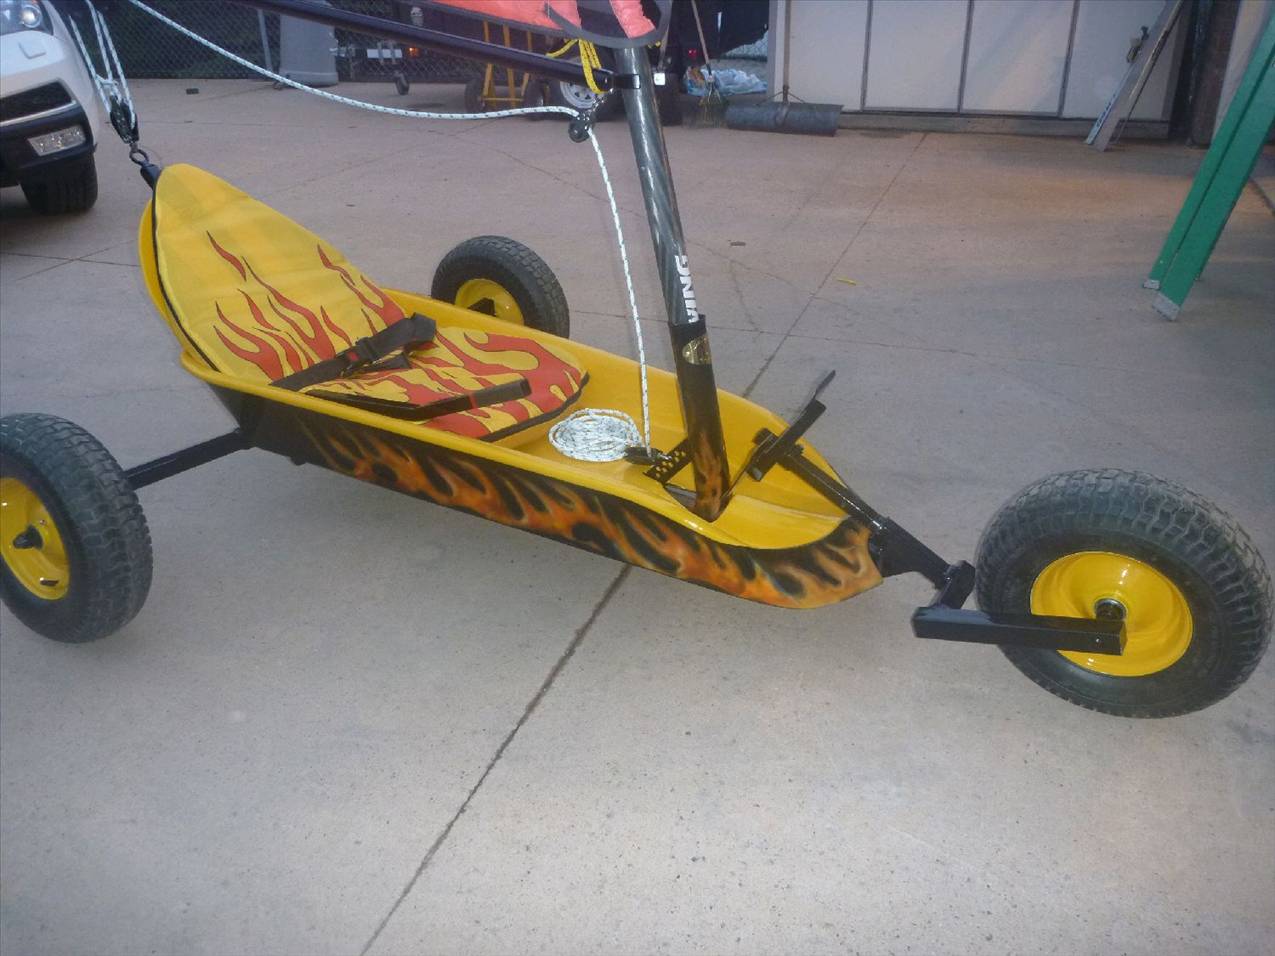
Wanted the flame to come up through the middle. Inside the mast step is a thin teflon sheet to prevent wear of the mast.
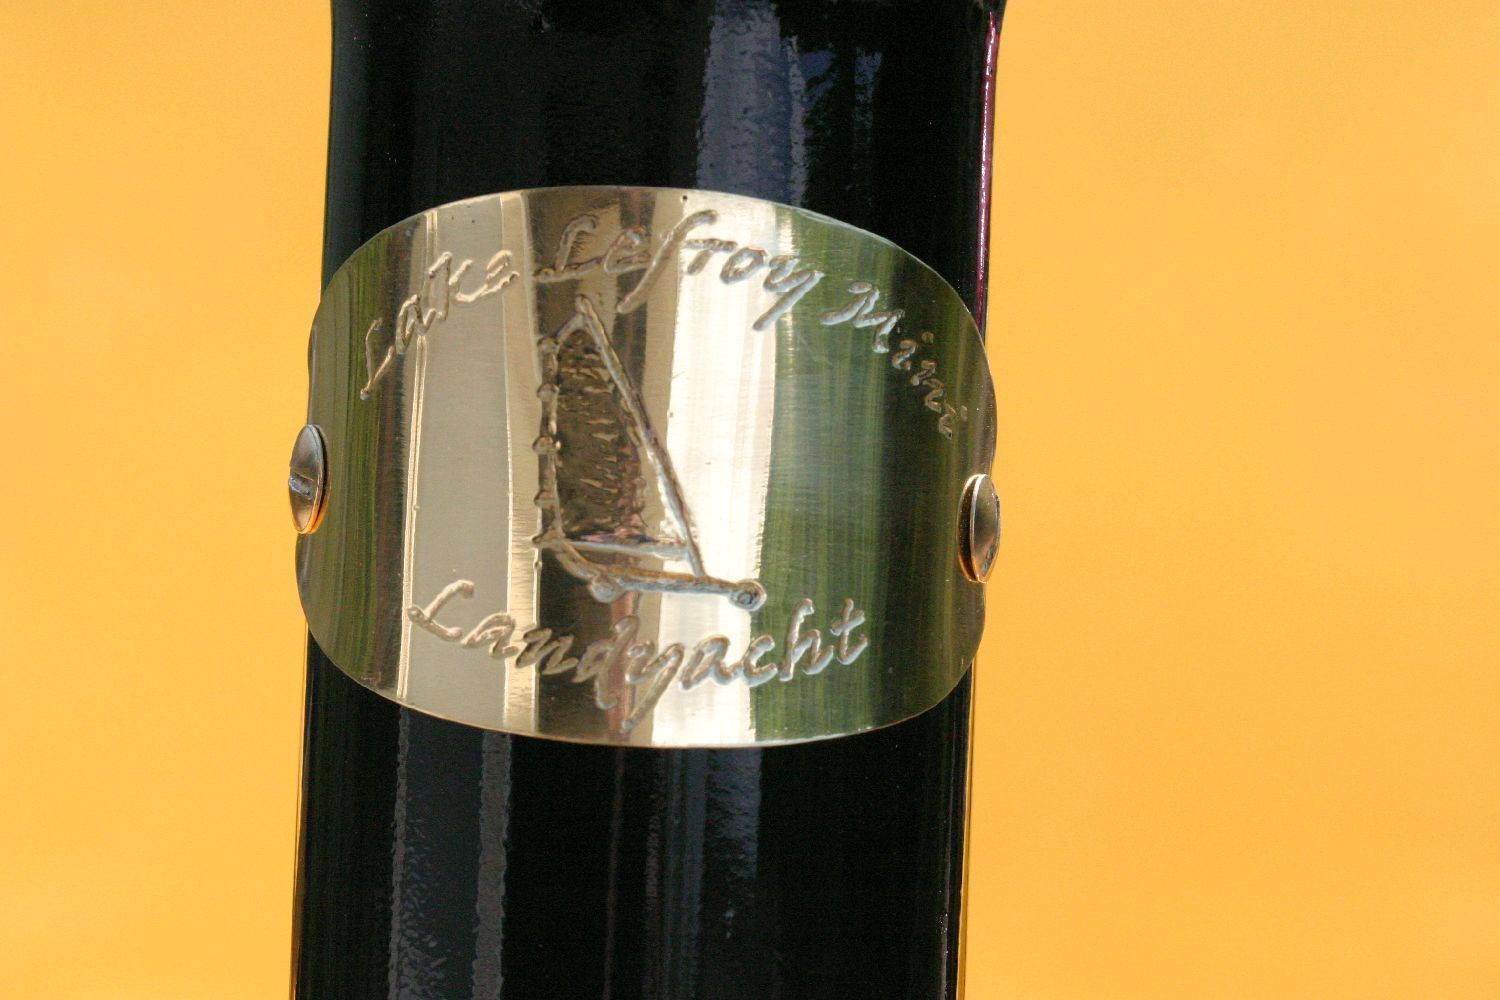
Brass logo made from a chunk of brass plate, engraved by hand.
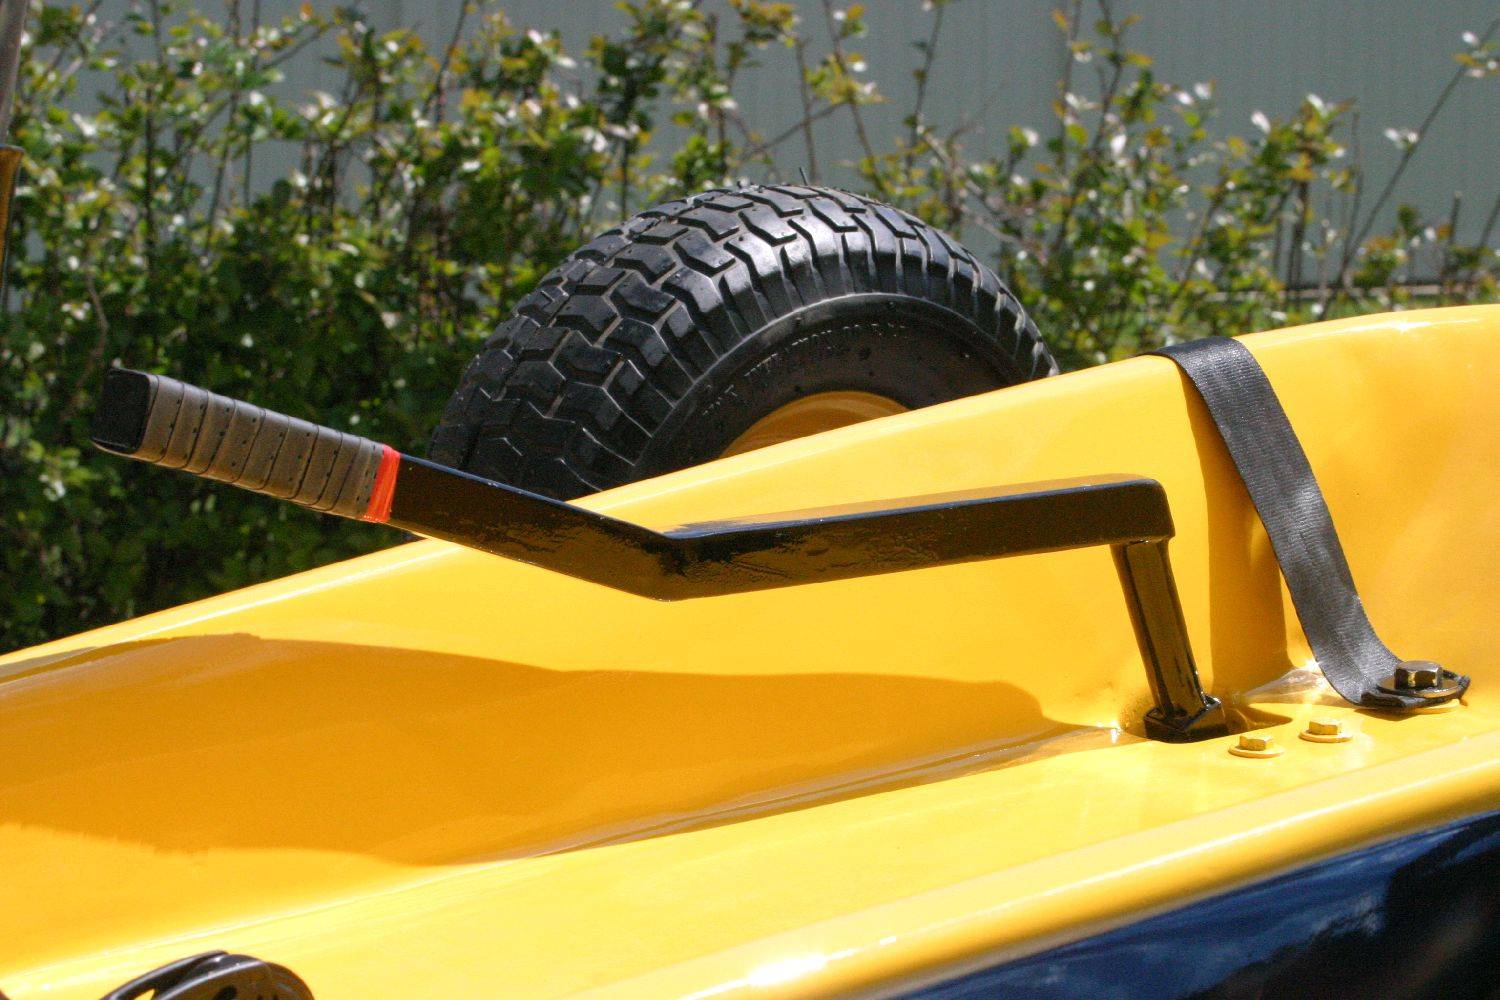
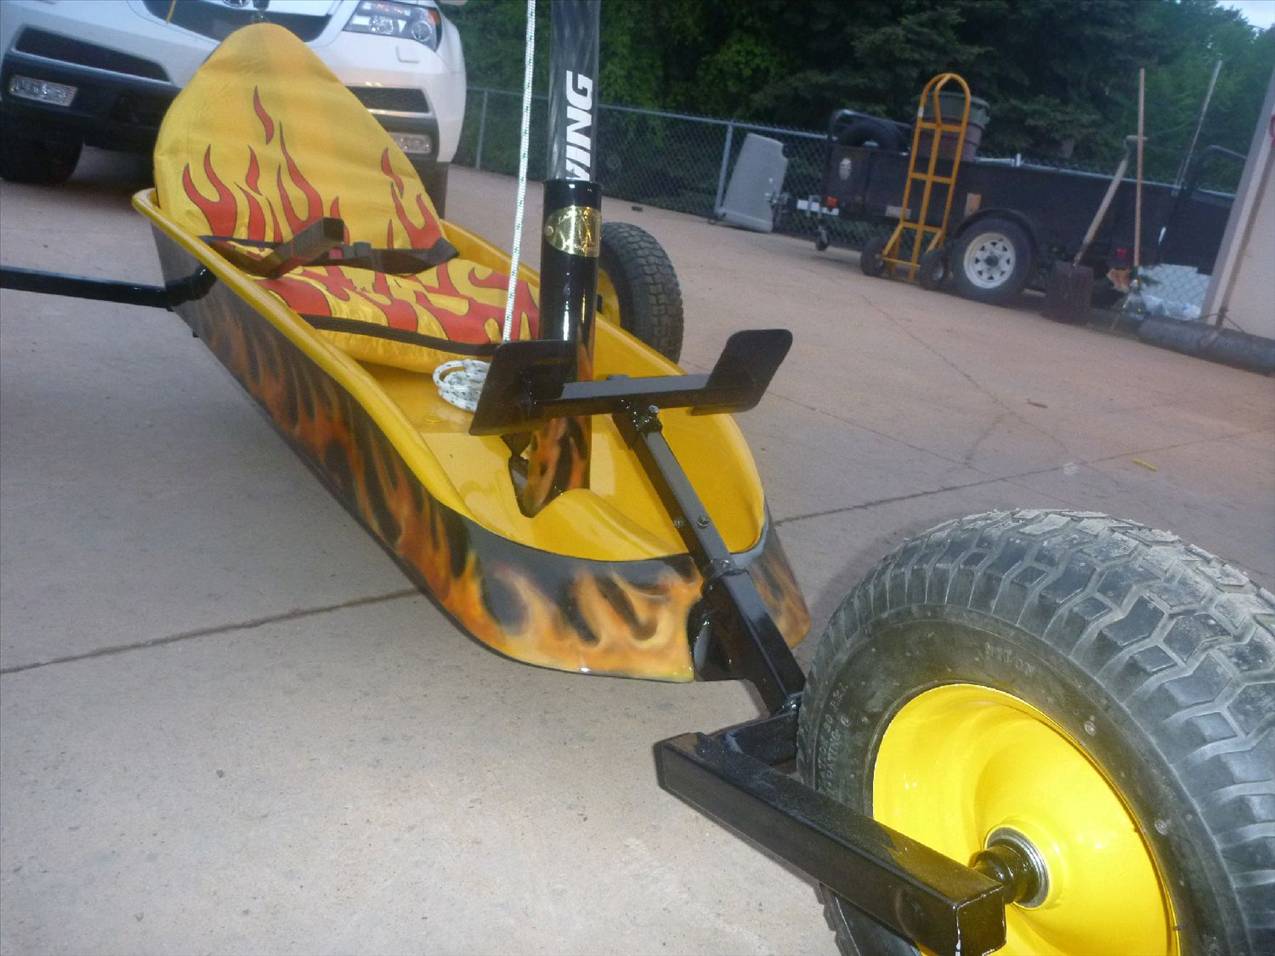
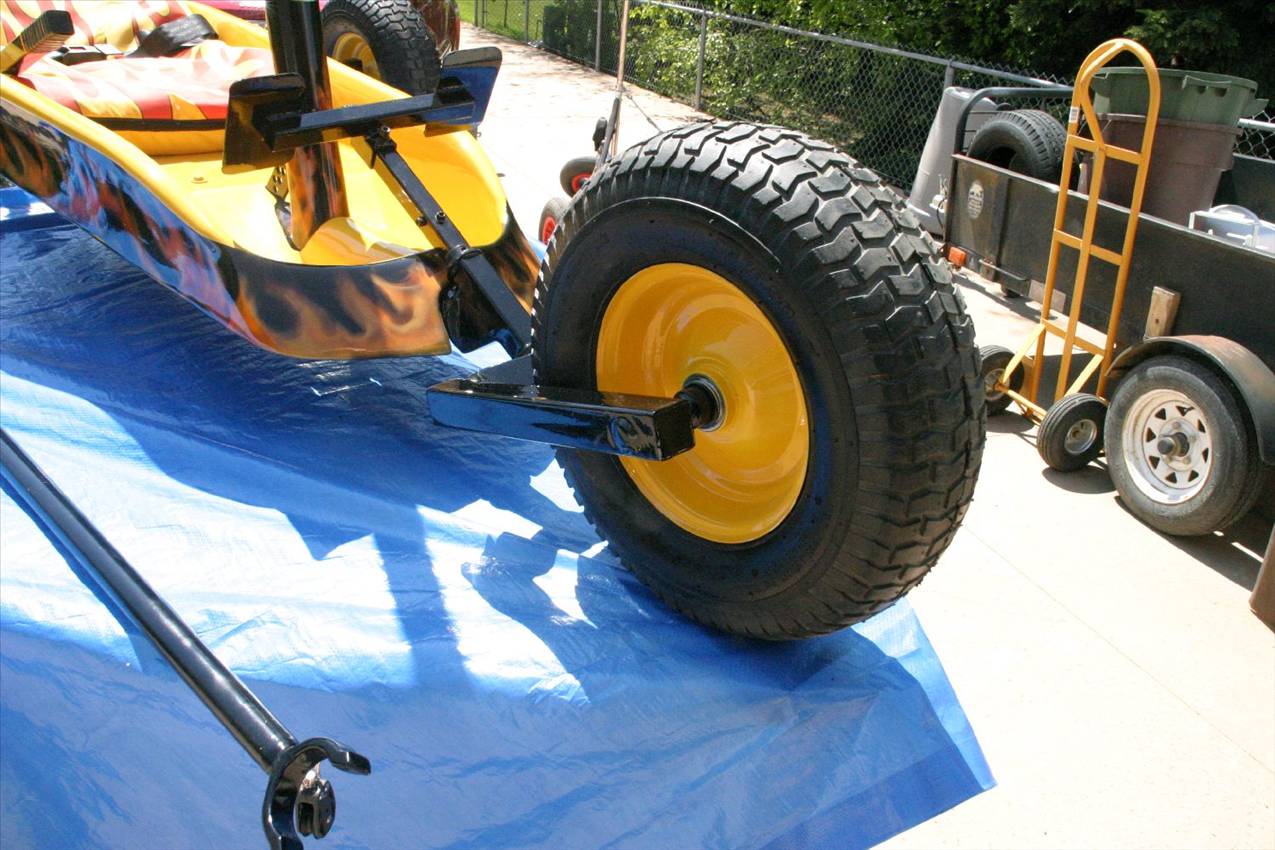
brake lever
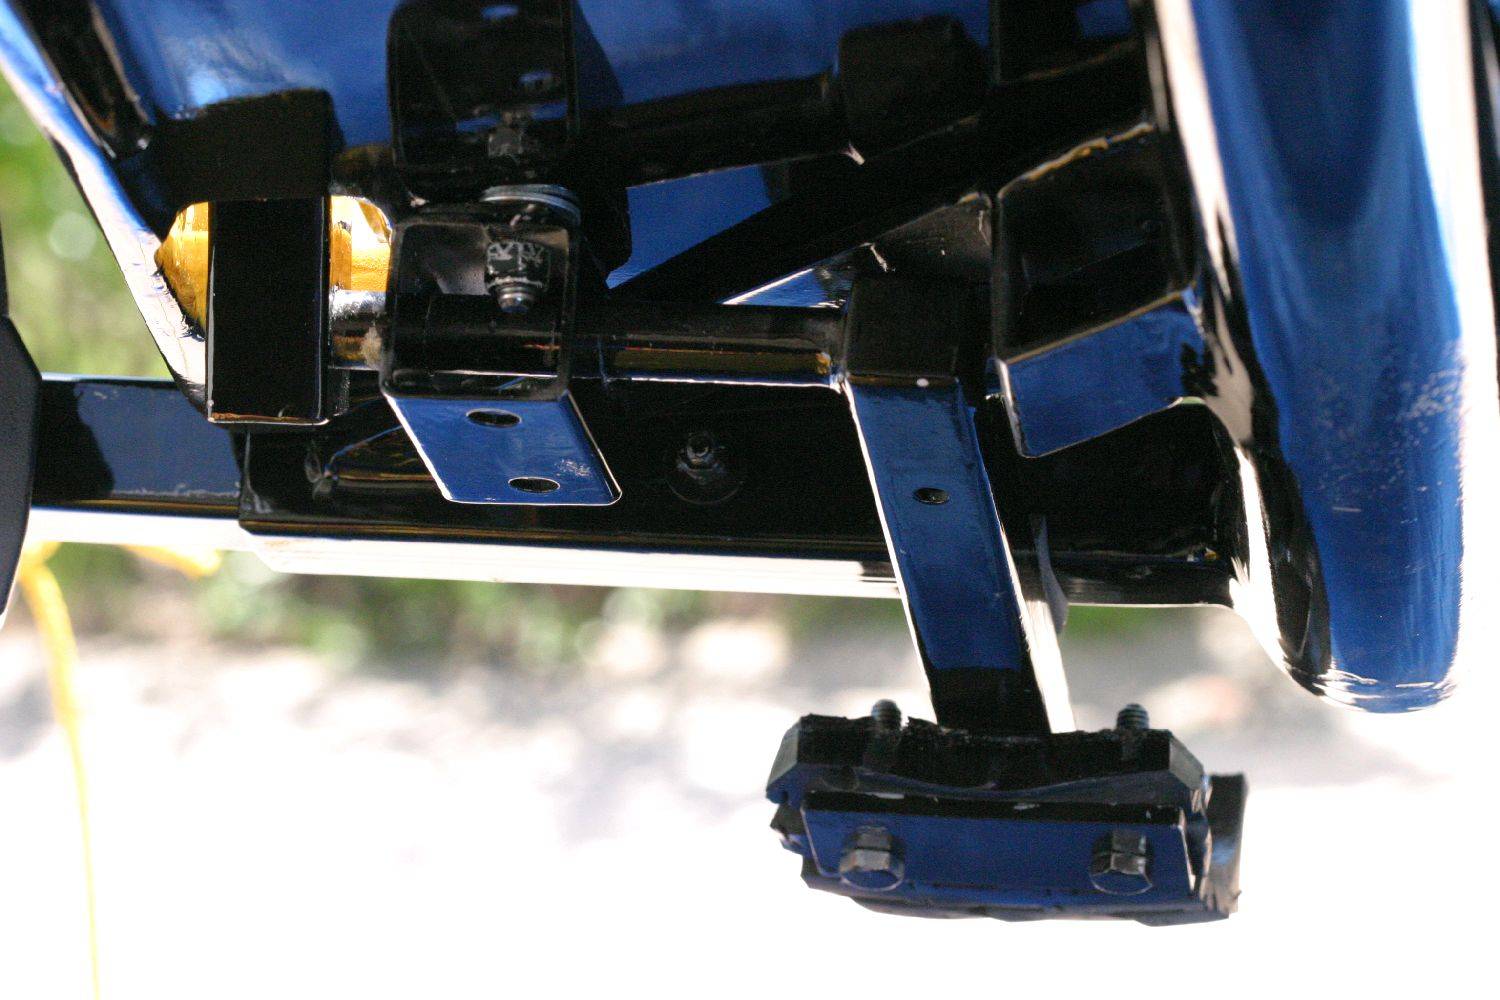
brake assembly
The boom is made from aluminum. The end is formed from a solid piece of 3/4 inch aluminum. I will be making a plastic insert for the end to reduce wear on the mast.
Hey Brian,
When are you coming over to Tasmania??? Let me know so I can be there to give you a Bloody Good SLAP!!! That Brass Plaque is just a bit much for me to handle![]()
![]()
![]()
Ron
PS I got to admit though it look very professional.
I would like your advice regarding the height of my boom. When sheeted in and the sail downhauls it gets pretty low. I think I would like to add about 4 inches of mast extension to help prevent the boom smacking the head.
Is the boom height a problem?
Brian