
I think you will find that laying right back is the way to go. The back part sticking up on Clems yacht is his head rest. I could go to sleep in mine (aus230
it is all about getting it right while building it.Love your work![]()
Cheers
Vic
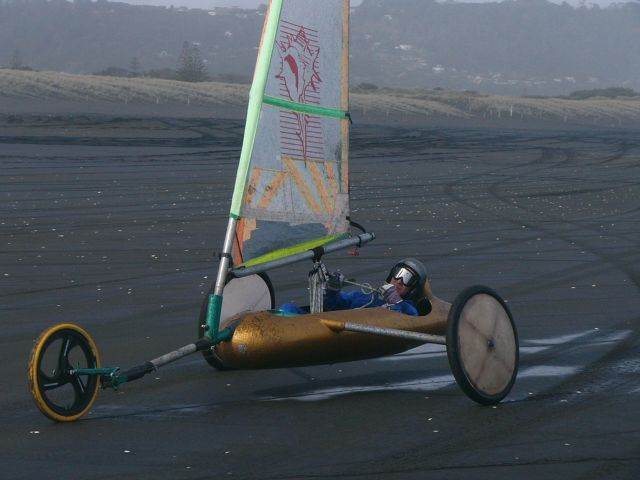
keep in mind that clem is really really small (we think) . he can even fit centre sheeting between his legs on a mini![]()
what size are you?. when you get a 5 just right its amazing comfy. especially on clay. the trick is to have a nice cushion on your neck![]()
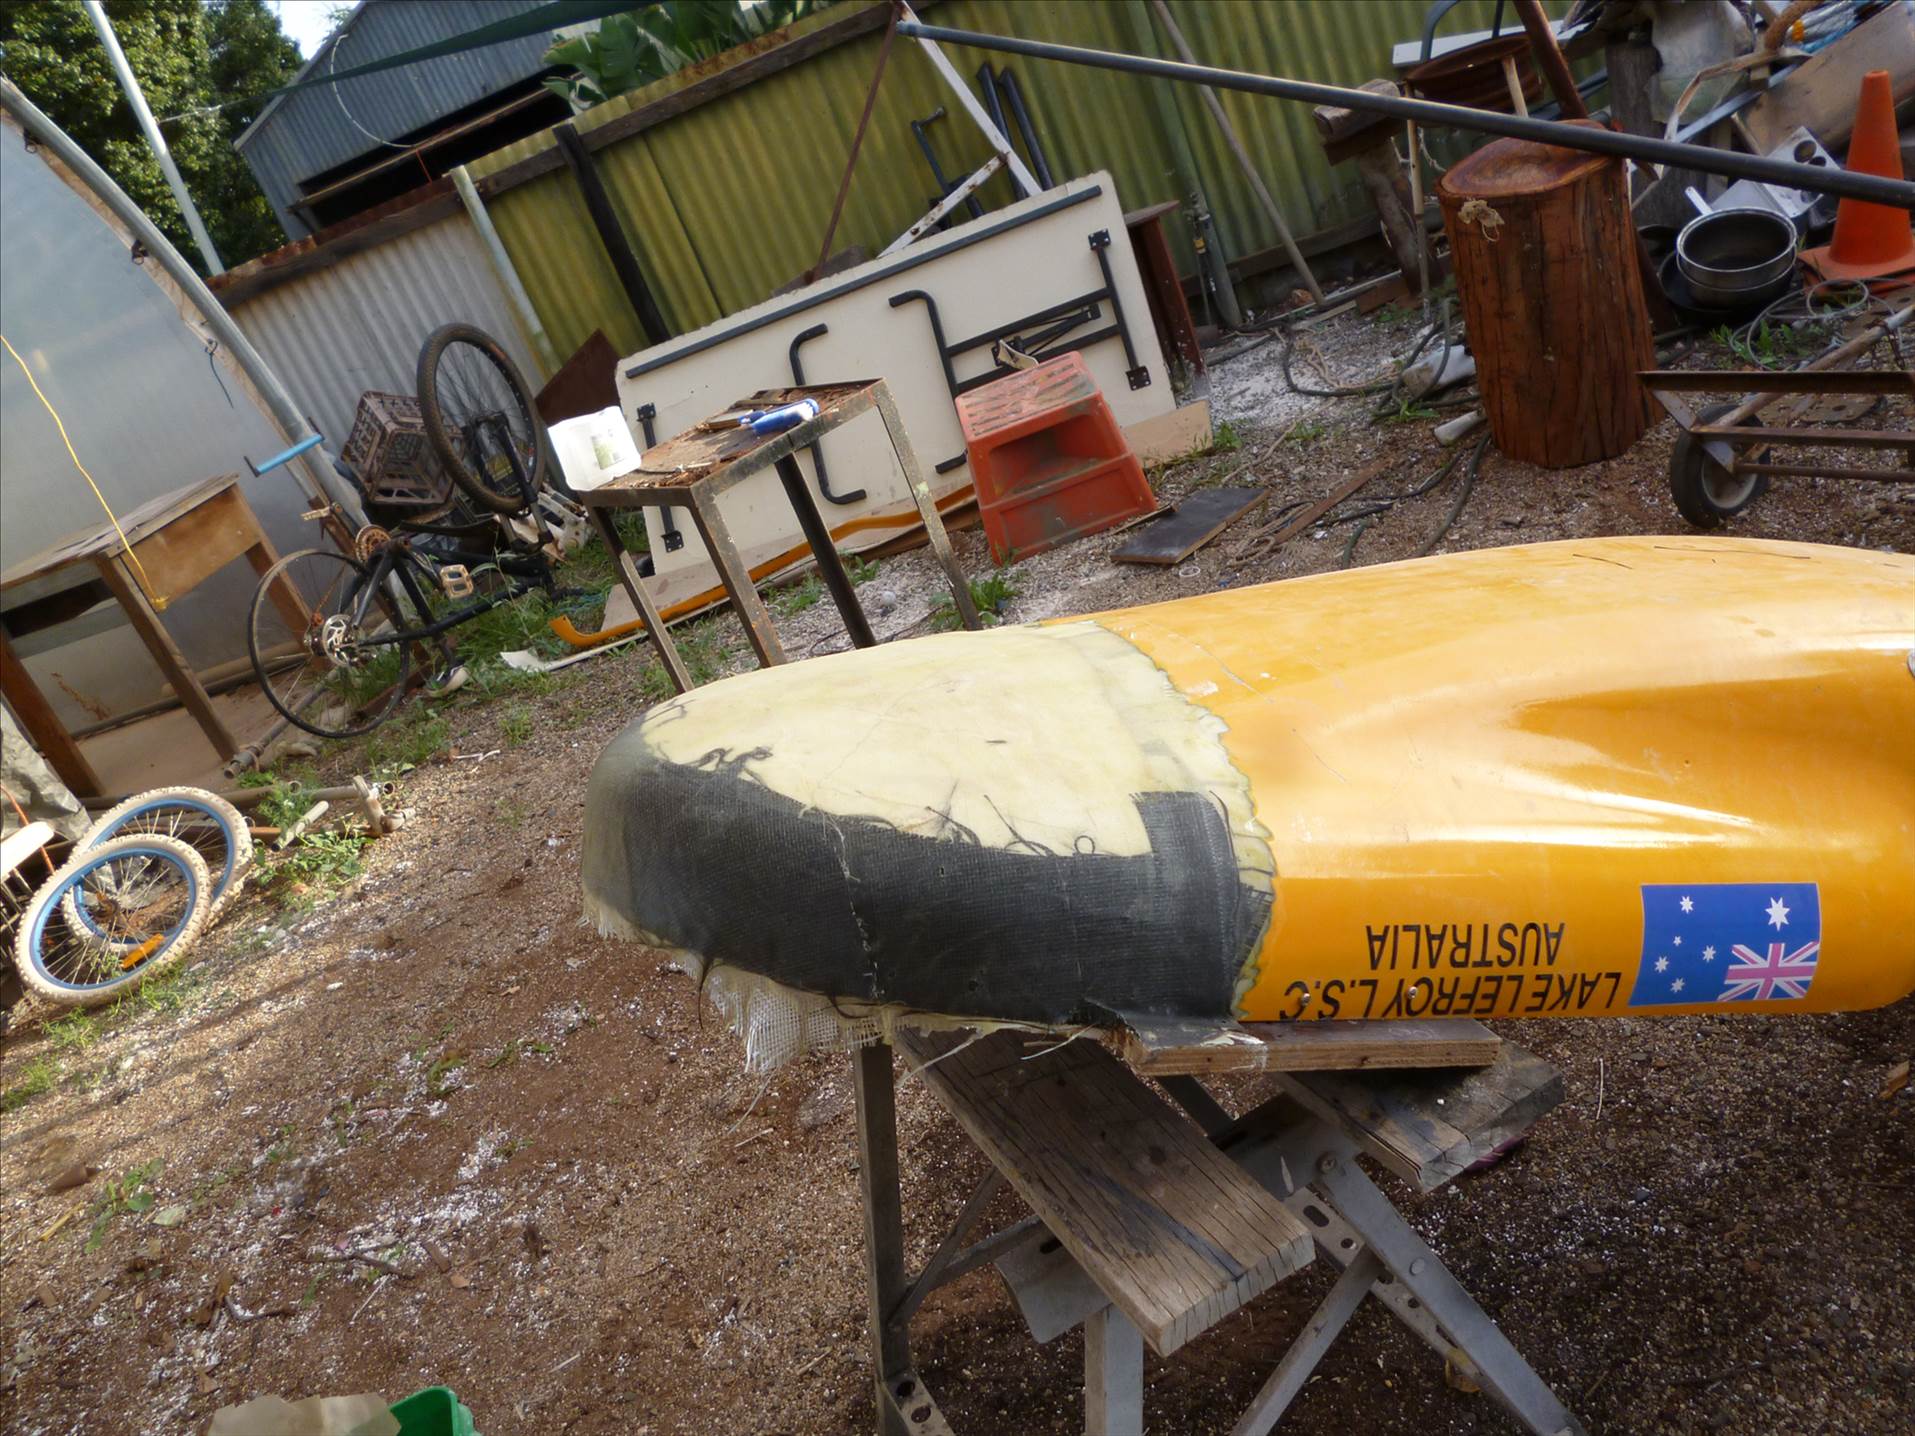
I just wanted to show a alternate way of building a seat out of foam and the ease it is to work with and the unlimited shapes you can build with it. It is very very light weight before glassing and very cheap to buy. A LITTLE MESSY to work with. I keep wondering if it has any possiblities in fabricating light weight wheels by using it to fill in between a widened rim and composite bearing hub and using it to relace the spokes would make wheel building simple. i might try an experiment one day.
Yankeesailor, I like how your foam work is going. Are you leaving the foam as a core, or do you plan to glass one side and remove the foam? When I made the pig, I covered my foam with tuck tape so I could remove the foam easily once my glass was on. Looks good.
Brian
(you should start your own topic)
Select to expand quotesabydent said..
Yankeesailor, I like how your foam work is going. Are you leaving the foam as a core, or do you plan to glass one side and remove the foam? When I made the pig, I covered my foam with tuck tape so I could remove the foam easily once my glass was on. Looks good.
Brian
(you should start your own topic)
My plan for now is to leave the foam in as a foam sandwich construction
Select to expand quoteyankeesailor said..
I just wanted to show a alternate way of building a seat out of foam and the ease it is to work with and the unlimited shapes you can build with it. It is very very light weight before glassing and very cheap to buy. A LITTLE MESSY to work with. I keep wondering if it has any possiblities in fabricating light weight wheels by using it to fill in between a widened rim and composite bearing hub and using it to relace the spokes would make wheel building simple. i might try an experiment one day.
I suspect using the foam as a fill in the wheel building instead of ribs would be a great way to go.
I would suggest that it may be too thick for leaving in the seat. maybe thin it out to 20mm thick.
many years ago i built a seat from offcuts of 20mm decking foam from an americas cup yacht. it was tough enough for them to put a layer of glass each side and then use as deck hatches etc.
the seat worked great but one day packed in the hold of a british airways jumbo they managed to snap it clean in half.
even after reglassing it was never the same. certainly around any stress points you'll need to remove foam and replace with maybe woodblocks or some kind of filler
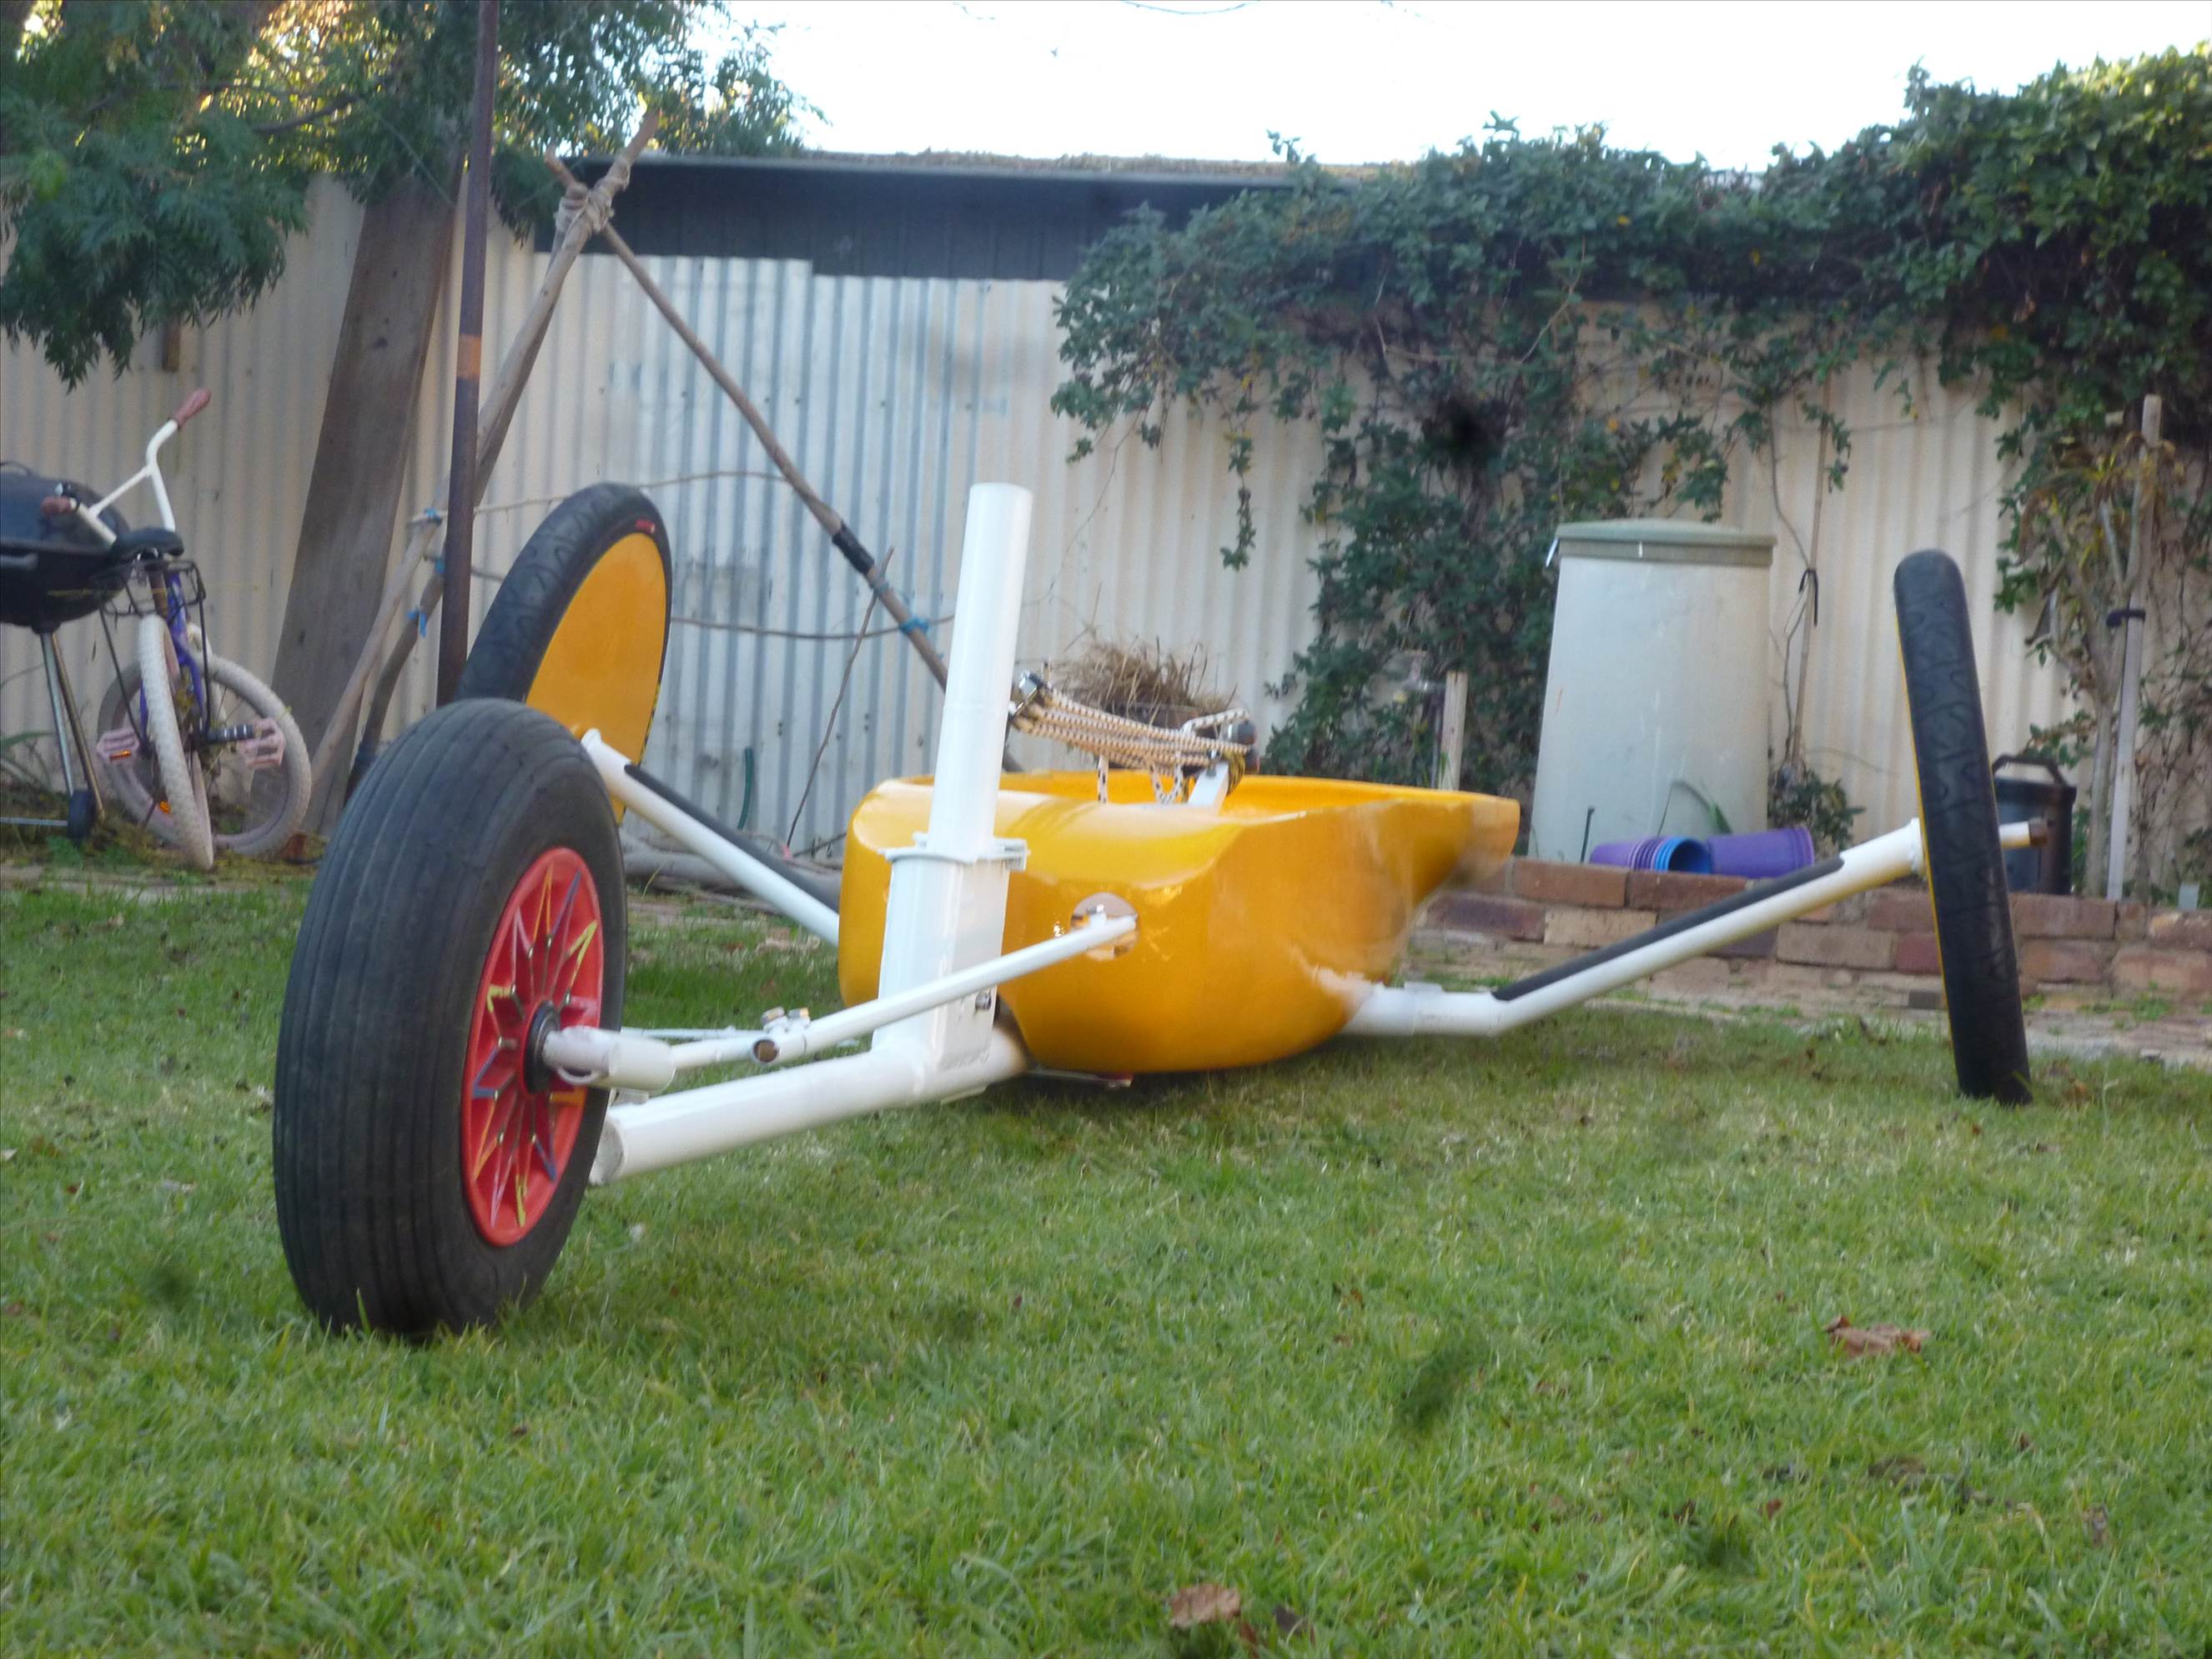
well with all the distractions this year it took a while to put together a 5 for september, but i finally got it all together.
the 5 i took to france got binned(free chassis anyone)
i recycled the seat/pod but really chopped it up .reducing the height by 60mm and extending the rear by 250mm ,for a more european feel![]() and to fit a mega cushion for sleeping in on the long legs.
and to fit a mega cushion for sleeping in on the long legs.
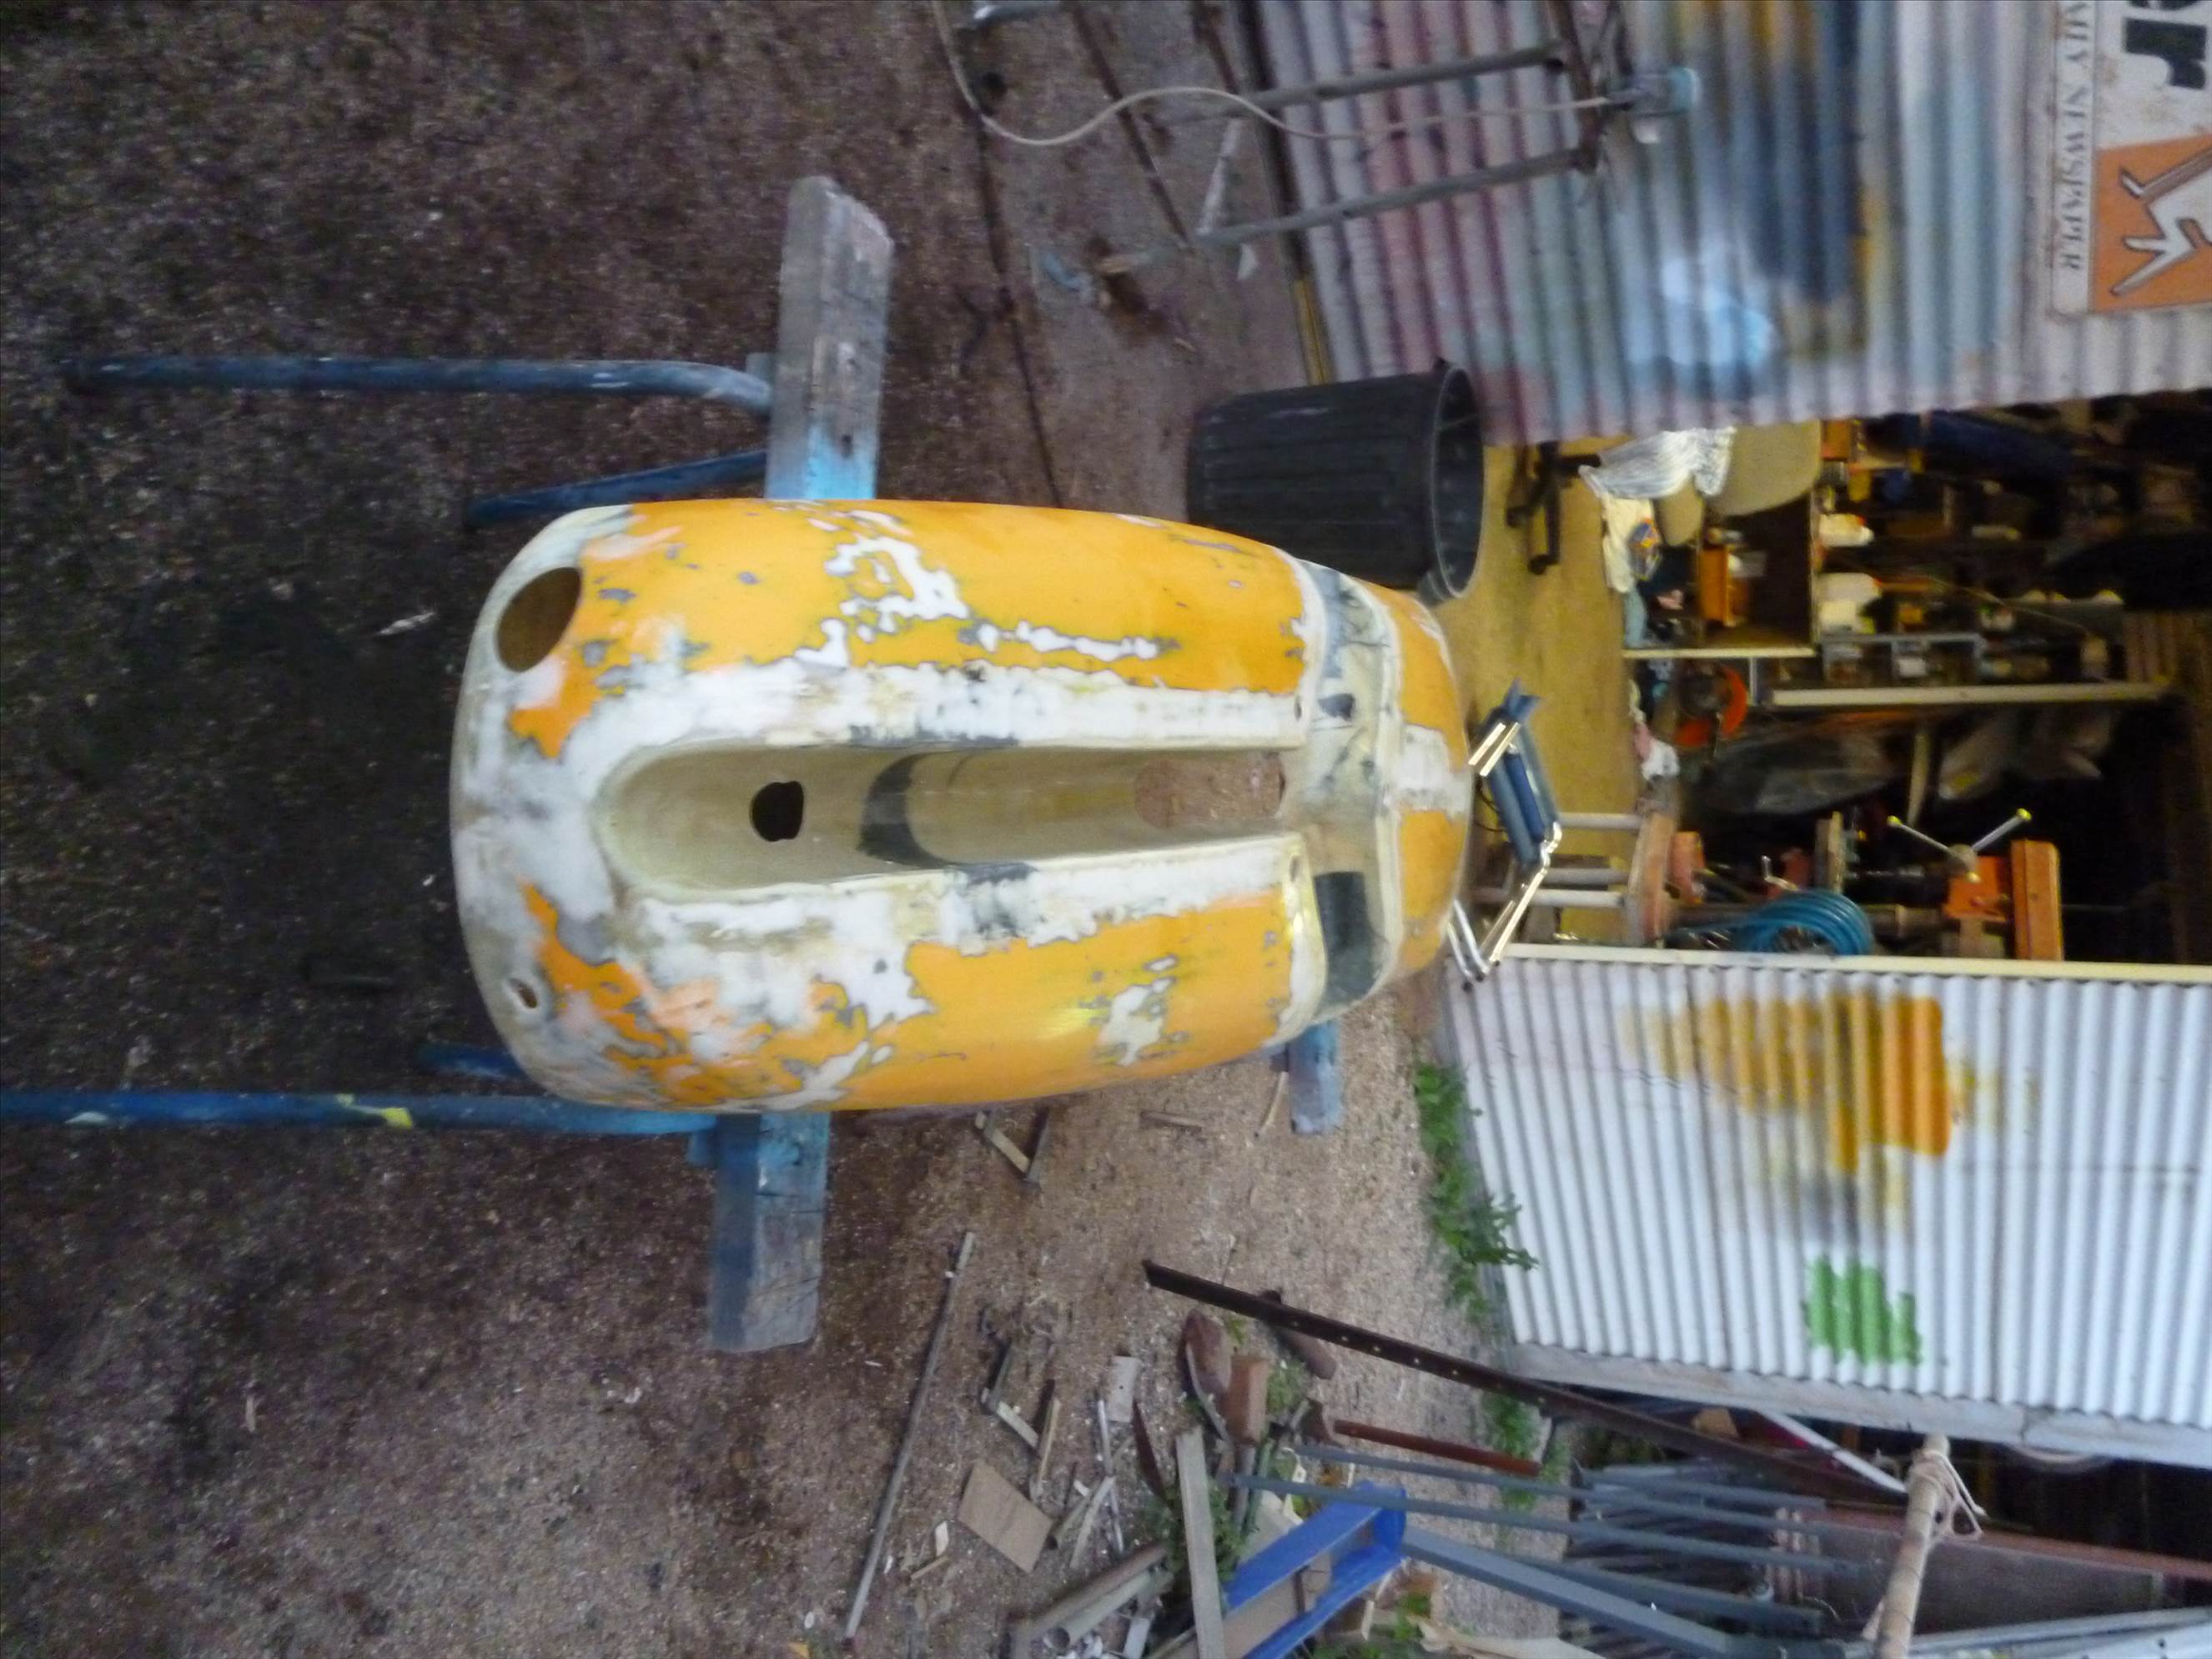
intenallyy its all cleaned up and the pedal adjust ment is set with bolts rather than a rope and pulley set up.
i managed to retain the 400mm movement in the pedals though.
gone for a solid steering rod after a couple of bailouts at walyungup![]()
![]()
![]()

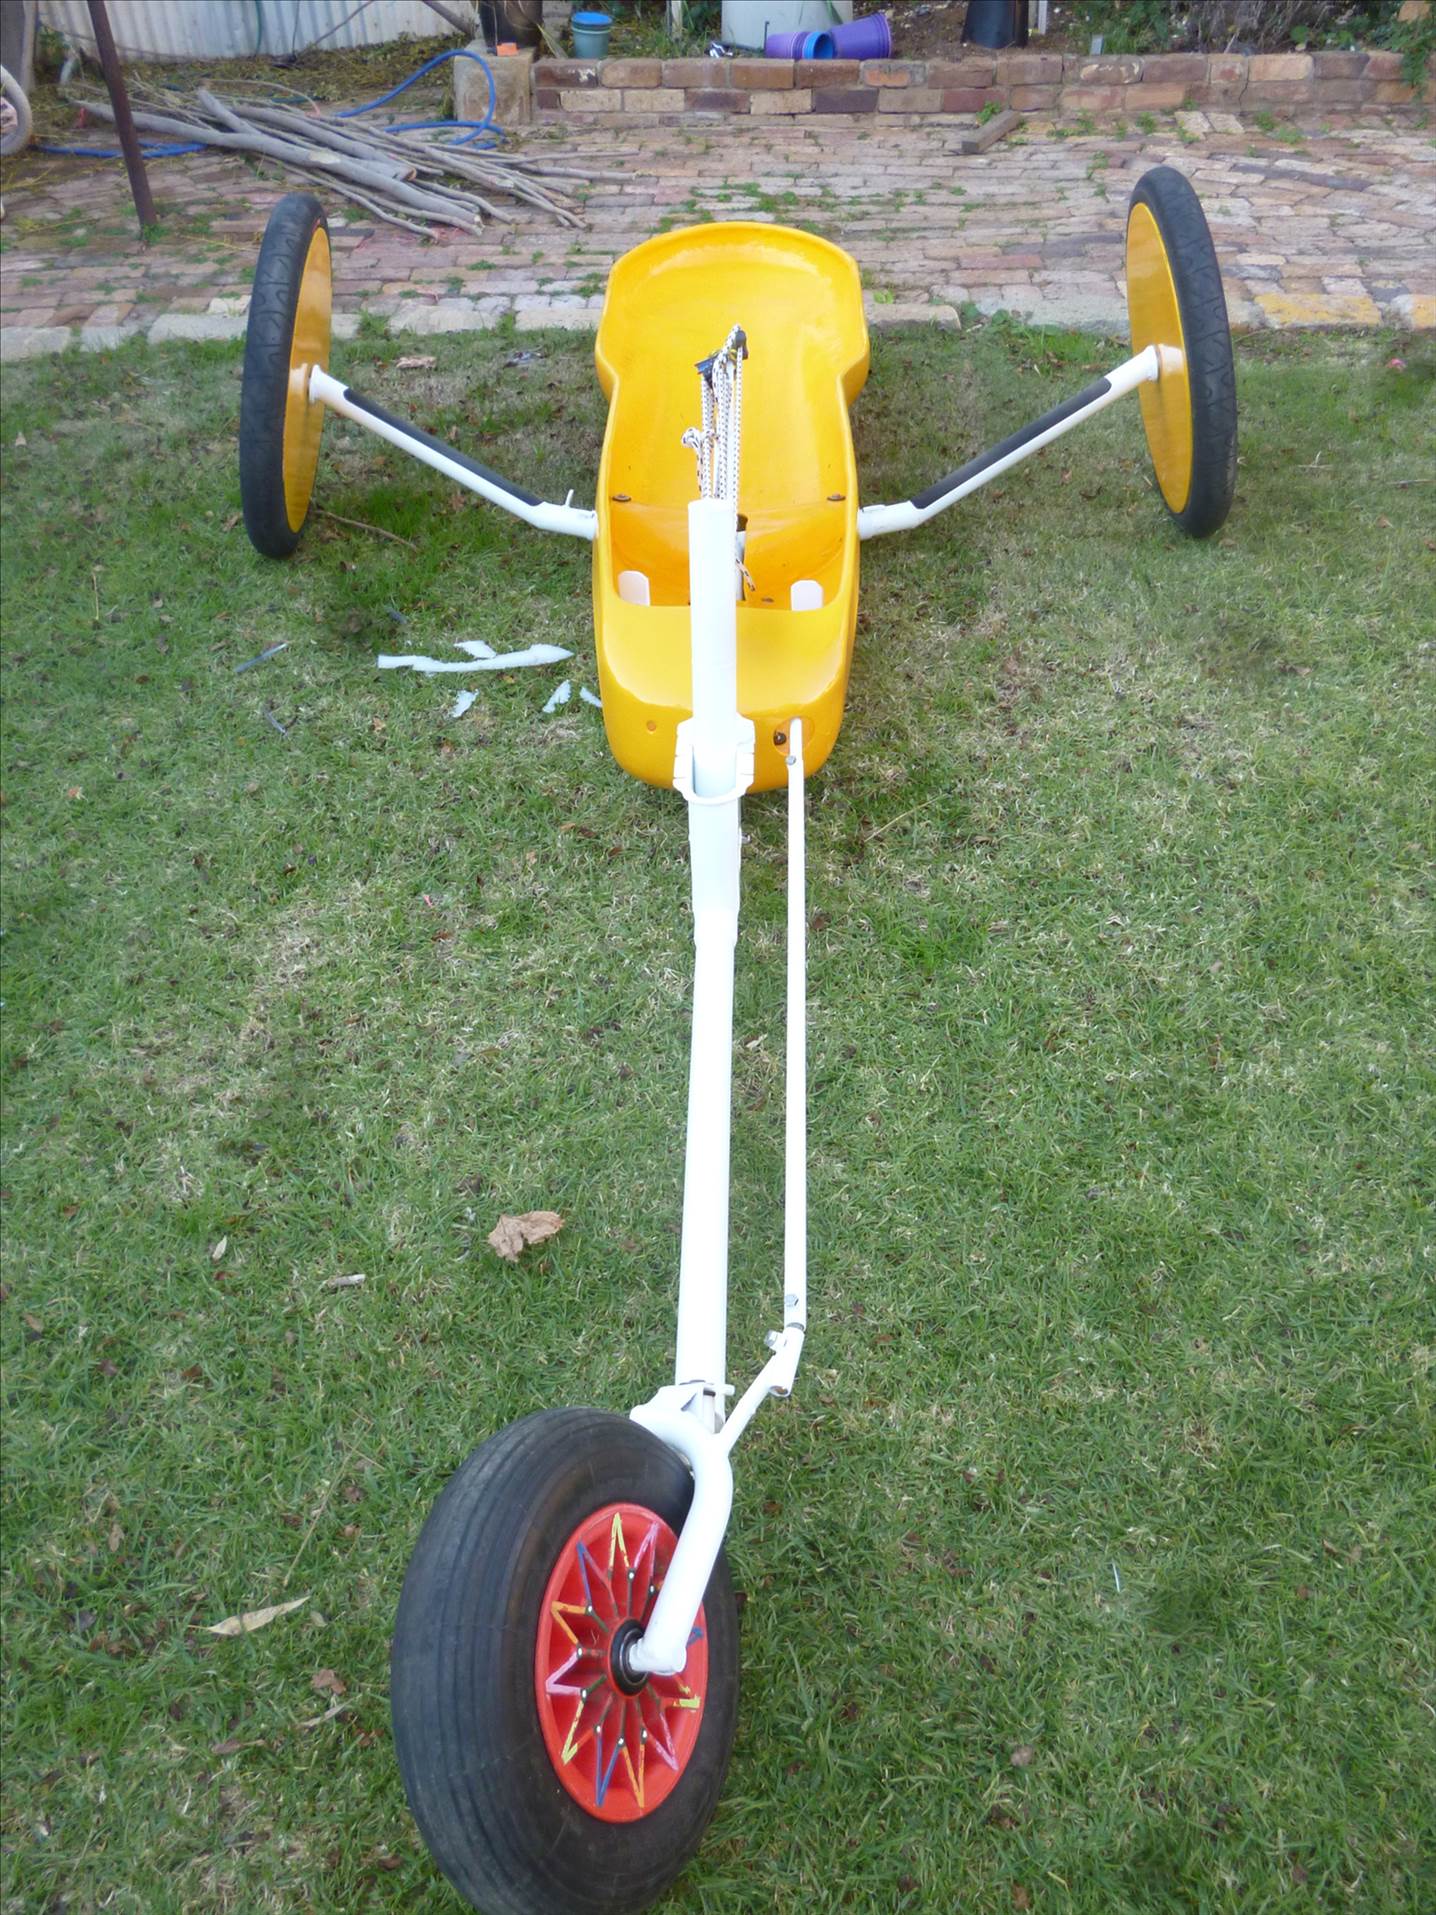
and increased my mast step length to help stabilize the mast when fully sheeted.
gone back to a wheelbarrow tyre on the front to see how it handles the rough stuff .
all we need now is wind and salt![]()
![]()
I couldnt justify starting a new 5 when i had 2![]()
slowly selling off the oversupply of minis, but will keep sailing spirit of stupidity till barry beats me on a regular basis![]()
theres a couple of really nice y frames around town that i think will smoke me with a good sail![]()
I was planning a sail on the weekend but its starting to rain as we speak and the big july winds are just starting to kick in
mast stepmight be too long but ican cut it down
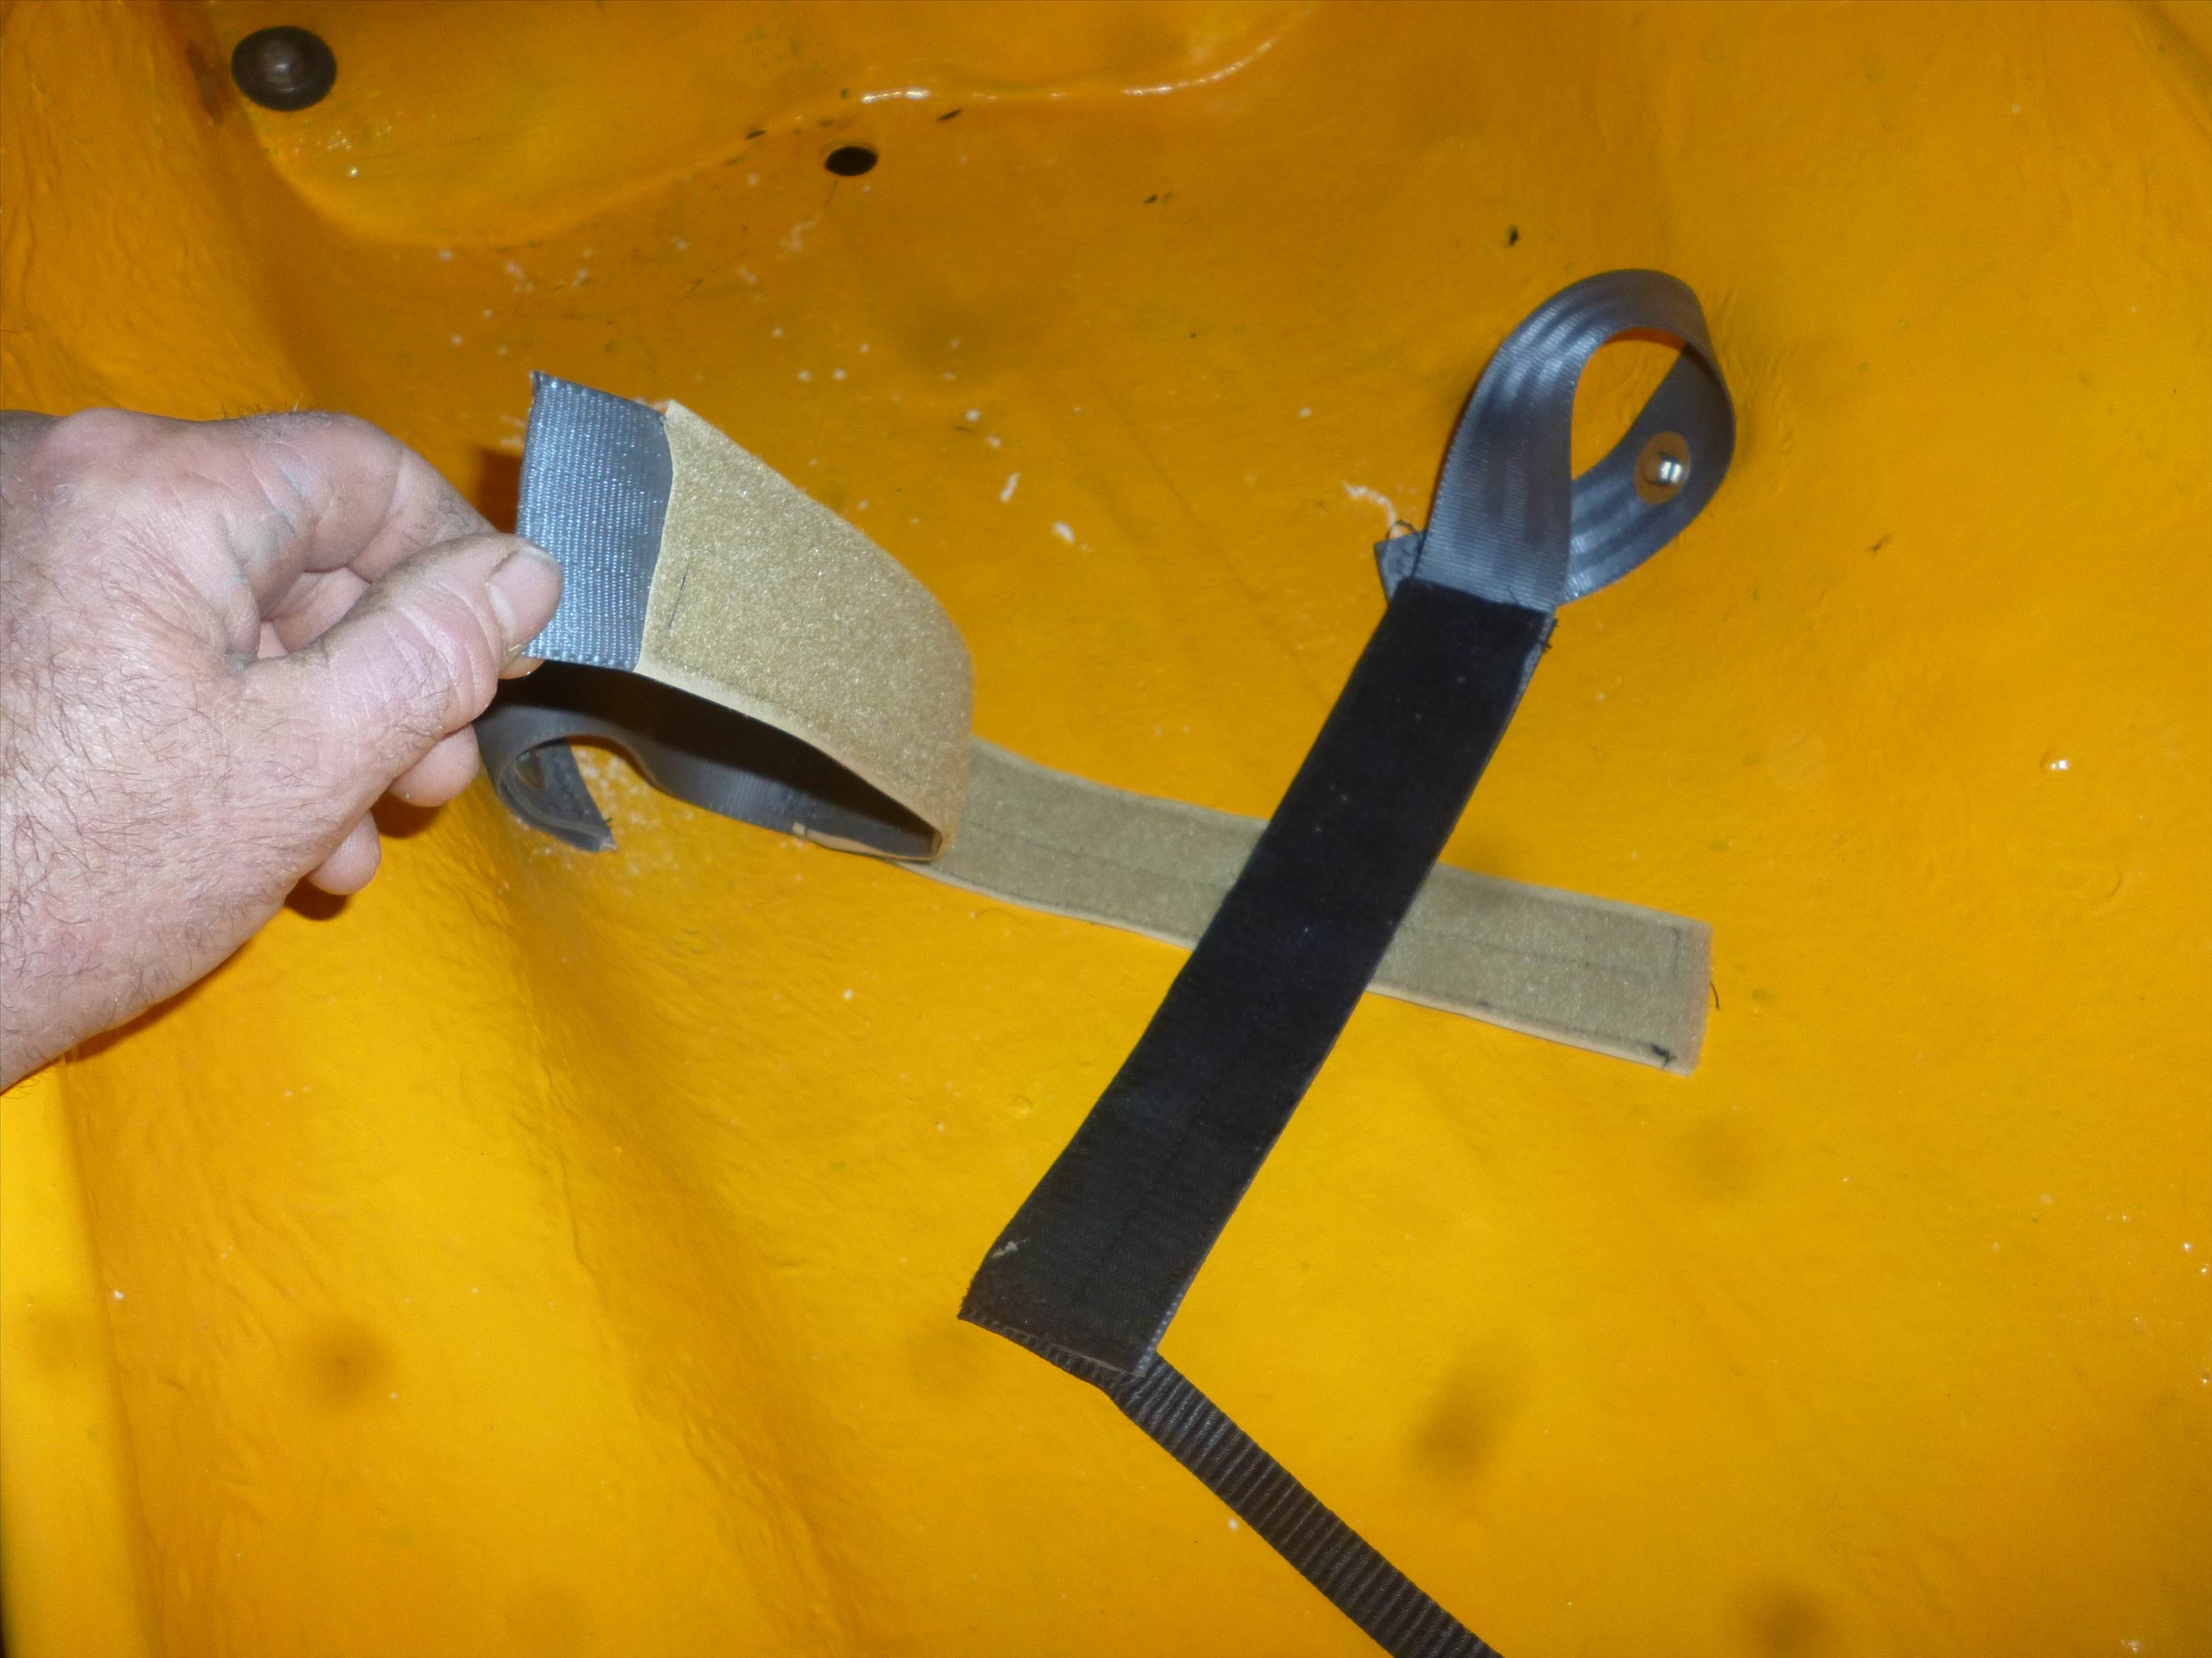
here we are at the end of the month and the landsailing gods are still against us. we seem to have wind OR lakes but not at the same time. new 5 still hasnt sailed. last week I sorted the head cushion and the seatbelt. Ive finally run out of car buckles ,so lil stig has been fitted with a divers weight belt ,fast release,but I decided to play with 50mm velcro

this has a double layer of the hook side in the centre ,300mm long ,witha top and bottom layer of the soft half.
thank you to the kite buggiers for the inspiration.
it doesnt feel like it should work until the load comes on and then its really solid ,but you can simply peel back each layer,and get out with ease
 [/img
[/img
I like that idea, might give it a try(I have been hung up with the car seat belts)
? does it hold when wet.
Select to expand quoteaus230 said..
? does it hold when wet.
They certainly do Vic. Most surf and boogie boards use this on the leg straps. So do the bungy jumping ropes.![]()
Although,,,,,,,, they need a bit of a tap out when full of sand/mud.
There is a formula for the strength versus length, of the attaching Velcro, (I copied a table for 50mm wide, double lapped) but I can't seem to find where I've filed it.![]() Worse still where I found the table. I reckon it was a 3M leaflet, from a trade day we had here in town.
Worse still where I found the table. I reckon it was a 3M leaflet, from a trade day we had here in town.![]()
For a "full rating" 50mm sticky back, requires 5 rows of stitching length wise (A row for every 10mm of Velcro) with a stich length not less than 4mm. I guess they are worried that it will tear through the hook side.
Ive used 3 rows of stitch,4mm stitch length. give the sheer surface area of the velcro ,the weak point would probably the spot where the mounting bolt passes through the carbon reinforced fibreglass body![]()
its slightly fiddlier to put on ,but great to take off,if your hanging upside down![]()


