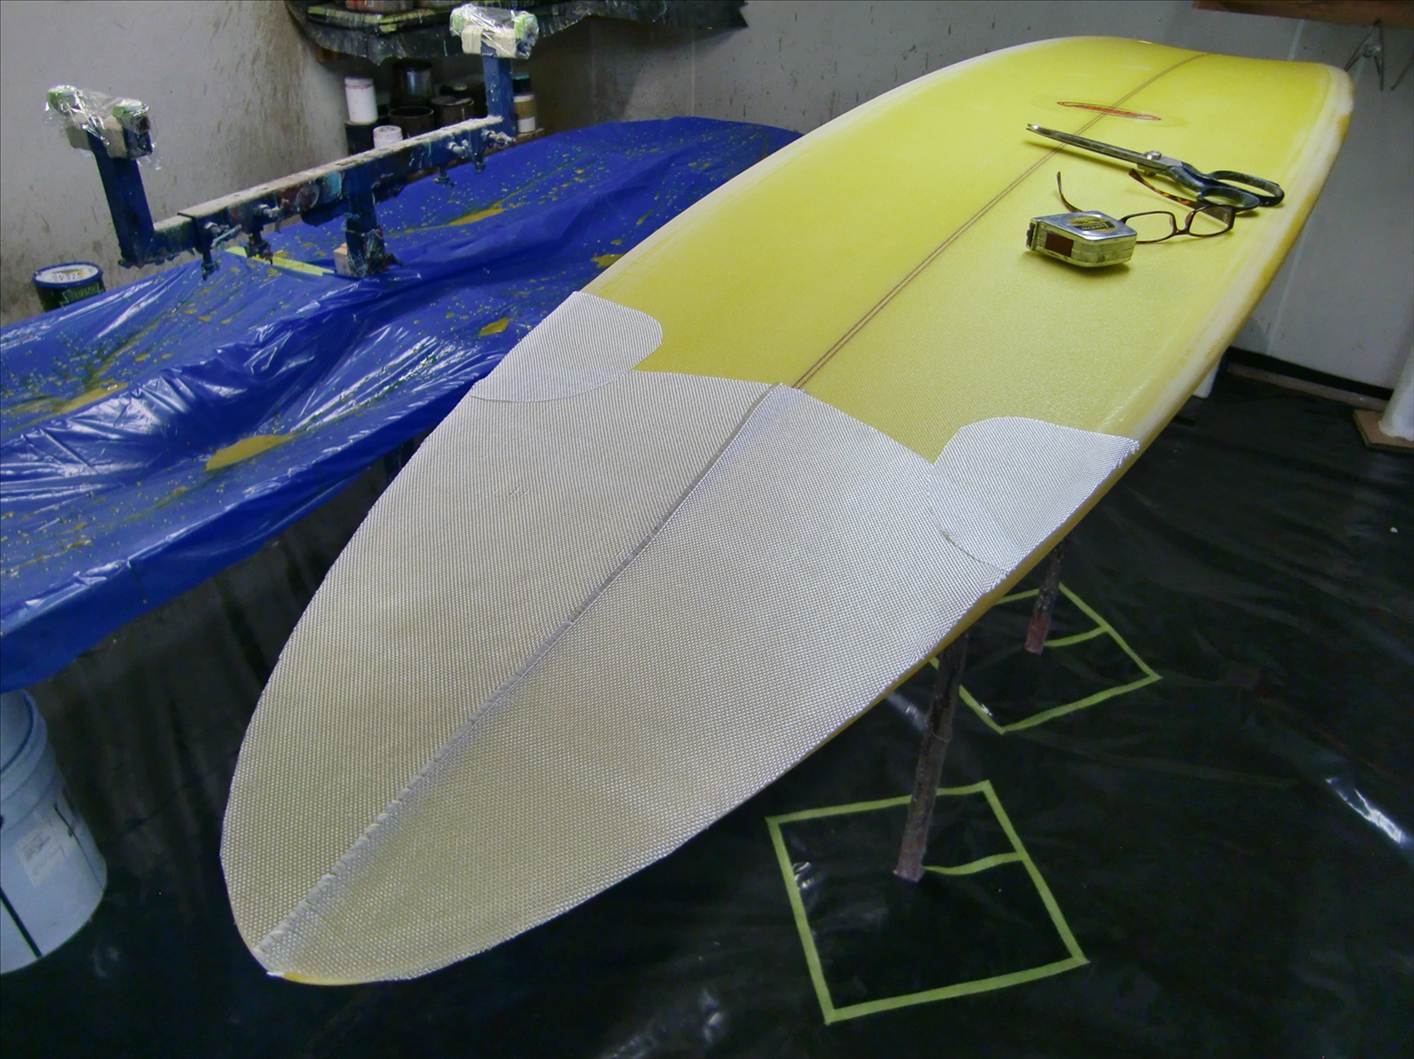
^^^^^ha ha very similar jb...deck goes on now..2 layers of six ounce
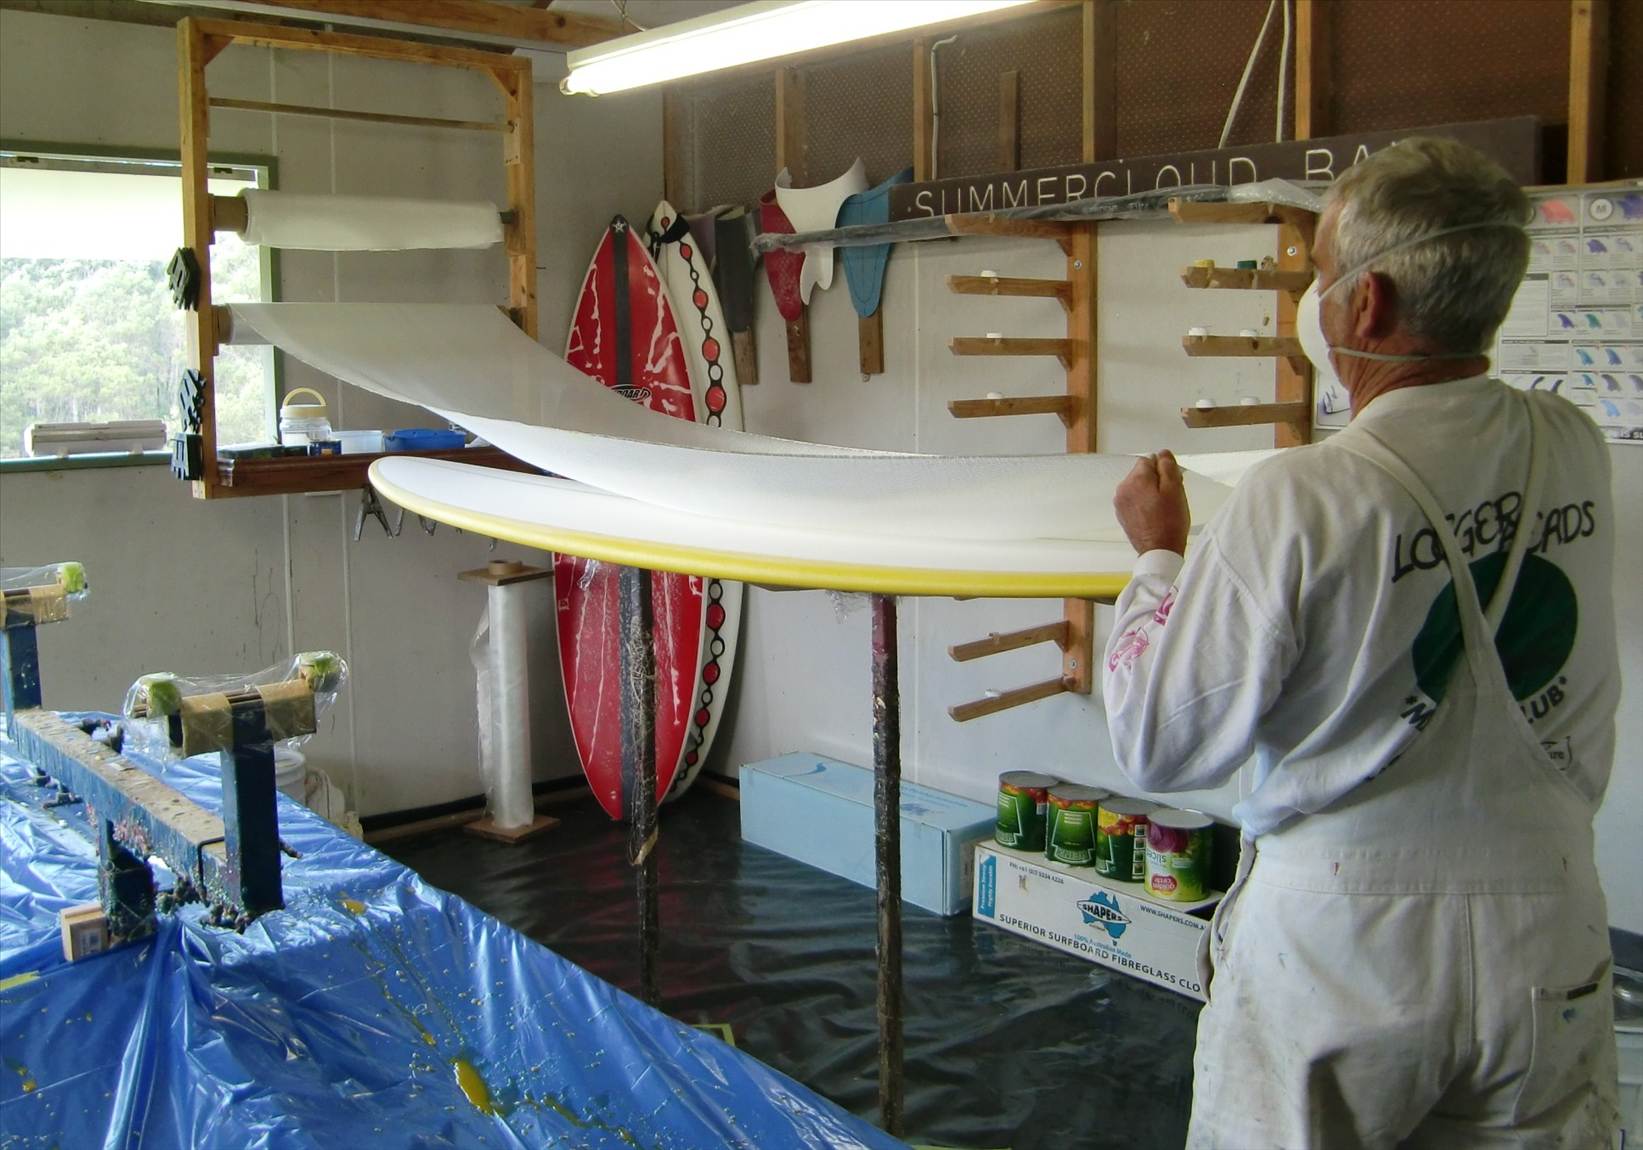
first layer is trimed to the rail apex
second layer is trimed past the tape up as per bottom
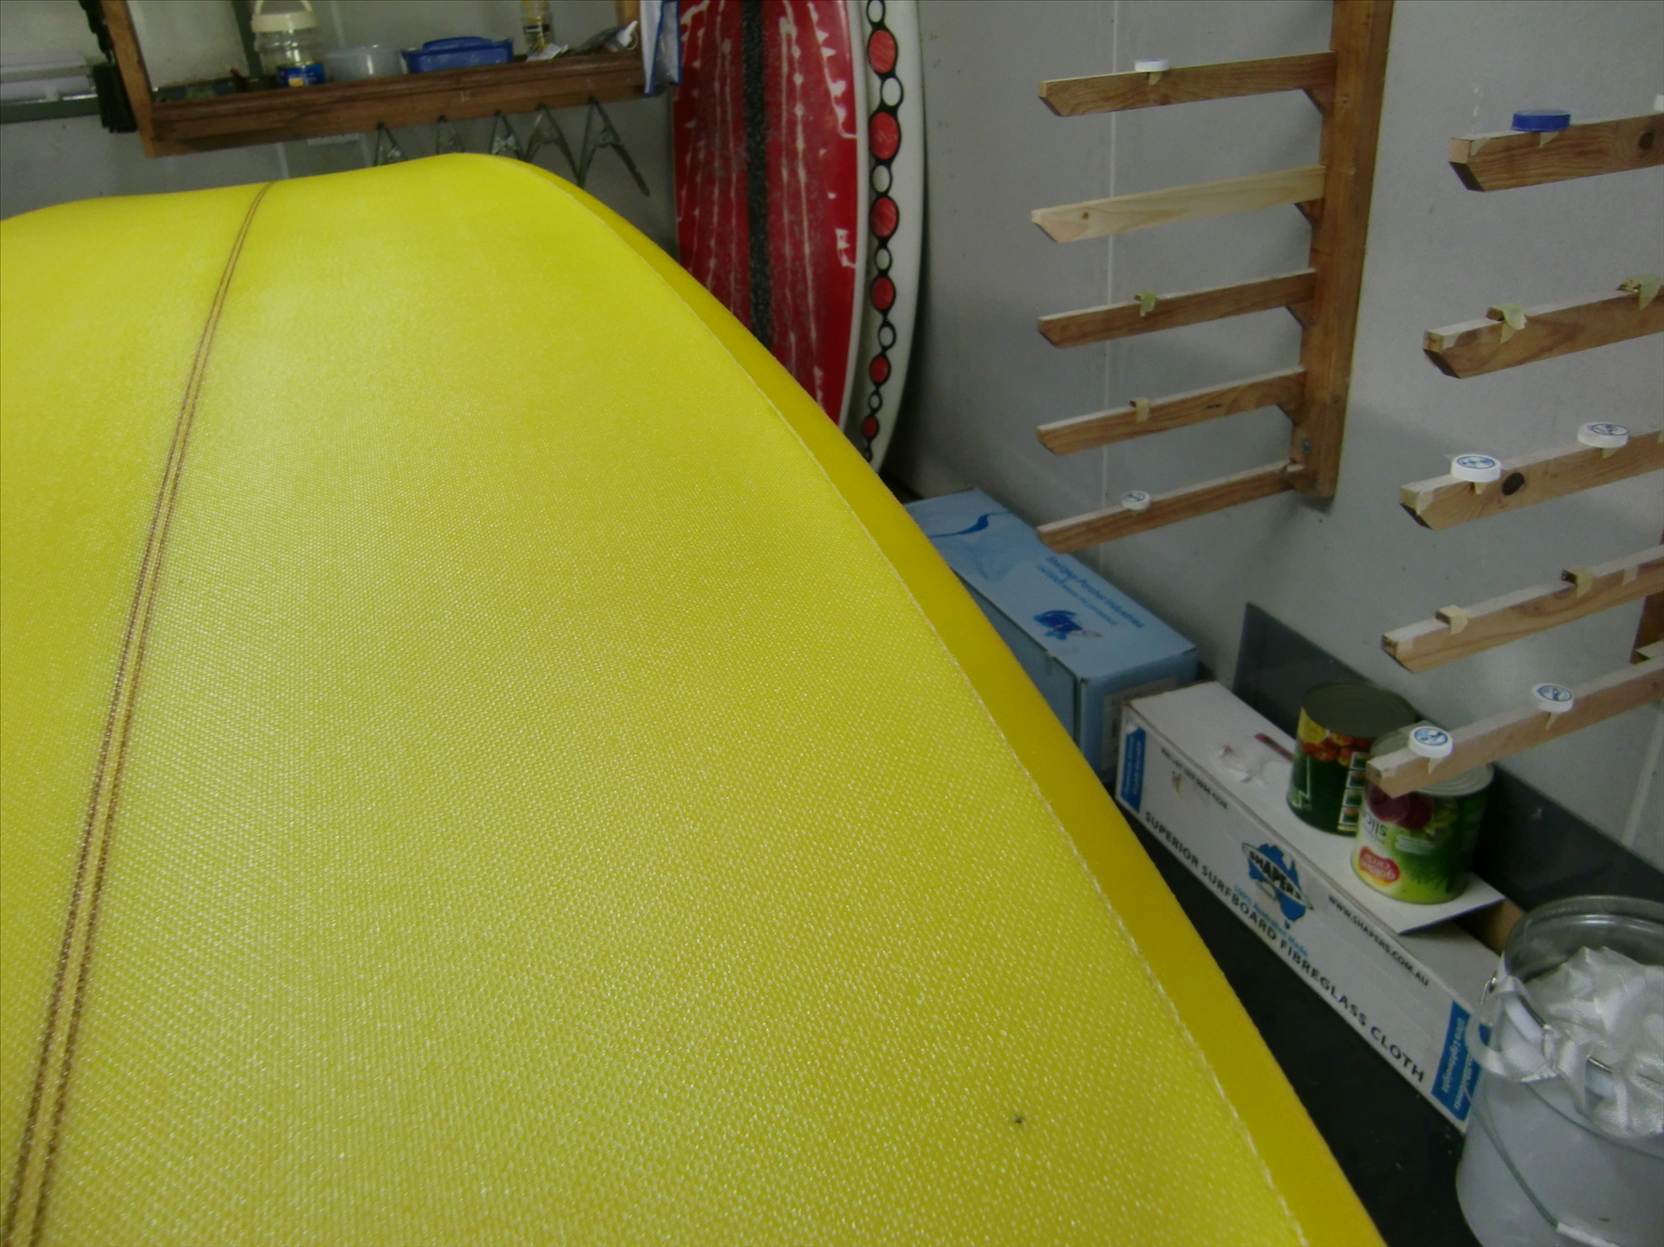
nice clean cut line again
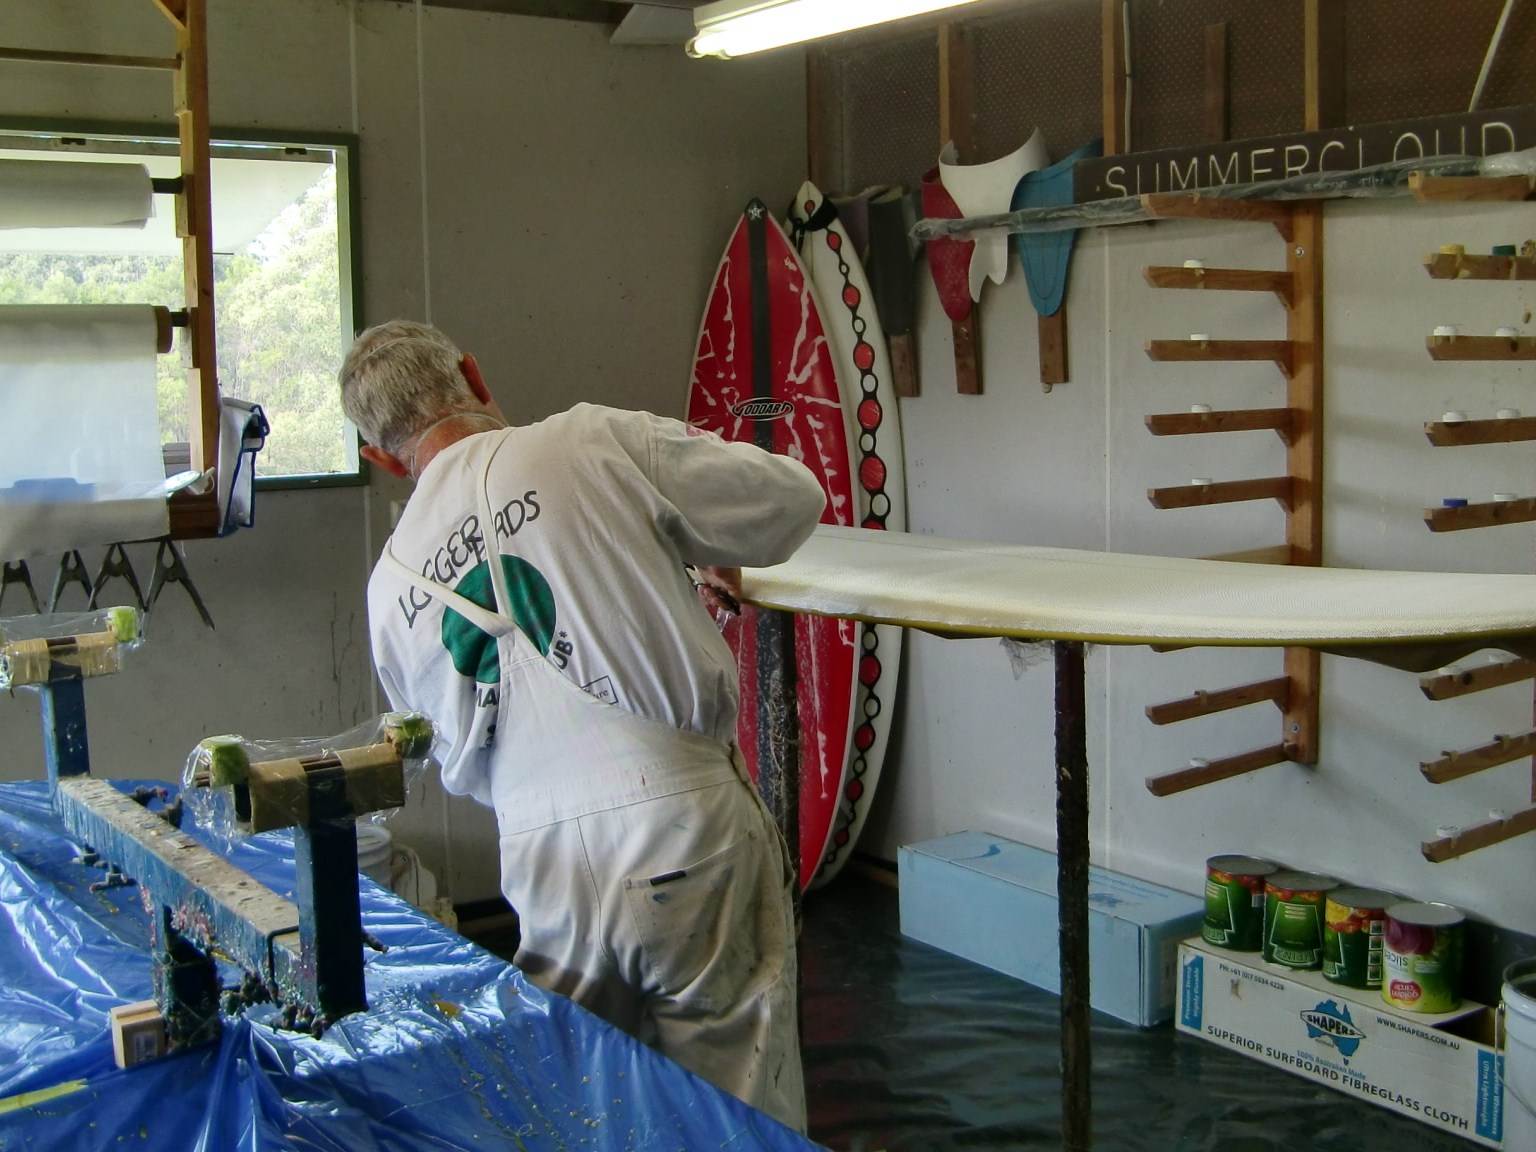
I like to use a little styrene monomer to thin this mix to make it easier to wet out...some say styrene weakens the laminate...I beg to differ...if its an easier wet out the laminate has a better resin to cloth ratio and will be less brittle imo,
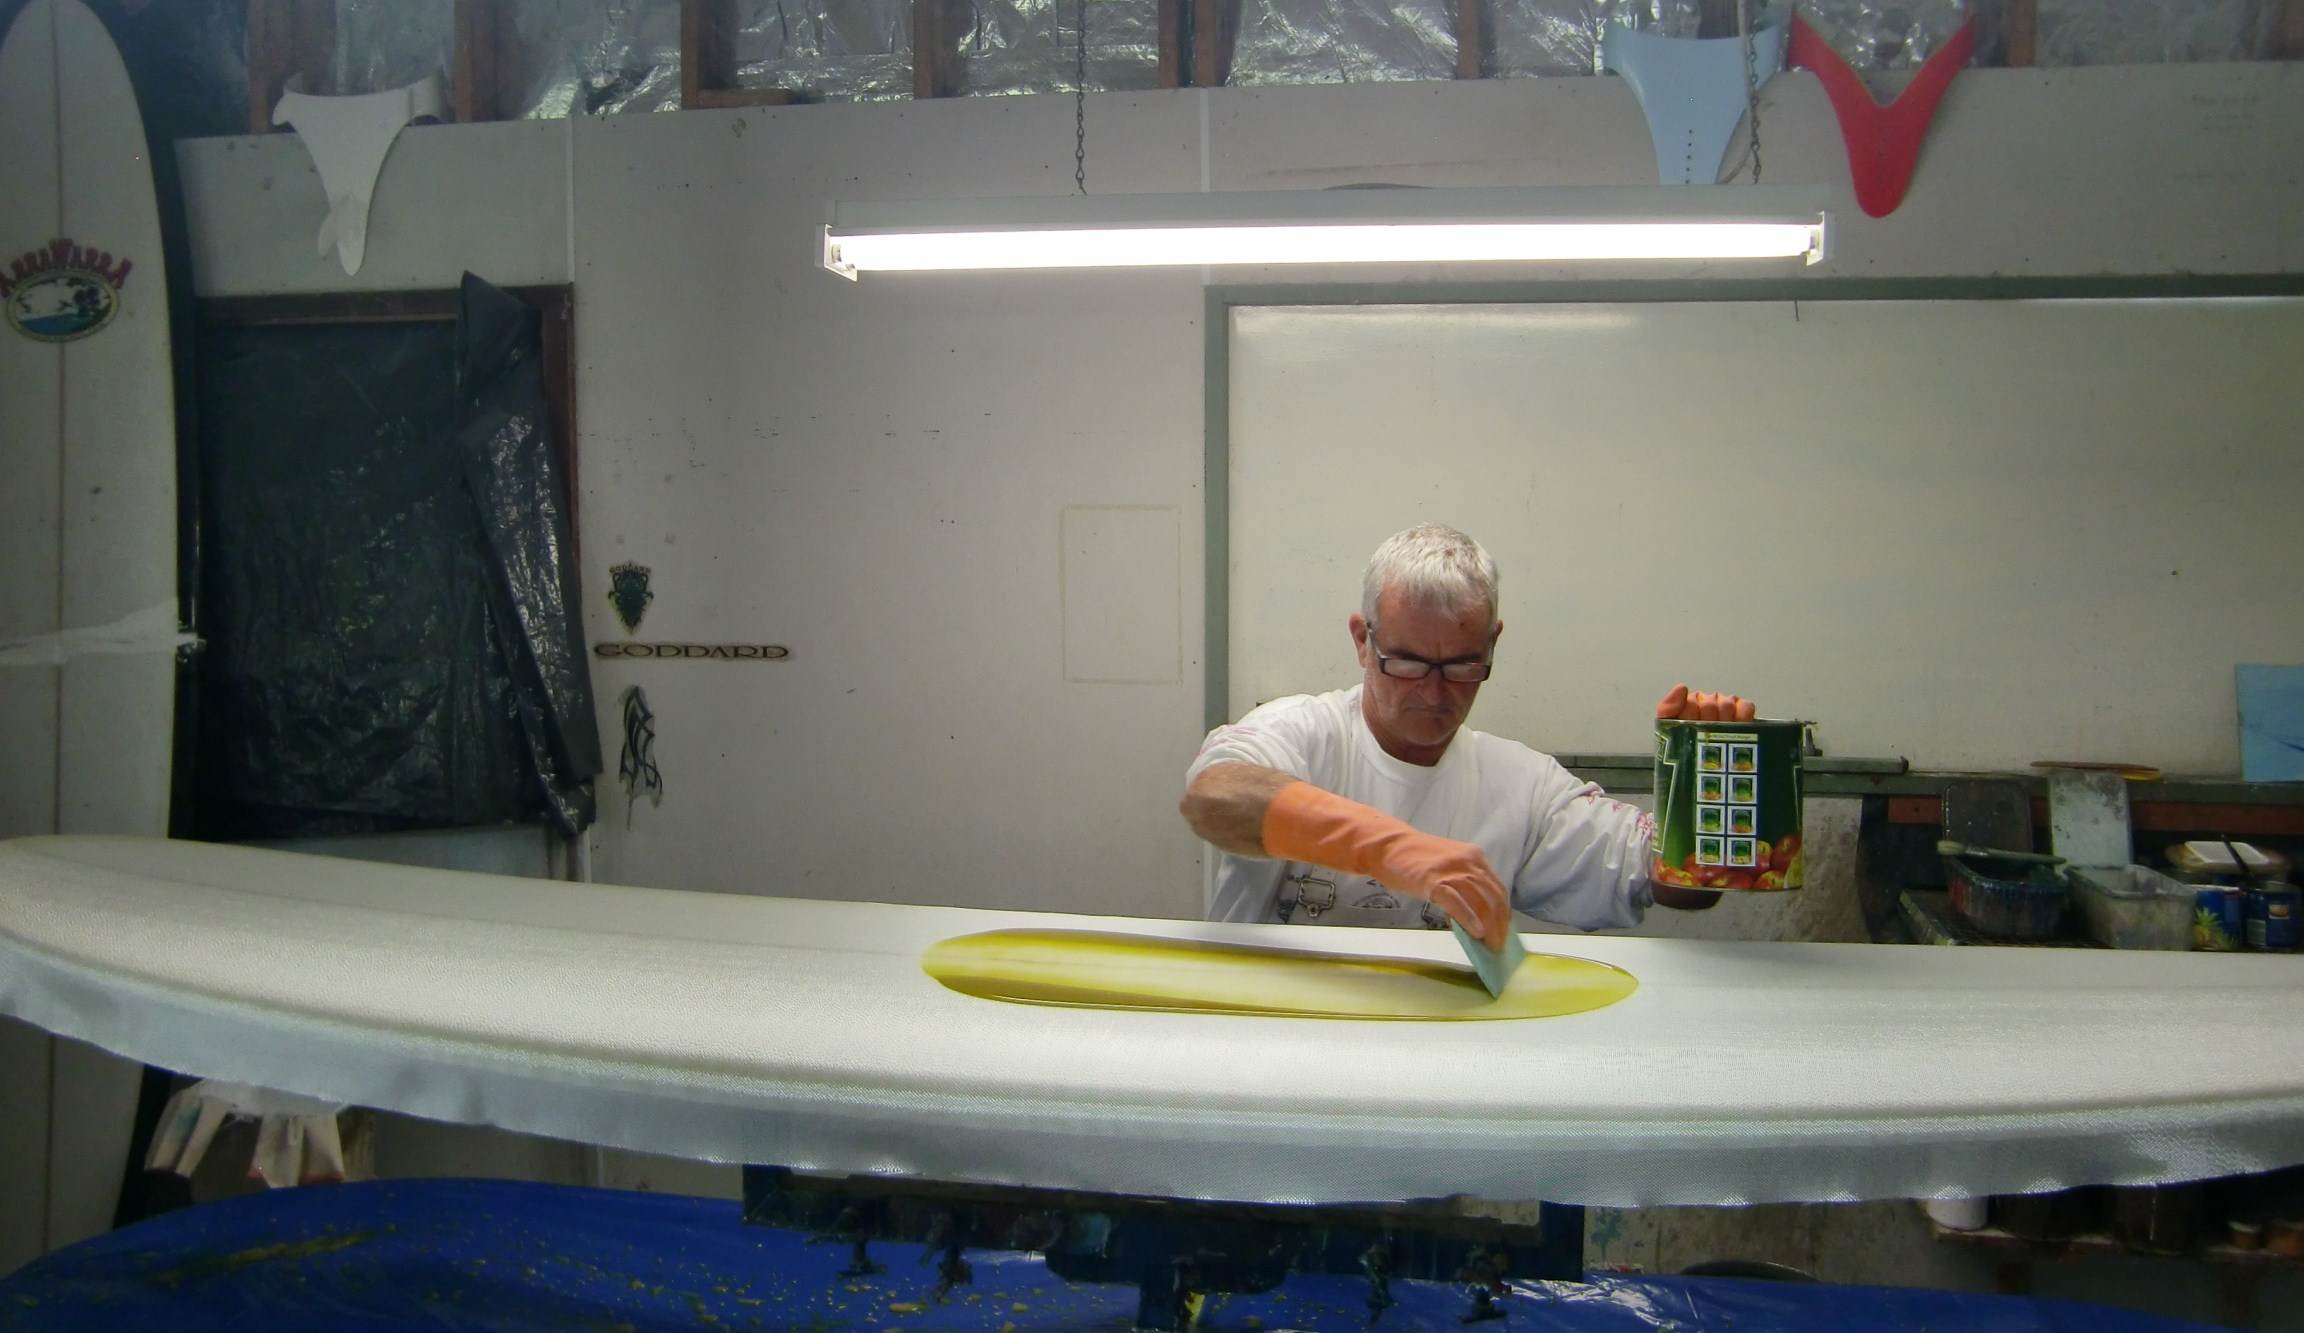
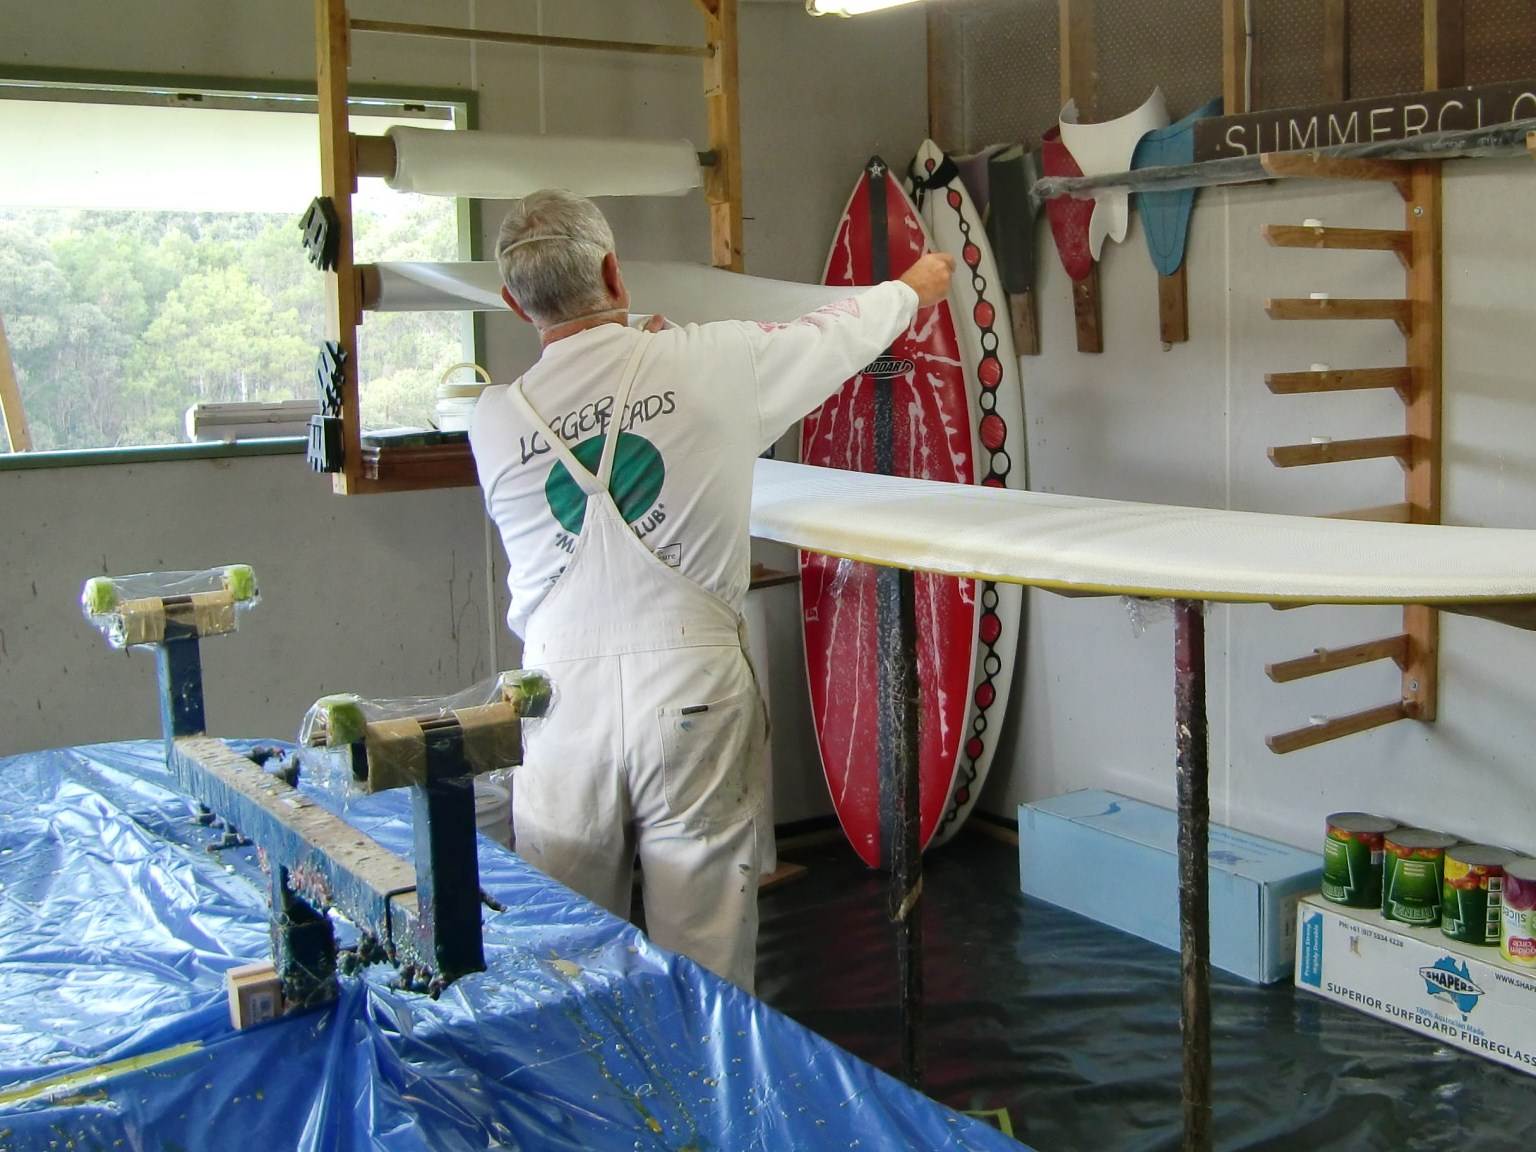
let it tac off as you did the bottom
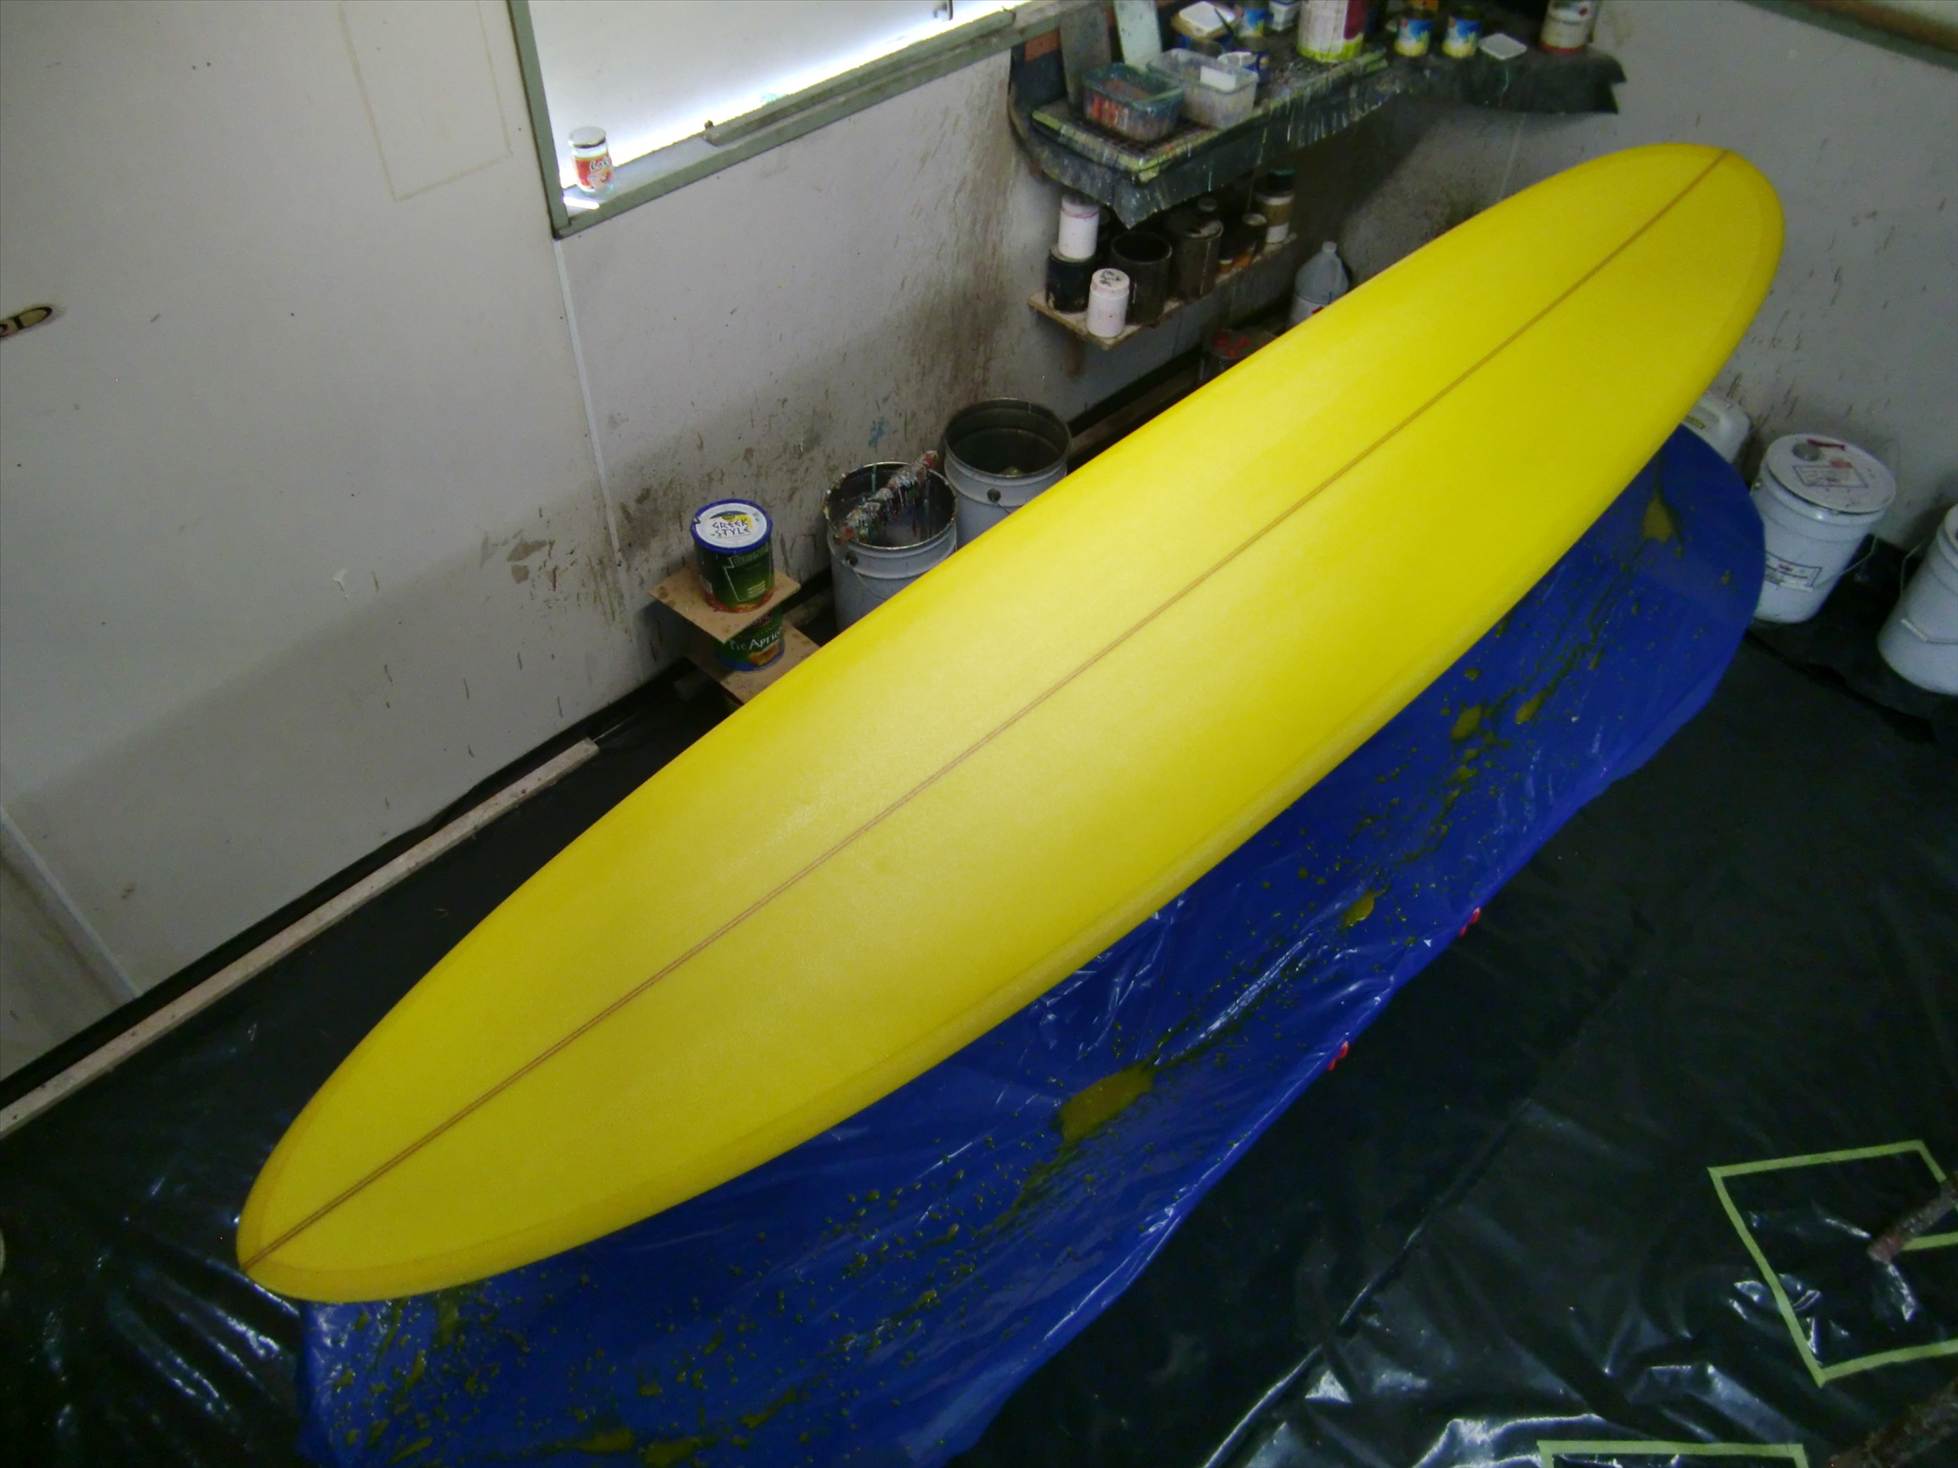
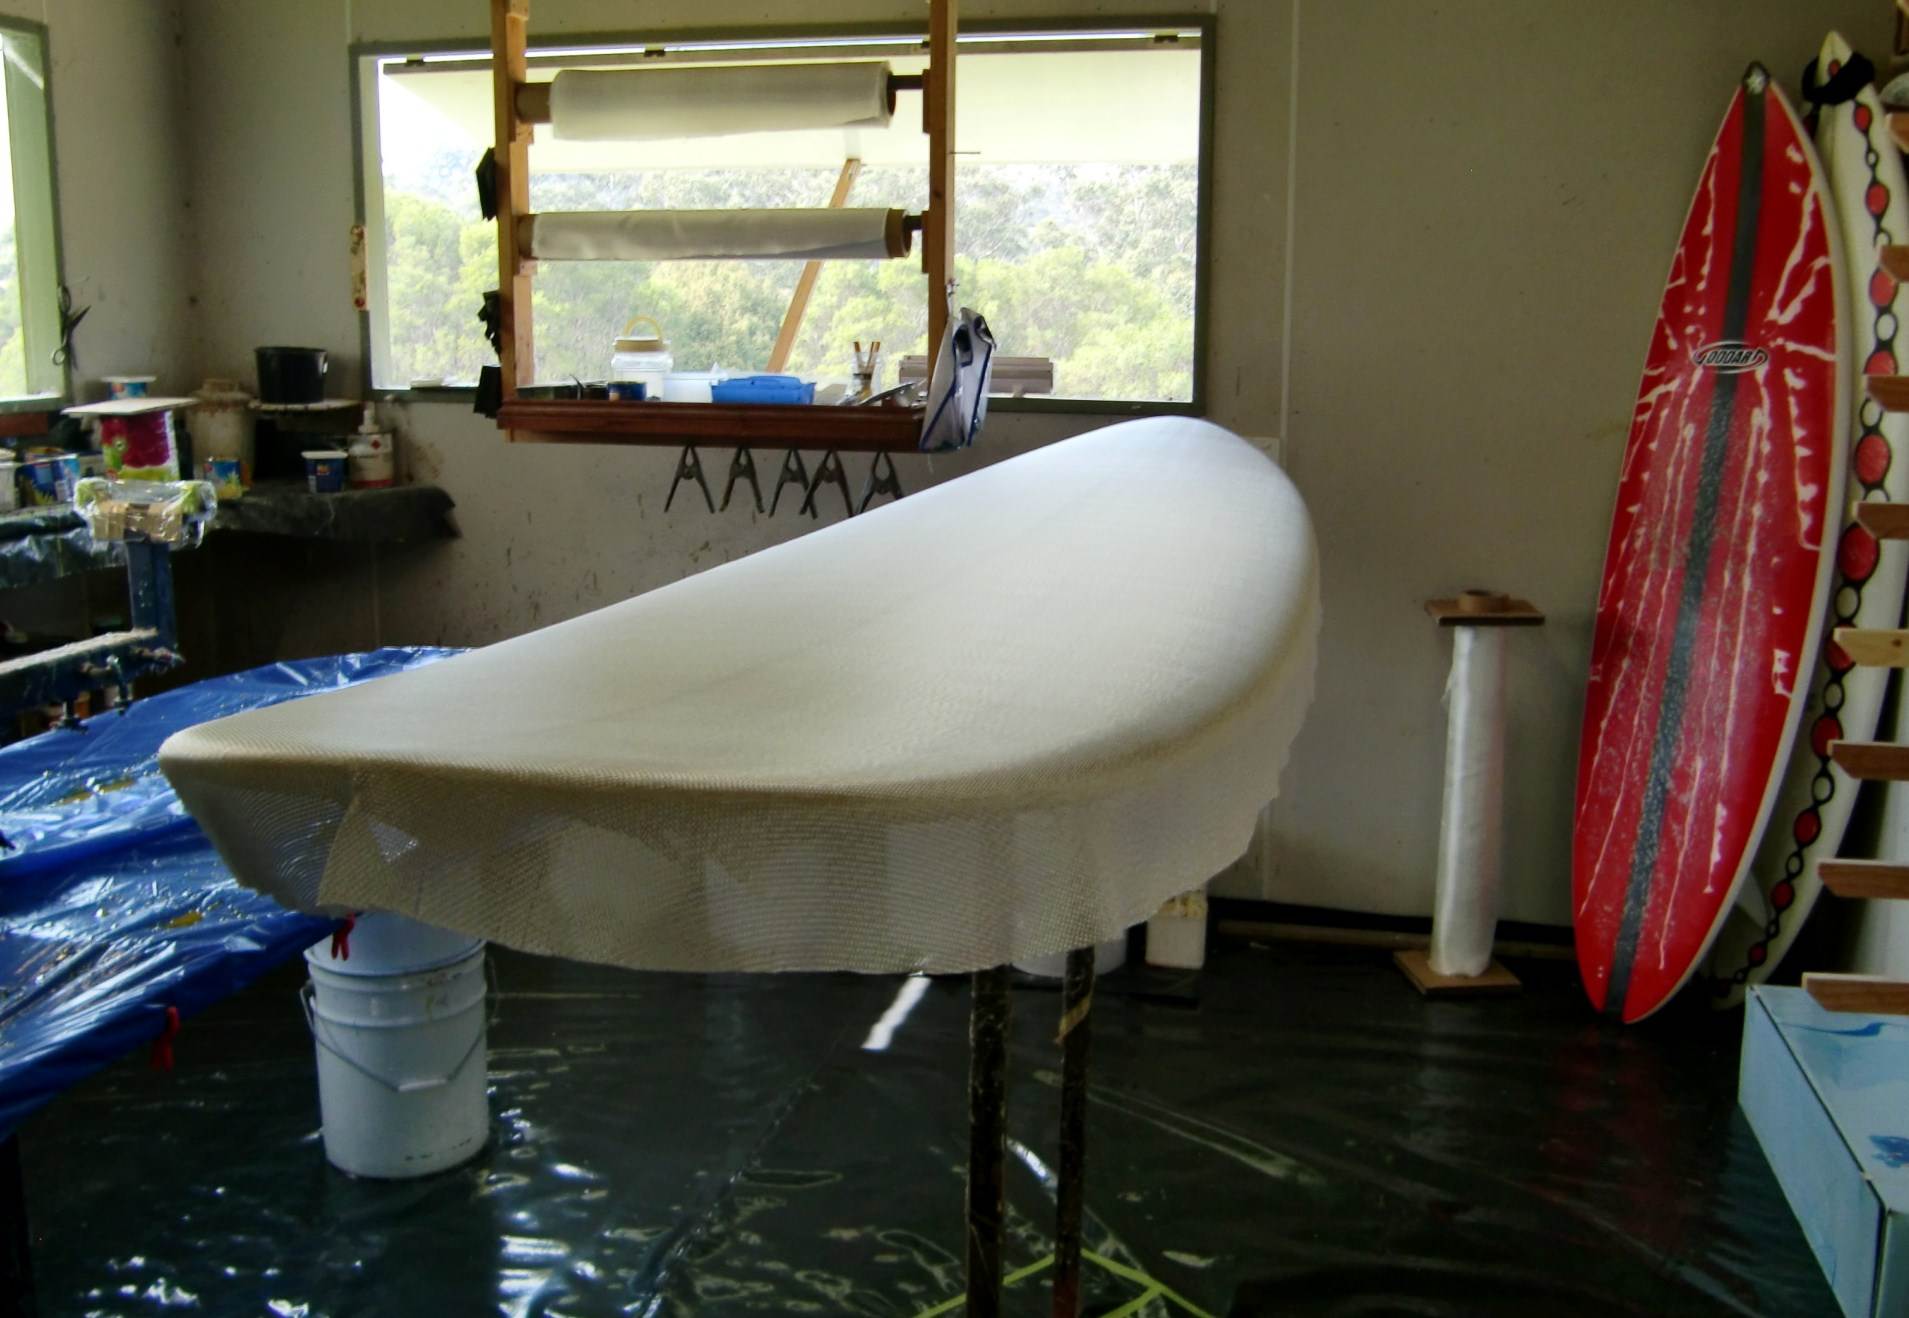
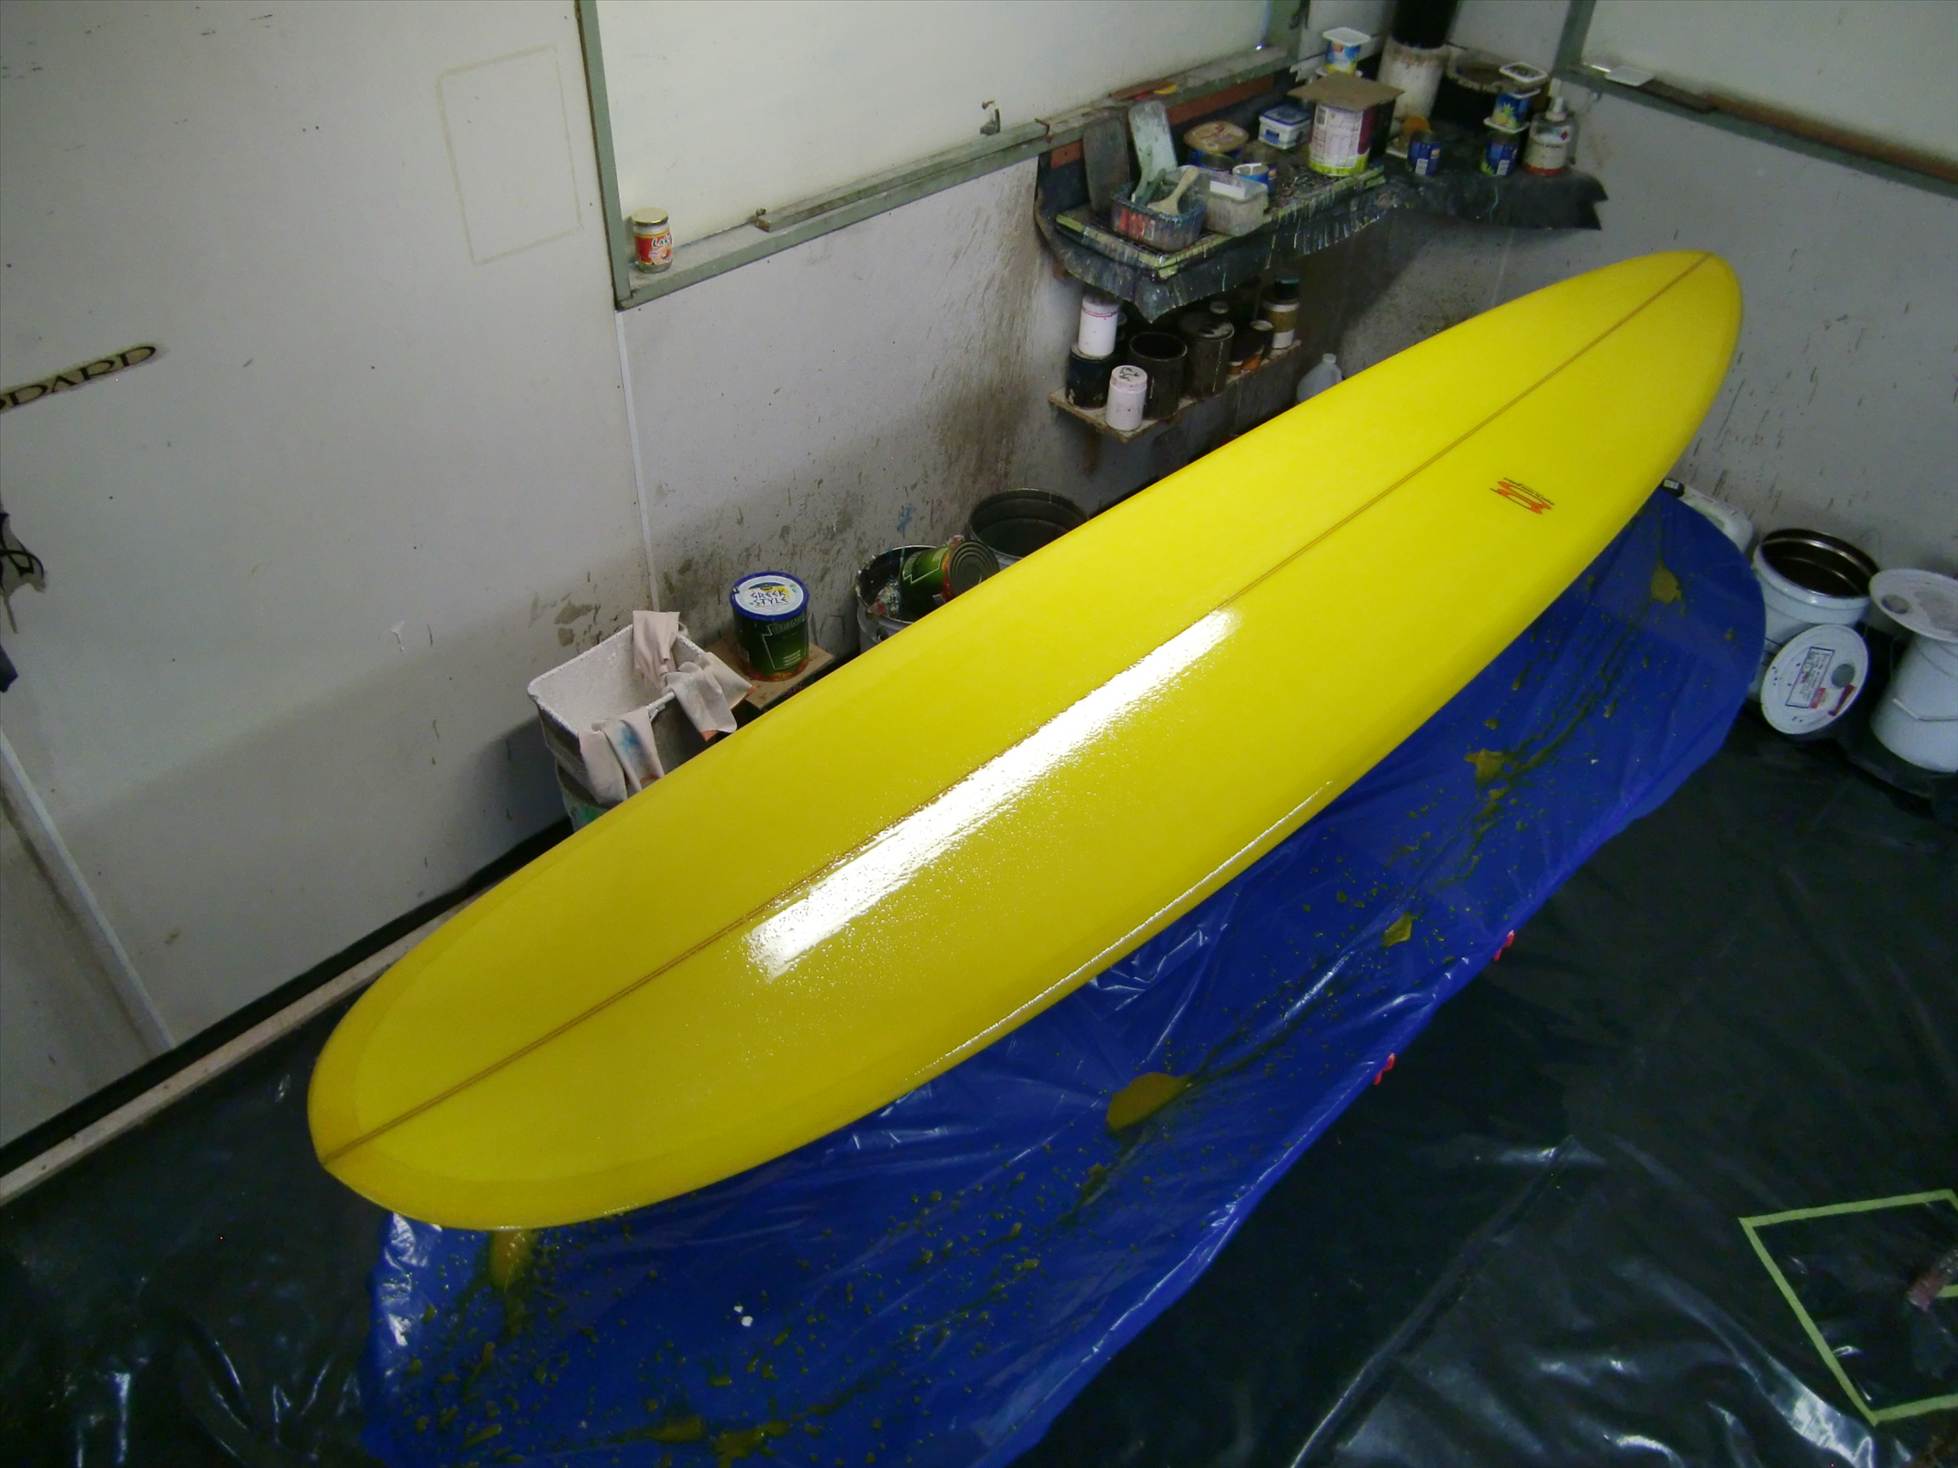
a nice clean trim line...I like to leave the deck overnight...next job is to float on the decals and brush on a fill coat.
Thanks for tonight's masterclass RG - I reckon this section here is where the nightmares start for the bloke at home , years of seasoned experience I'm seeing!
LadyHawk looks better and better and better each day![]()
Great weather here, 25 degrees and sunny, almost summery, even got shorts on.water is still a bit cold though! Id guess 17. But no waves, I'd gladly drop 10 degrees in air temp for 4 ft of groundswell.. Looks like it might have a foot or 2 on Sunday and that is as good as it gets at the moment![]()
Great post RG, the glassing process was awesome to see, you made it look all to easy.
ok skins on, now the resin edge through the tail is taped up...because the cloth wont go around hard edges without bubbles...the edge is rounded off pre glass and now we have to put it back on with a little filler resin...I also like to put a little on the lap so as I can fair the lap edge in pre filler coat
when thats dry enough to sand I fair in and make good all the edges...very tricky and good control over the machine is of paramount importance...one slip and its a nasty sand through![]()
when the edges are all good I like to put some extra glass around where all the boxes are..I use the scrap off the corners here...rather put it on the board than in land fill...surfboard manufactures eco foot print is allready yetti size
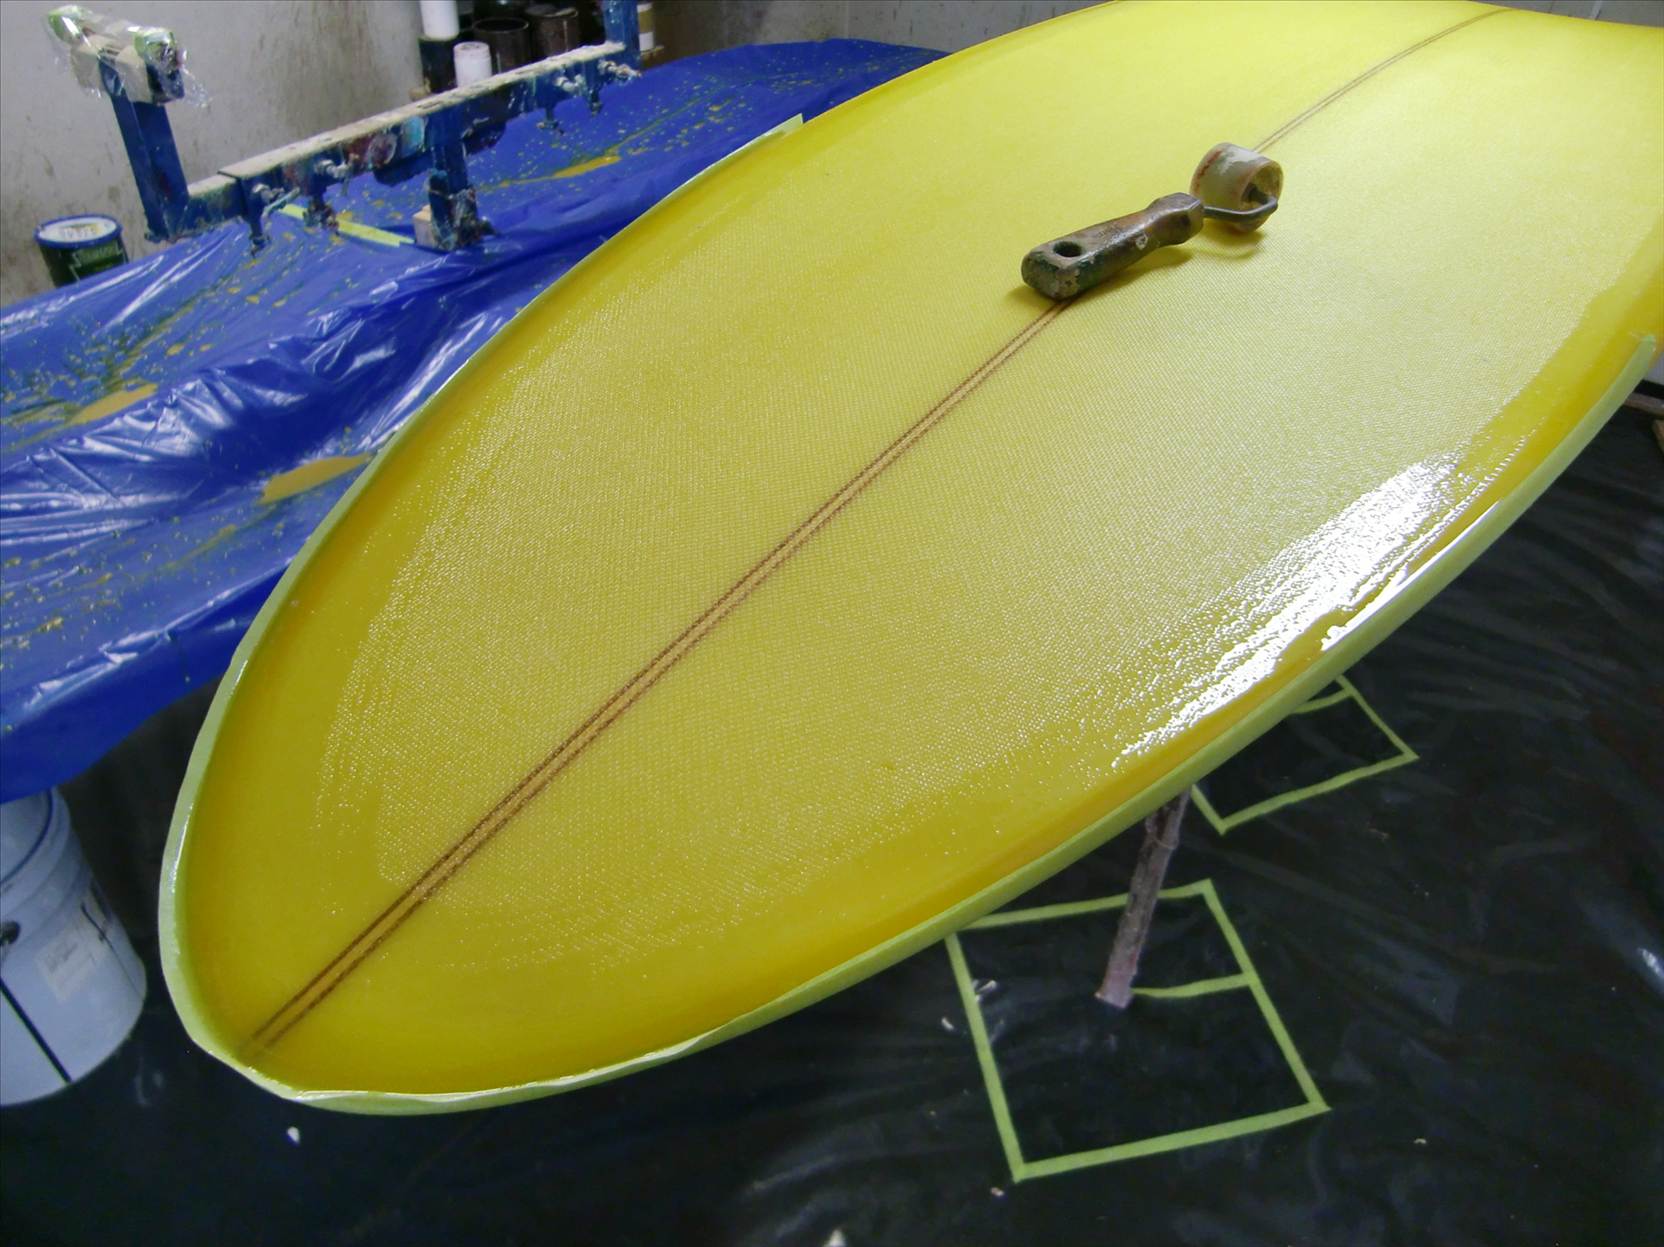
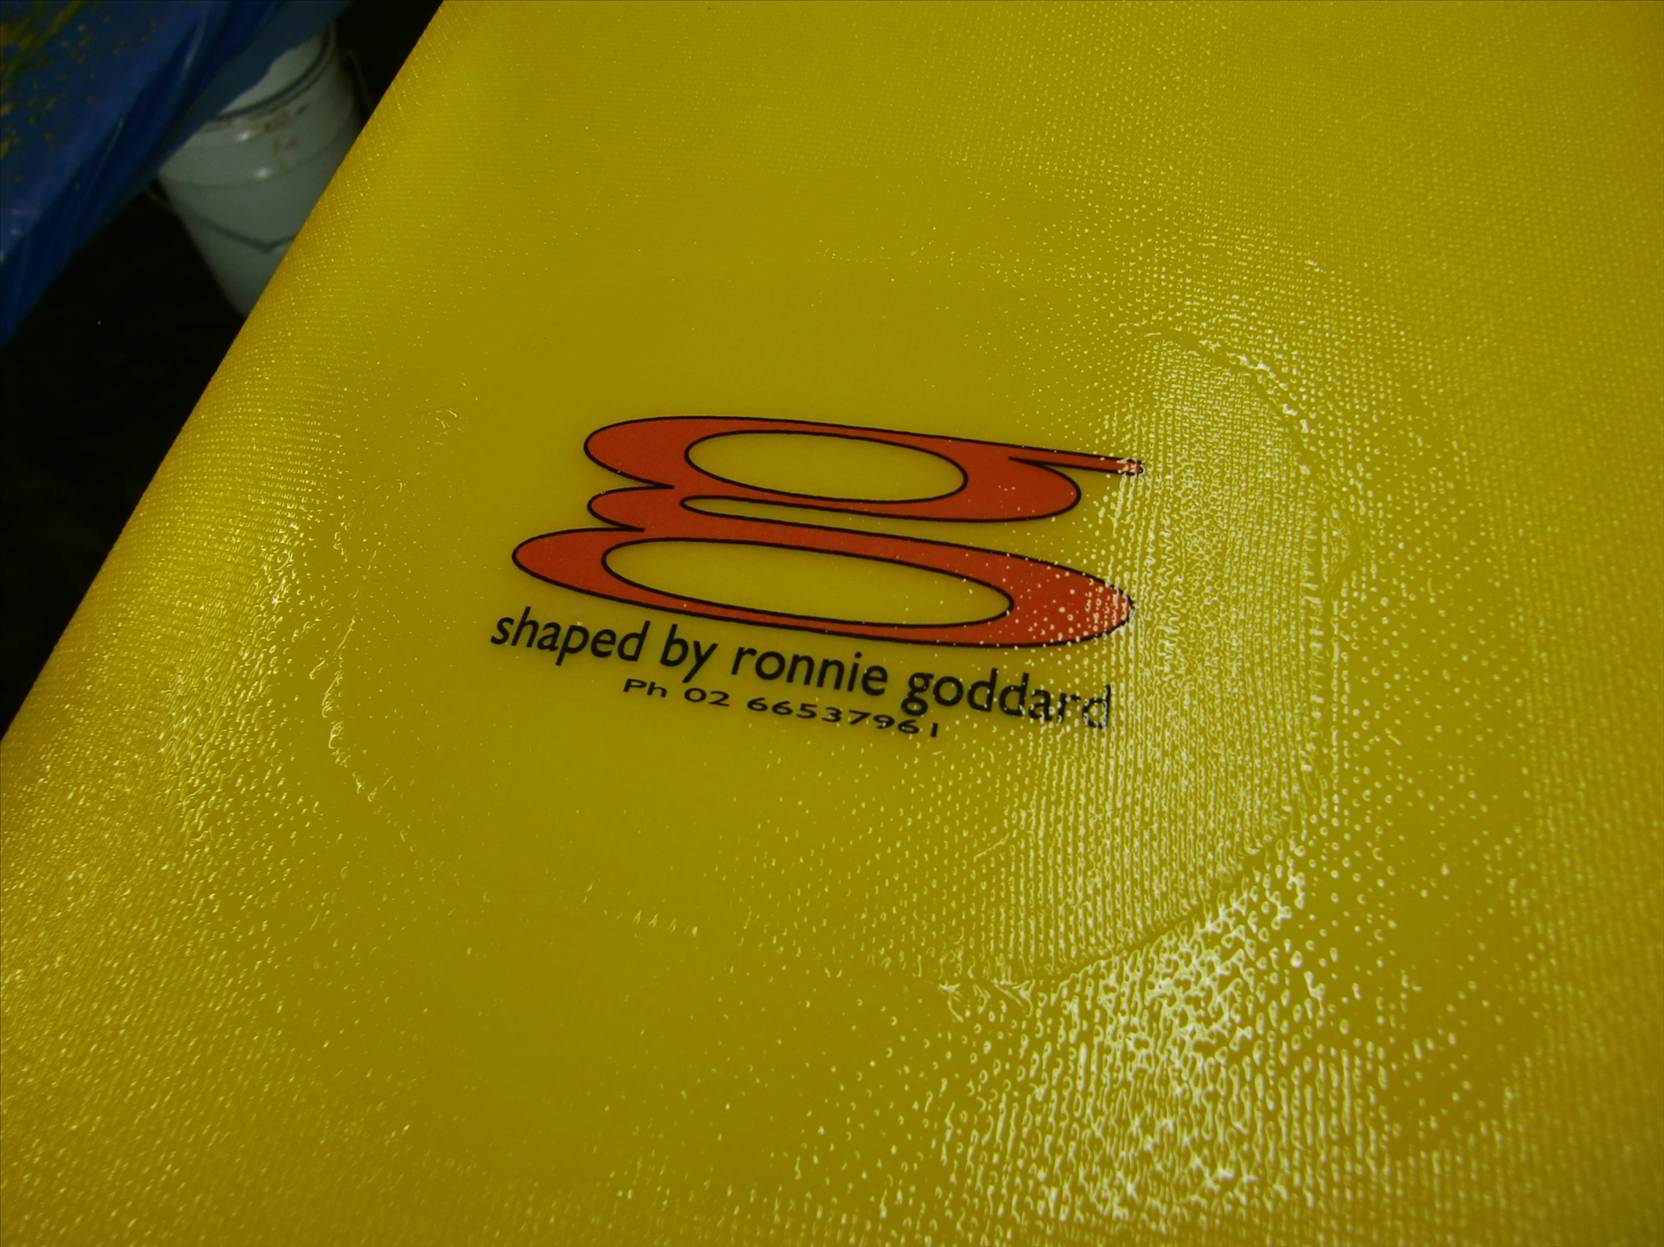
float the decals on next...most laminaters will roll the glass back and put them down as they laminate..this is fraught with danger imo...little longer to do it this way but I'm in no hurry
the fill coat is just brushed... on its whole job is as the name implies...it fills the weave of the cloth to give a surface that can be sanded smooth...its just normal polyester resin with wax added...parafin wax suspended in styrene....the wax surfaces just before it goes off and leaves the surface dry...unlike unwaxed resin it will go off and remain tacky...thats so the next coat will stick with a mechanical bond....so filler resin must be sanded so as the next coat will stick...basically what I am saying is... if its tacky it will stick if it aint you have to sand it
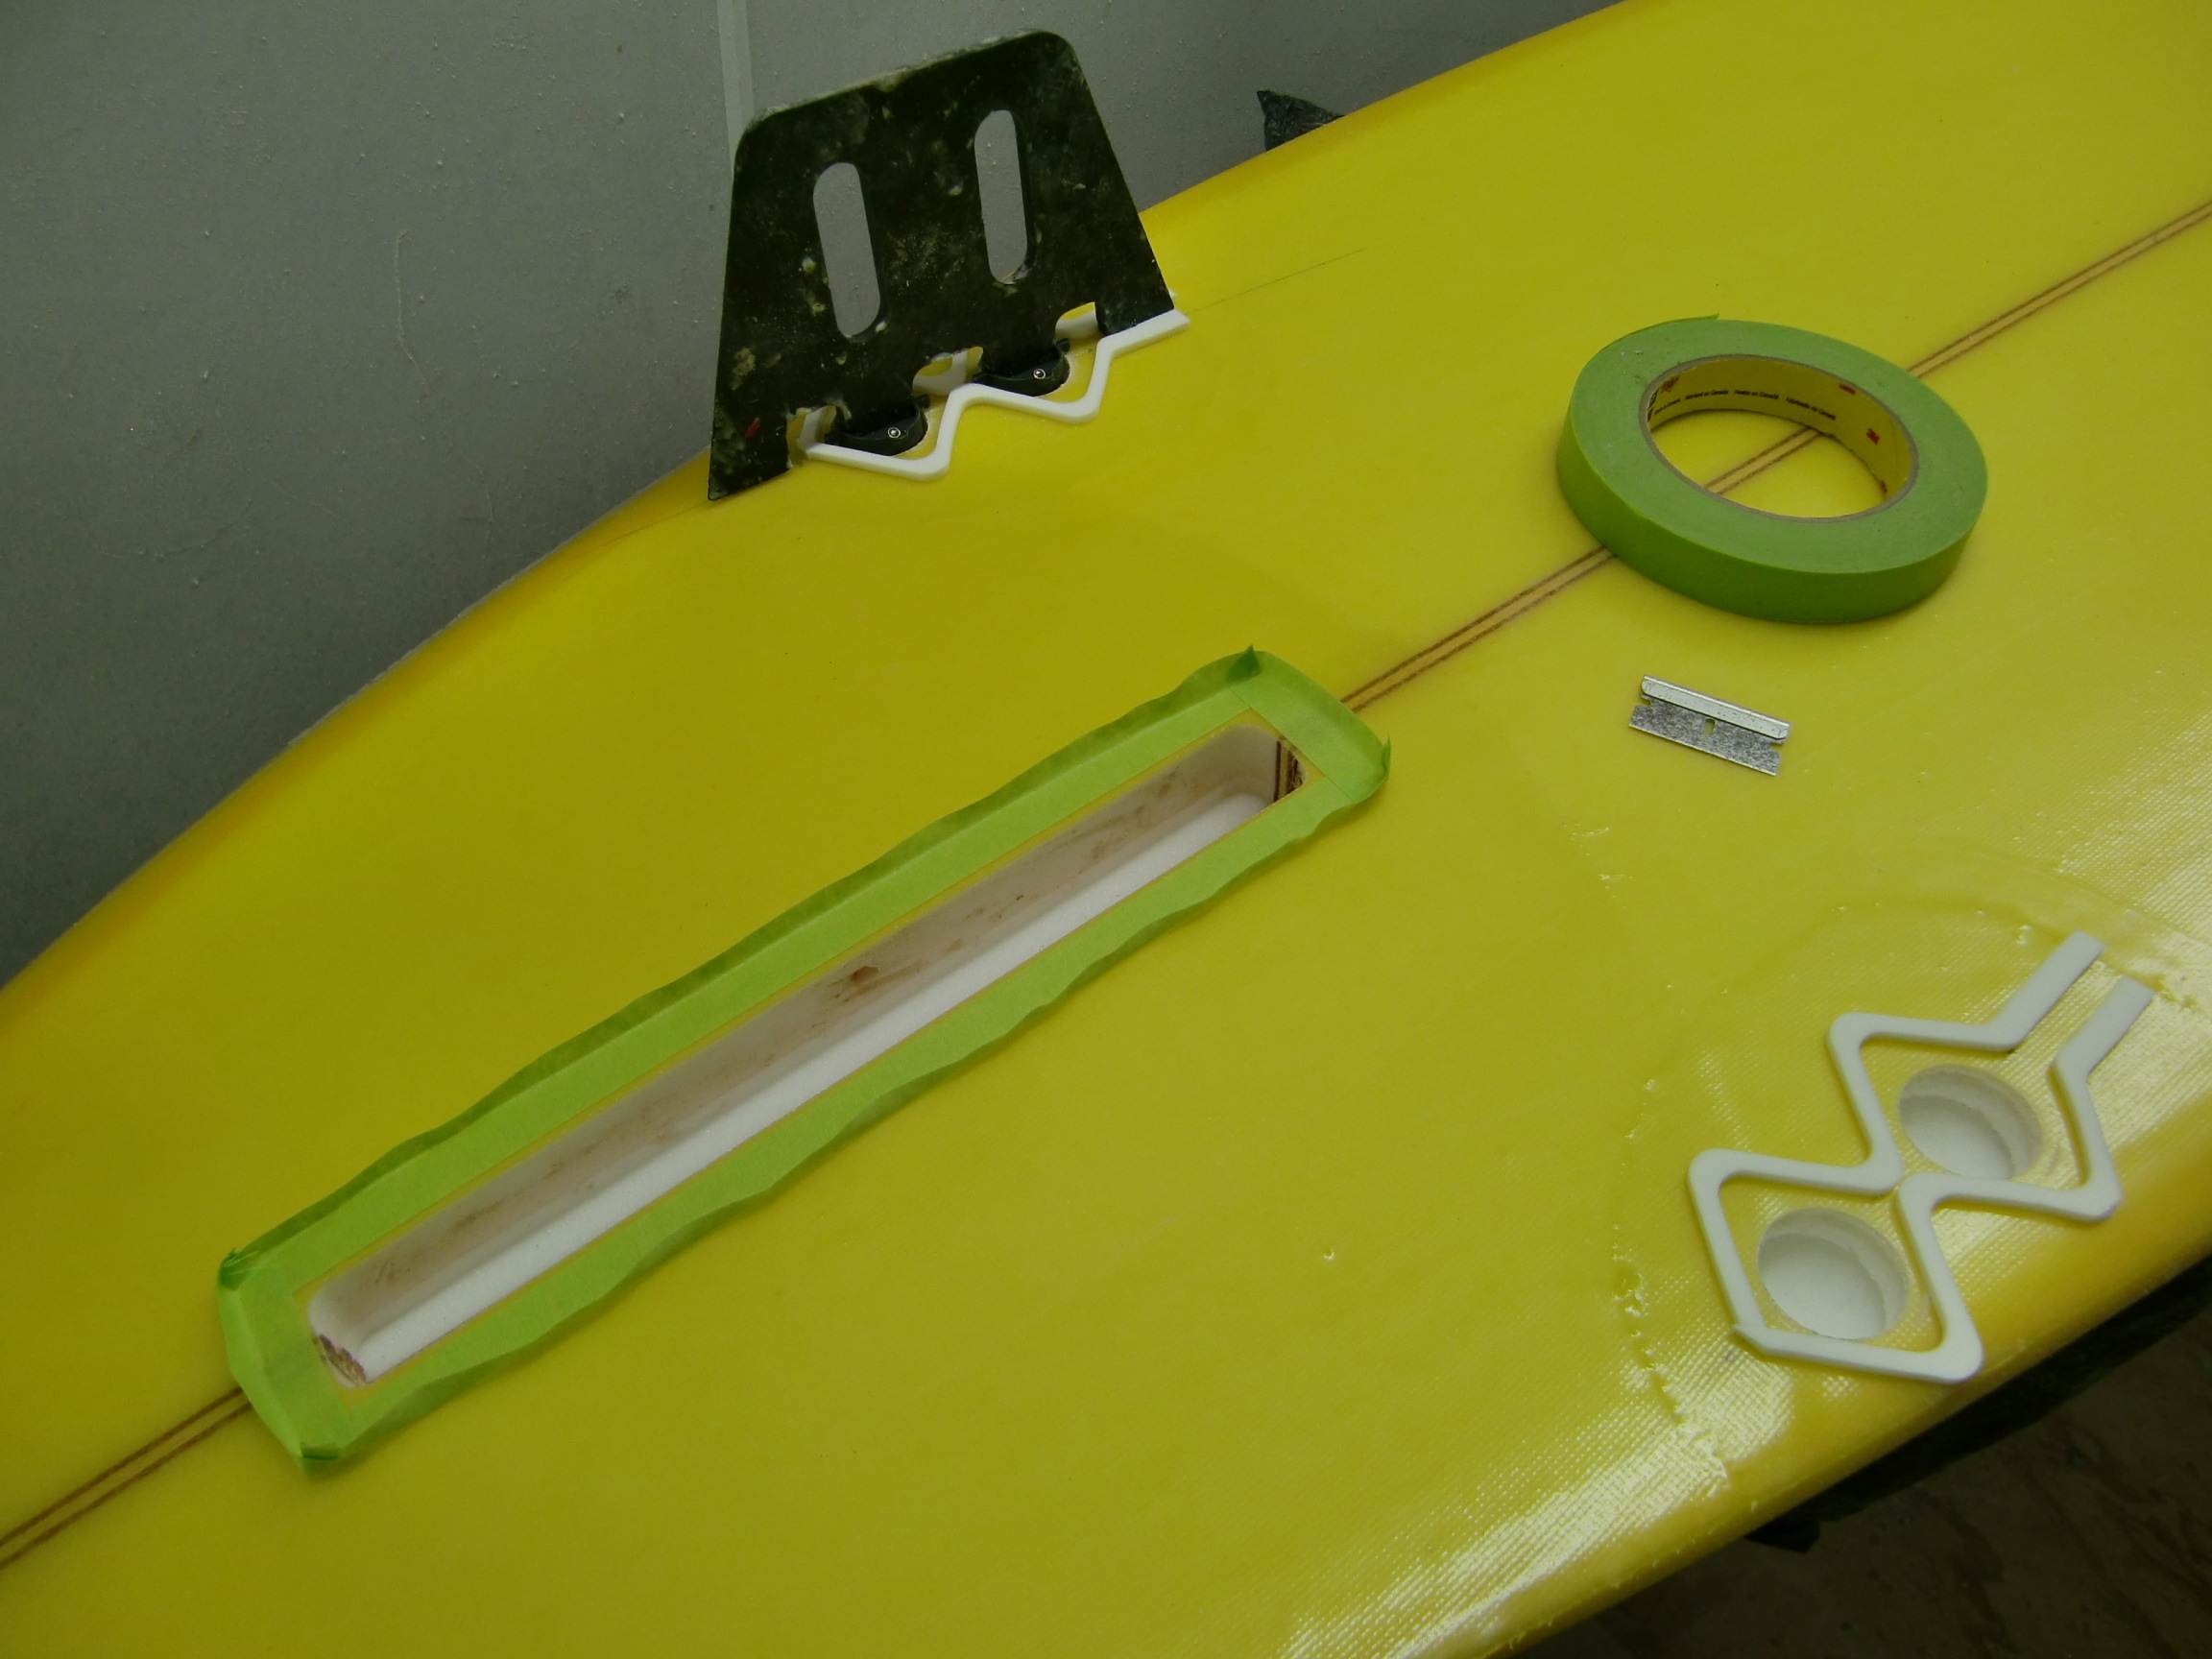
boxes fin plugs and leg rope plugs go in next...with an assortment of jigs routers and drills...check my behemouth router...its a dinosaur..its been with me from the start...total overkill but nothing can stop it
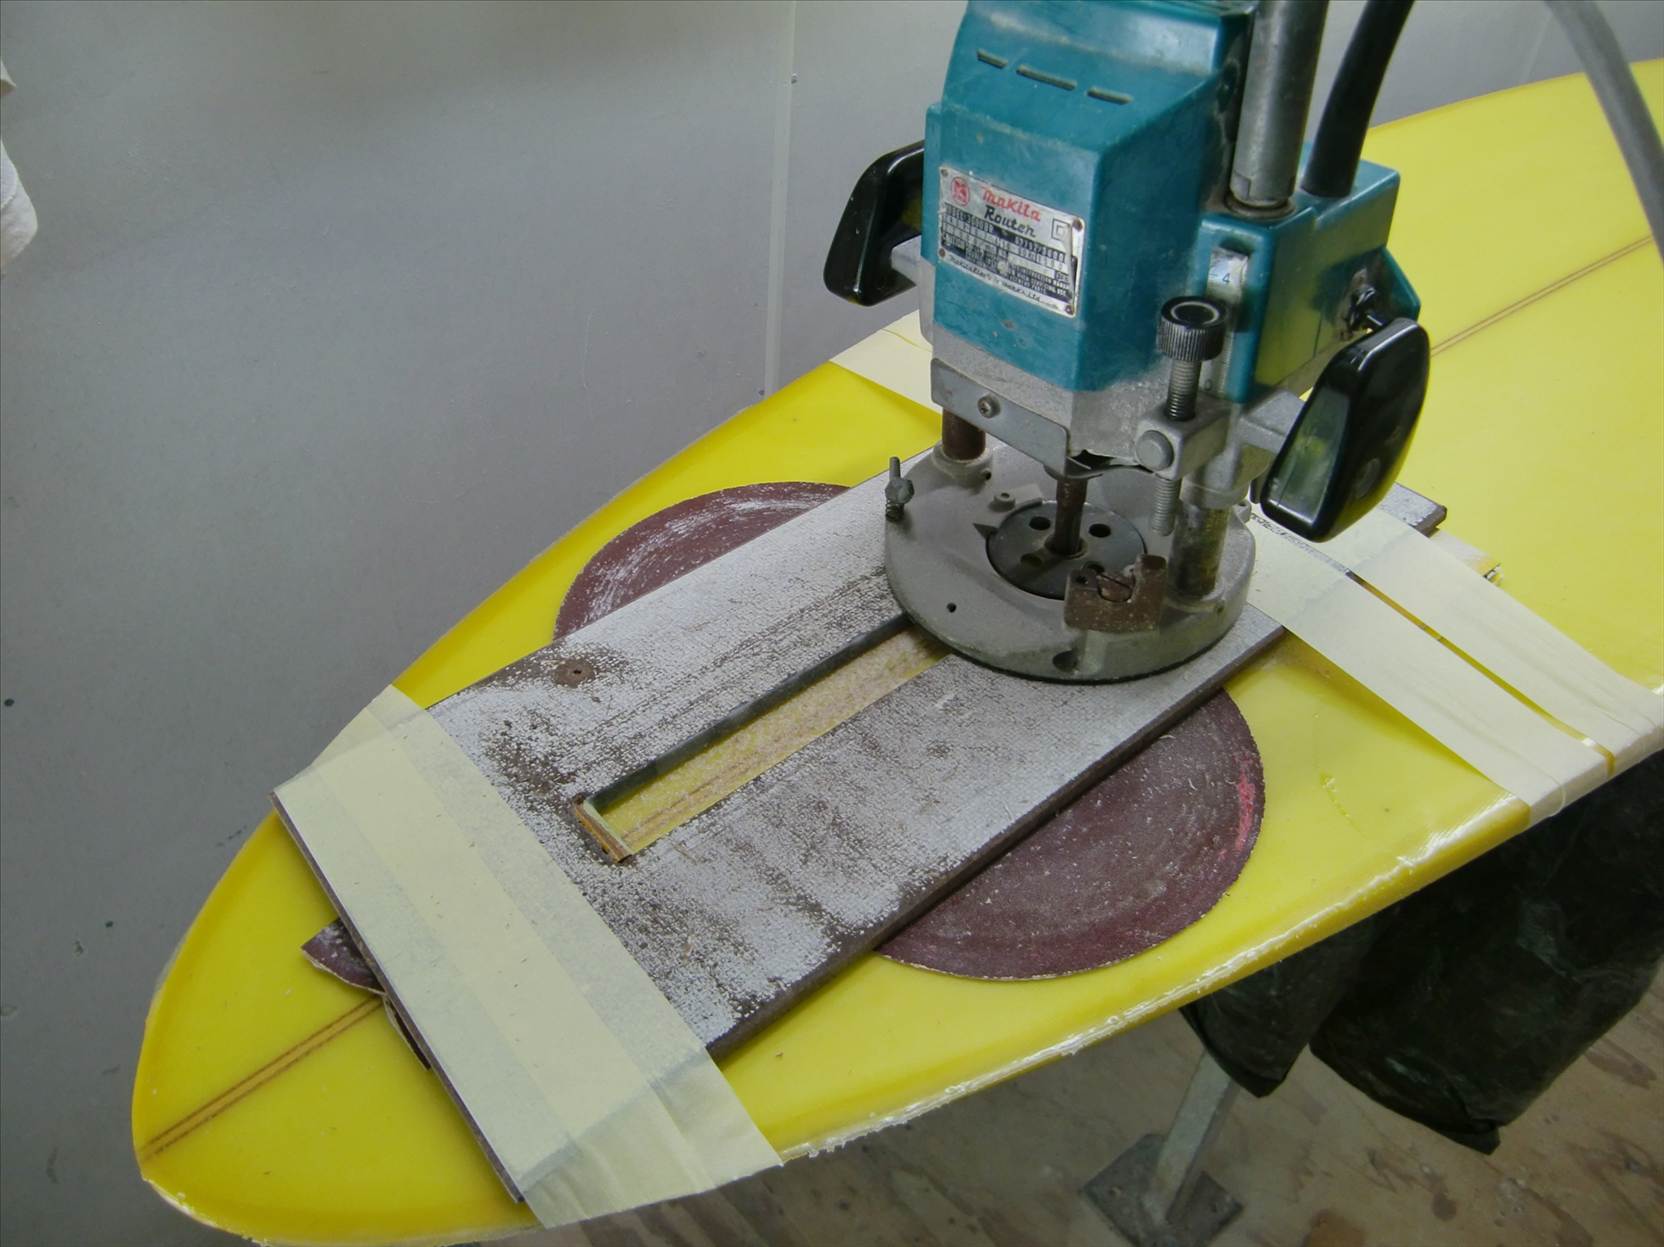
all holes cut neatly then masked up ready to insert
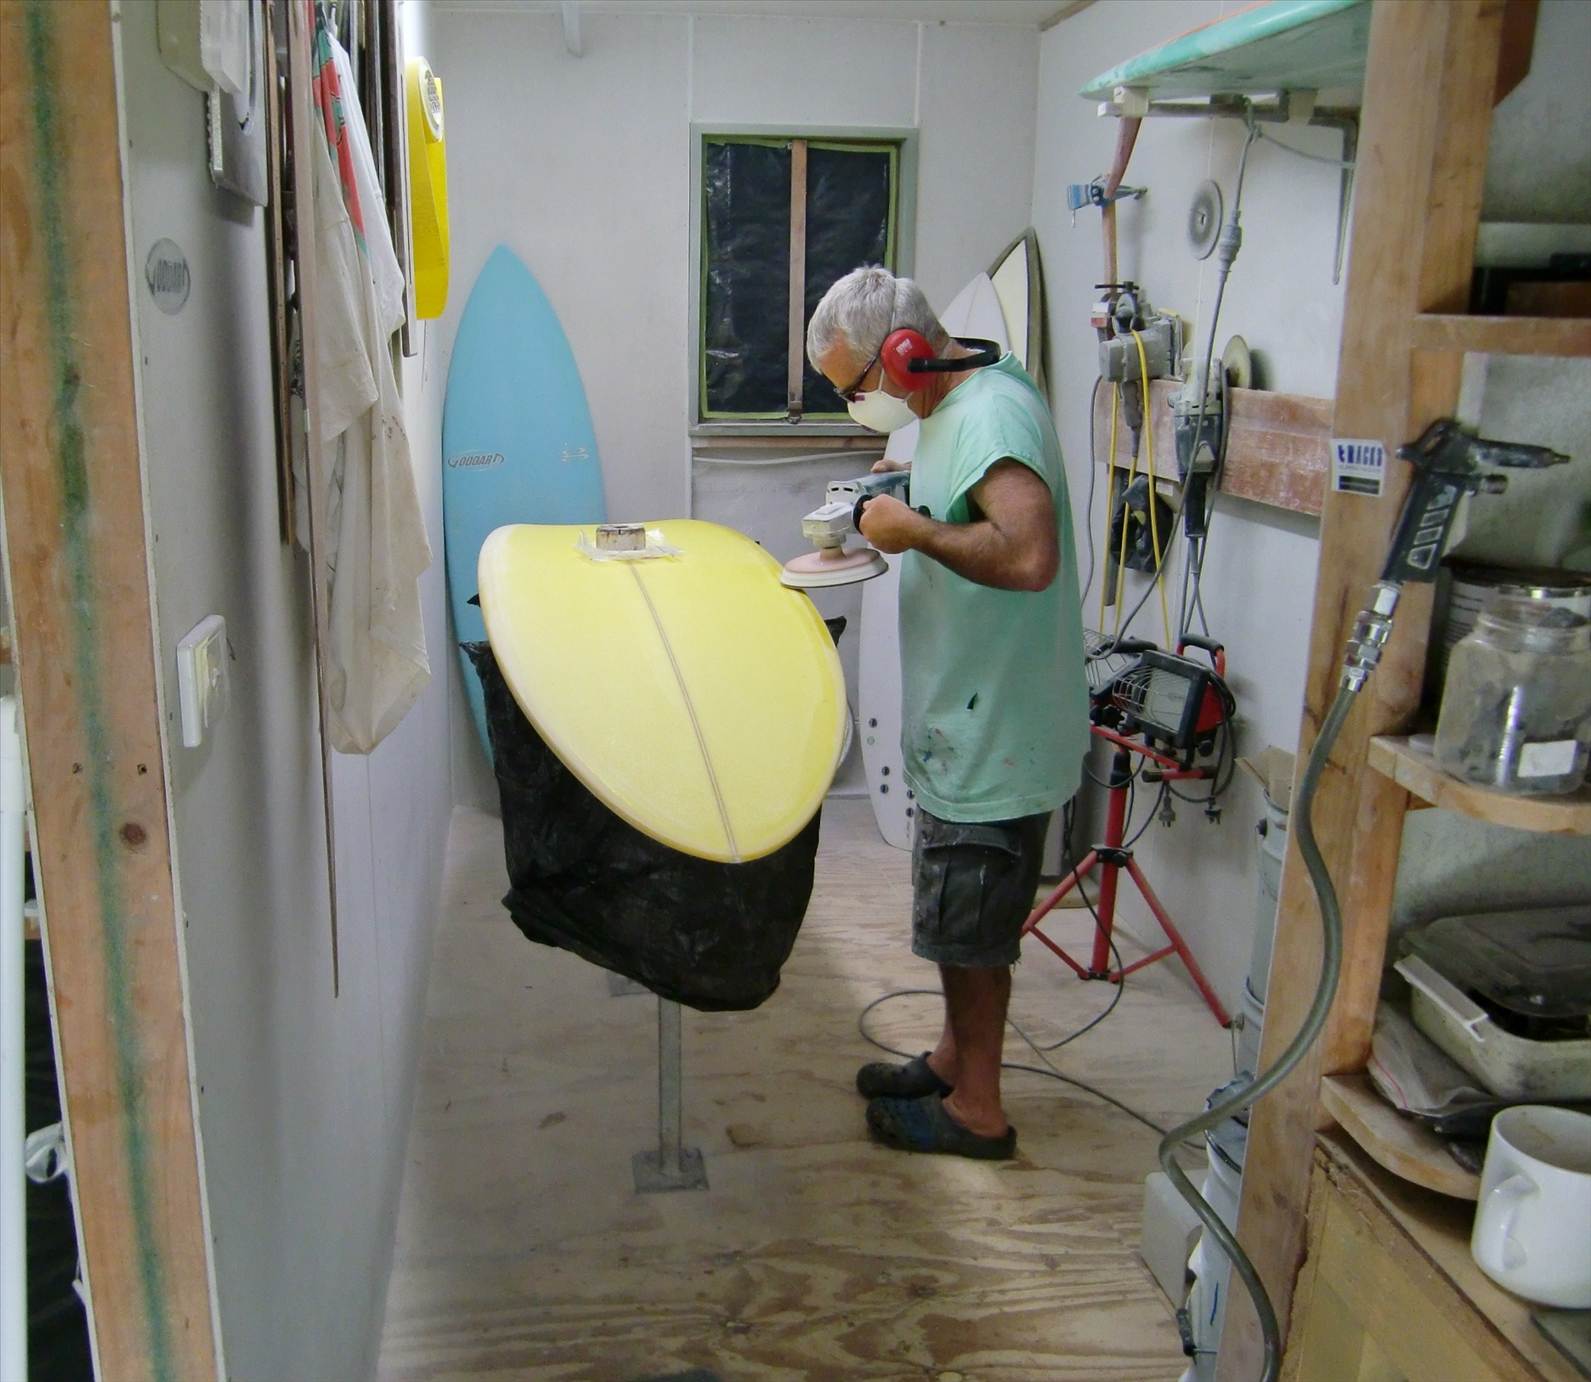
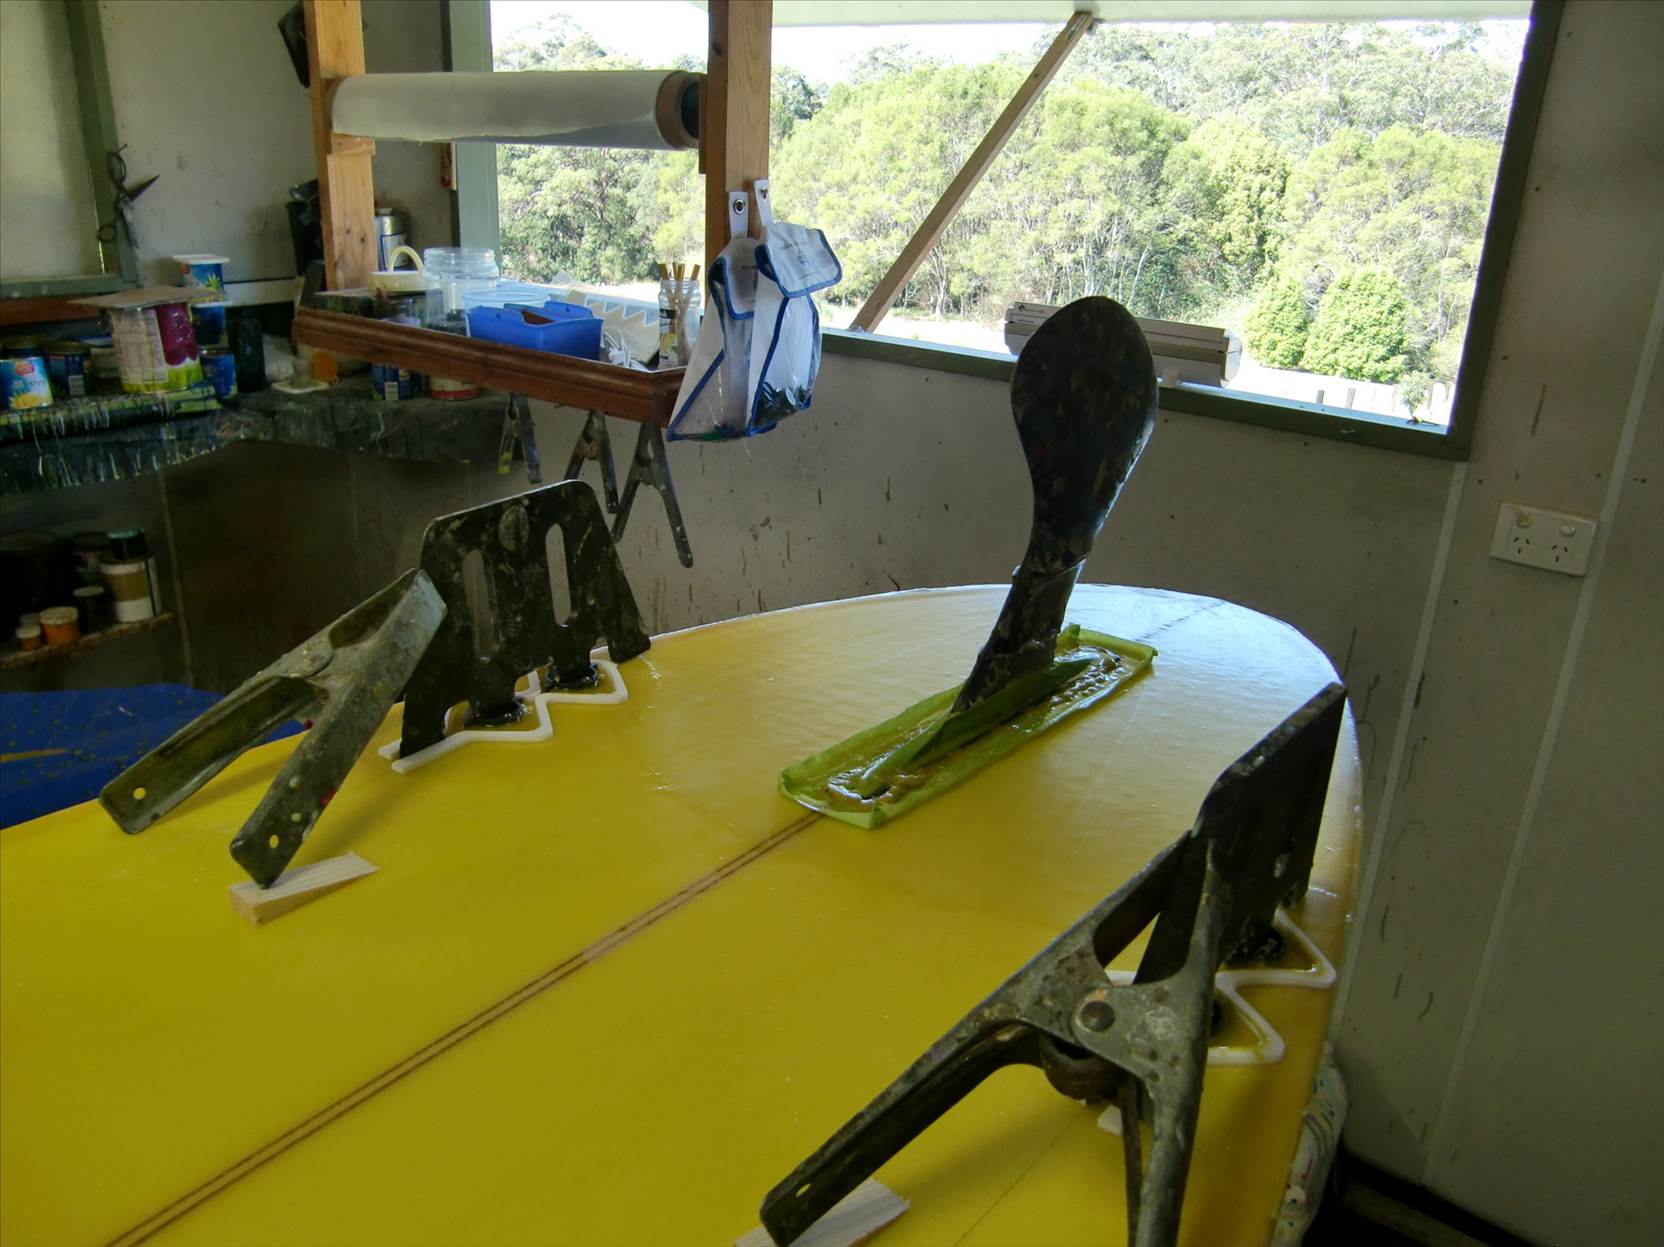
resin is mixed with a little chopped up cloth and in they go...this is probably the worst time for the customer to see their board...they are diamonds in the rough here and its hard for some people to see the finished product...next hat I don is that of the sander...imo the unsung hero of the whole build...a good sander will fine tune a board a bad sander can ruin everything
Thats mighty bloody impressive RG , so well described - cheers for tonights tuition![]()
![]()
WOW this is clearly the BEST ALL TIME post in seabreeze longboard history.
RG feel free to touch base,I'm hooked wonderful I clap my hands ![]()
Being a bit of a pig here RG be great if you post some of Pups too (I know pain in the arse ![]() )) bloody great post mate
)) bloody great post mate ![]()