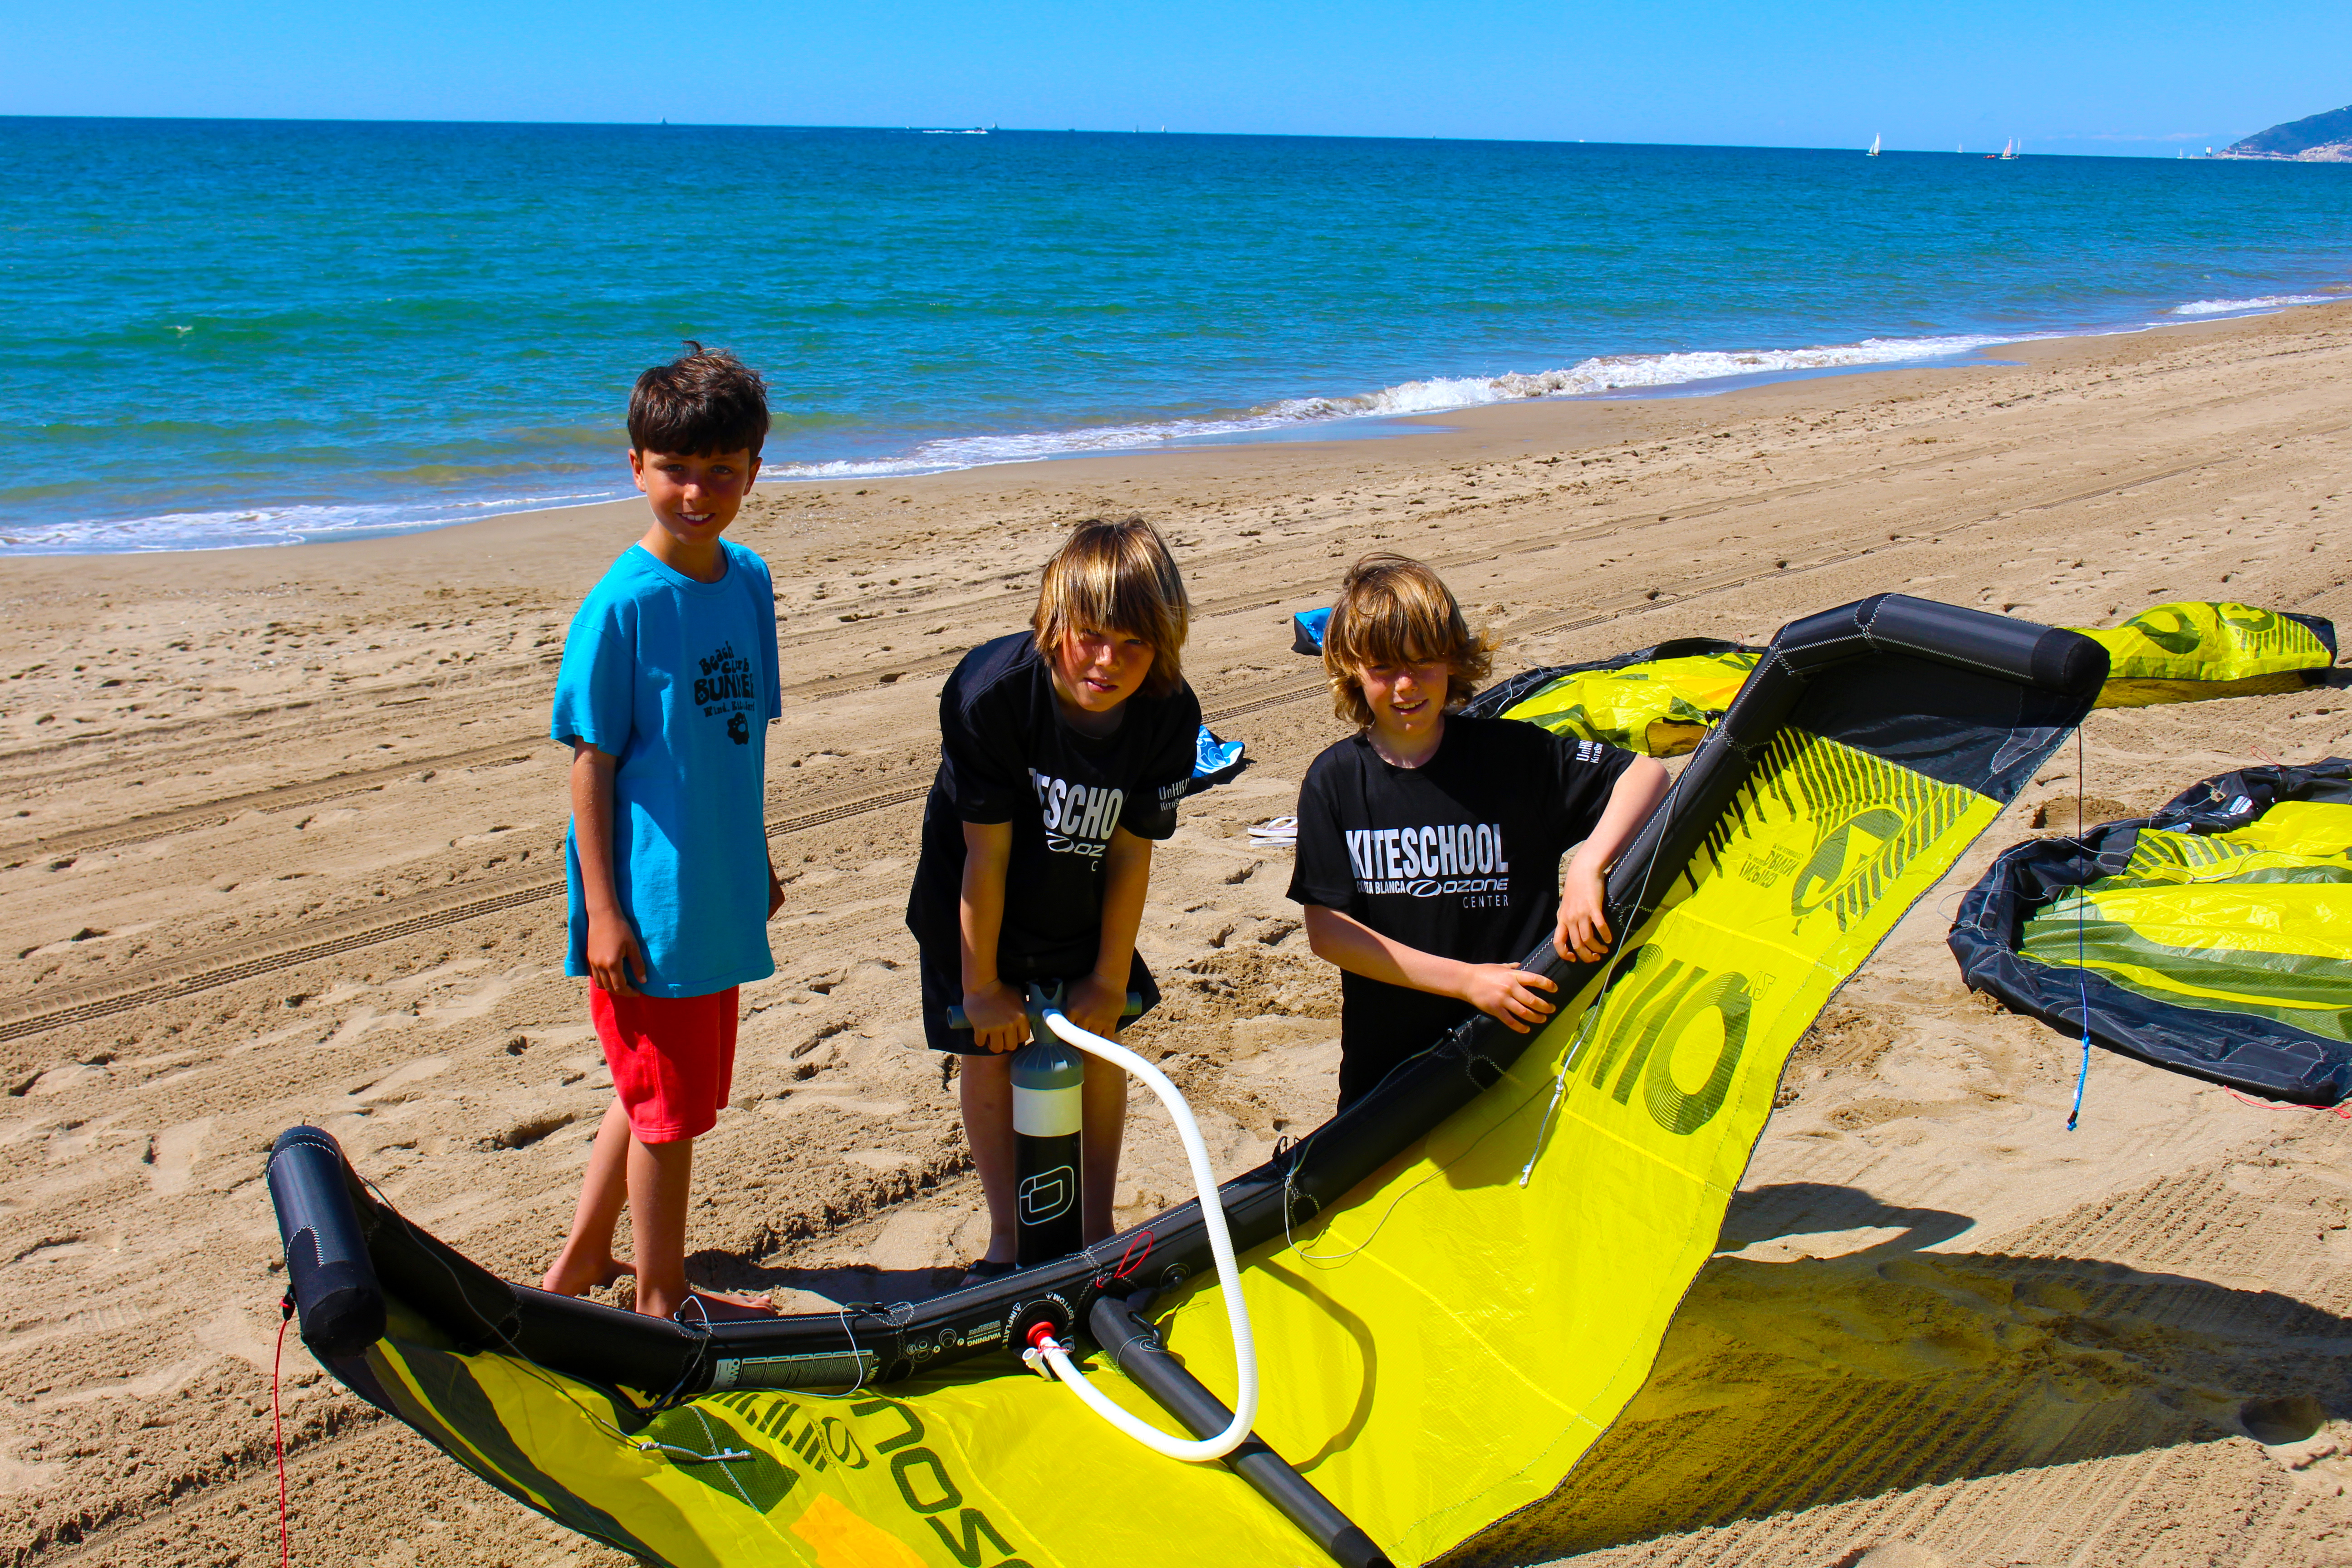
What's the difference between a 6m kite. And a 6m kite?

One of the best decisions you can make as a kiter parent, is to buy your kids gear before their lessons. That way they can use it for the entire learning experience, and you can get the most out of their instruction by taking them out in between lessons for some practice. But what do you buy? There's so many options for kites out there, and all the kids want is the latest and greatest performance kite! Here's three major design features to look for then choosing a kite (new, or second hand) for kids.
1: All 6m kites are not alike.
There is a huge difference between a kite that was build for an 80kg bloke in 35 knots, and one built for a 40kg child or woman in 18 knots. The main difference is weight, because a kite that small needs to super light weight to fly in light winds. Anything will fly in 35knots! A great way to save weight in a kite is to use less struts, and in kites smaller than 6m, you only need one! Other weight saving differences include complex one-pump systems, Dacron reinforcement, fiberglass battens and even the lines themselves. Shop staff will be able to point out which kites have these features, or check out the brand websites to find a kite with a single strut, designed for kids or women.
Whatever you do, don't buy a cheap second hand 6m kite, just because it's cheap! That 6m kite probably has 5 or more struts, is built like a tank and has all the bells and whistles imaginable just to make it fly better in gale-force winds.
2: Arm length minus chicken loop length equals depower throw.
What good is a kite with lots of depower, if your little one can't push the bar out far enough to use it? Kites built for adults have adult sized chicken loops designed for unhooking, and while your kids might be thinking about handlepasses and mobes, the last thing you want for them is to unhook in their lessons! Look for a bar system with the shortest chicken loop possible. Many of the smaller inflatable kites are sold kite-only, so ask shop staff about a custom bar and line setup for it. With a few stainless steel rings and the right brands quick release system, you can make up a connection system that goes straight to the kids harness and remove the 20cm worth of chicken loop. That gives them more depower range, and means they can reach the bar when they drop it!
3: Sometimes you've got to wear a 'nappy harness'.
Nobody has ever said 'hey, that seat harness looks cool!'. Ever. And nobody ever will. But a seat harness works perfectly for kids because it doesn't matter if the harness is a size too big, and they keep the chickenloop down nice and low. Going a little big for their first harness means you get two seasons out of it, and that lower chicken loop position adds to the total depower throw available. Imagine a waist harness that's a size too big, up around their armpits. It's not comfy, and the poor grommie won't be able to push the bar out at all! Consider heading into the shop without the kids the first time and pick a harness for them. If they see those slick looking waist harnesses, you'll never convince them that a seat is the way to go!
In short. Look for lightweight kites with one strut. Consider modifying the chickenloop with your shop staff to make it shorter, and choose a seat harness. Doing those three things will make your kiter grom-to-be's first lesson go smoothly, and keep them coming back for more!
Next week, we tell you how to maximize the outcome of lessons and how to pick a great instructor.


