
Hi Everybody,
I made a pact with landyacht that I would build a Lefroy Mini for Yeppoon to settle the question of which is the faster or better performing yacht between a Lefroy Mini and a Blokart.
It was agreed that I would supply him with a Blokart to compete with, he would supply a sail and mast for the Mini and that it would be confidential until after the event. The confidentiality on my part was just in case I got egg on my face but I think he was very confident of the outcome.
The project has been a ton of fun in the building and the result for me a resounding success. The yacht is an absolute cracker.
All credit must go to Paul for his brilliantly simple design. I had suggested a couple of variations early in the piece due to some components I had on hand but he insisted I stick to the plan. He only had to say it once and I stuck to it except for a couple minor changes in the fork head and axles bearings and the attachment thereof. Also my seat back is at 45 degrees not 30 degrees due to placement.
For anybody considering building a Mini I also suggest you "Stick to the Plan."
Please do not post to this thread . Posts will consist mostly of photos which will be self explanatory and questions will be answered in a questions thread.
Thank You.
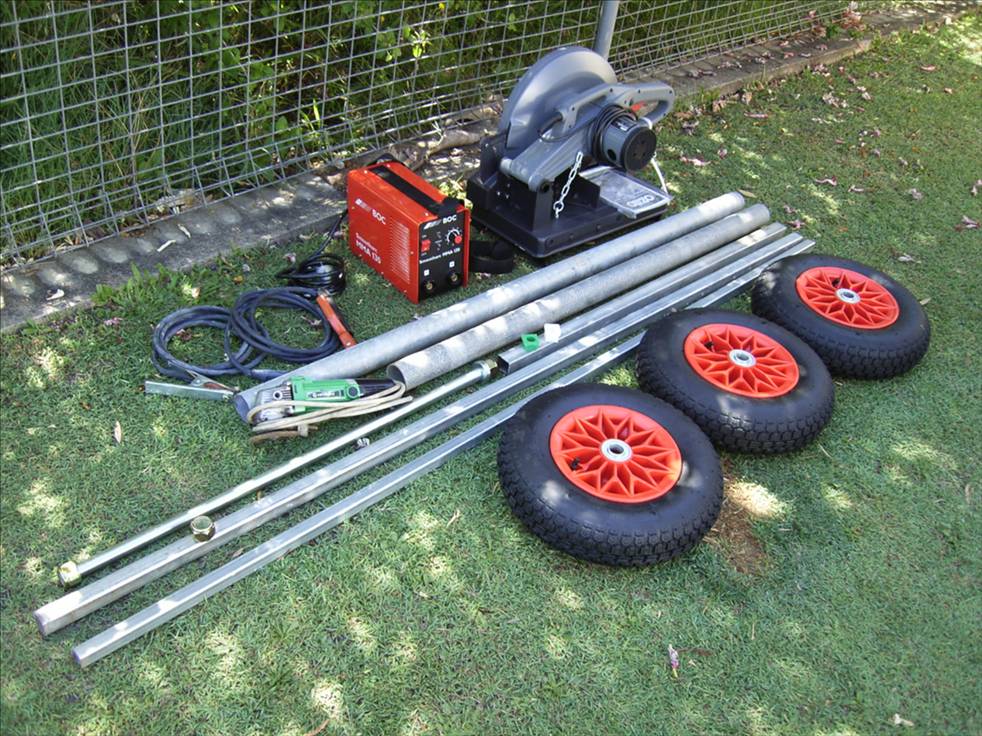
The tube is recycled street sign posts from our local steel merchant and the RHS is new stock which I thought was 2mm wall but is actually 1.6mm. A length of 1" threaded rod for axles with nylock nuts and the Fallshaw wheels.
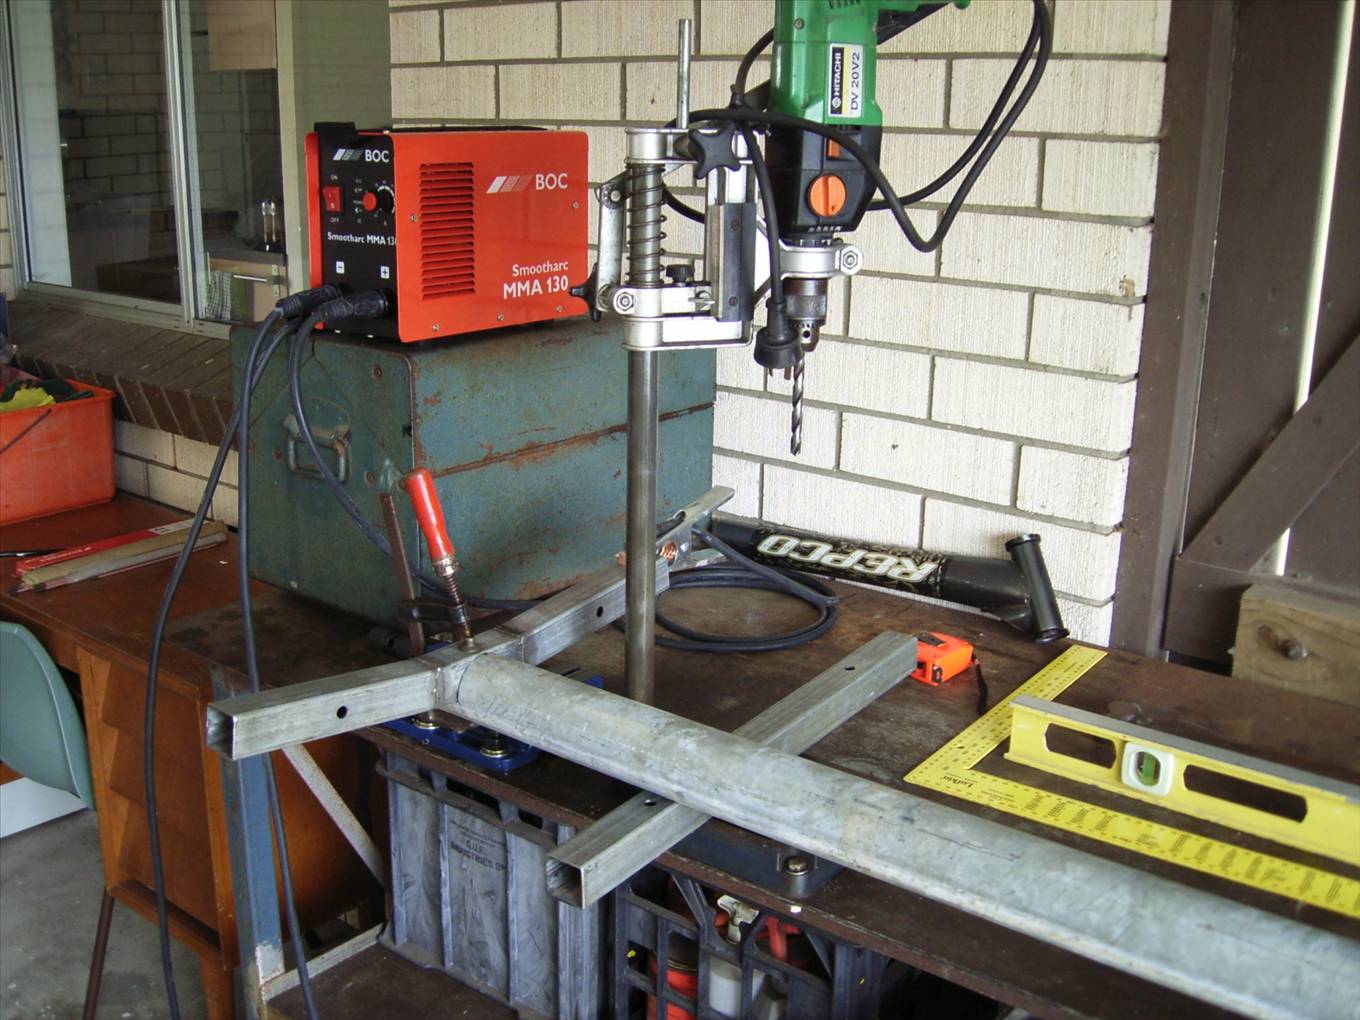
Welder ($325) is a BOC Smooth Arc 130 inverter welder which is brilliant, cut off saw ($150) is an Ozito from Bunnings works fine and will out last me and the 100mm grinder is a Hitachi I have had for 15 years.
The work shop.
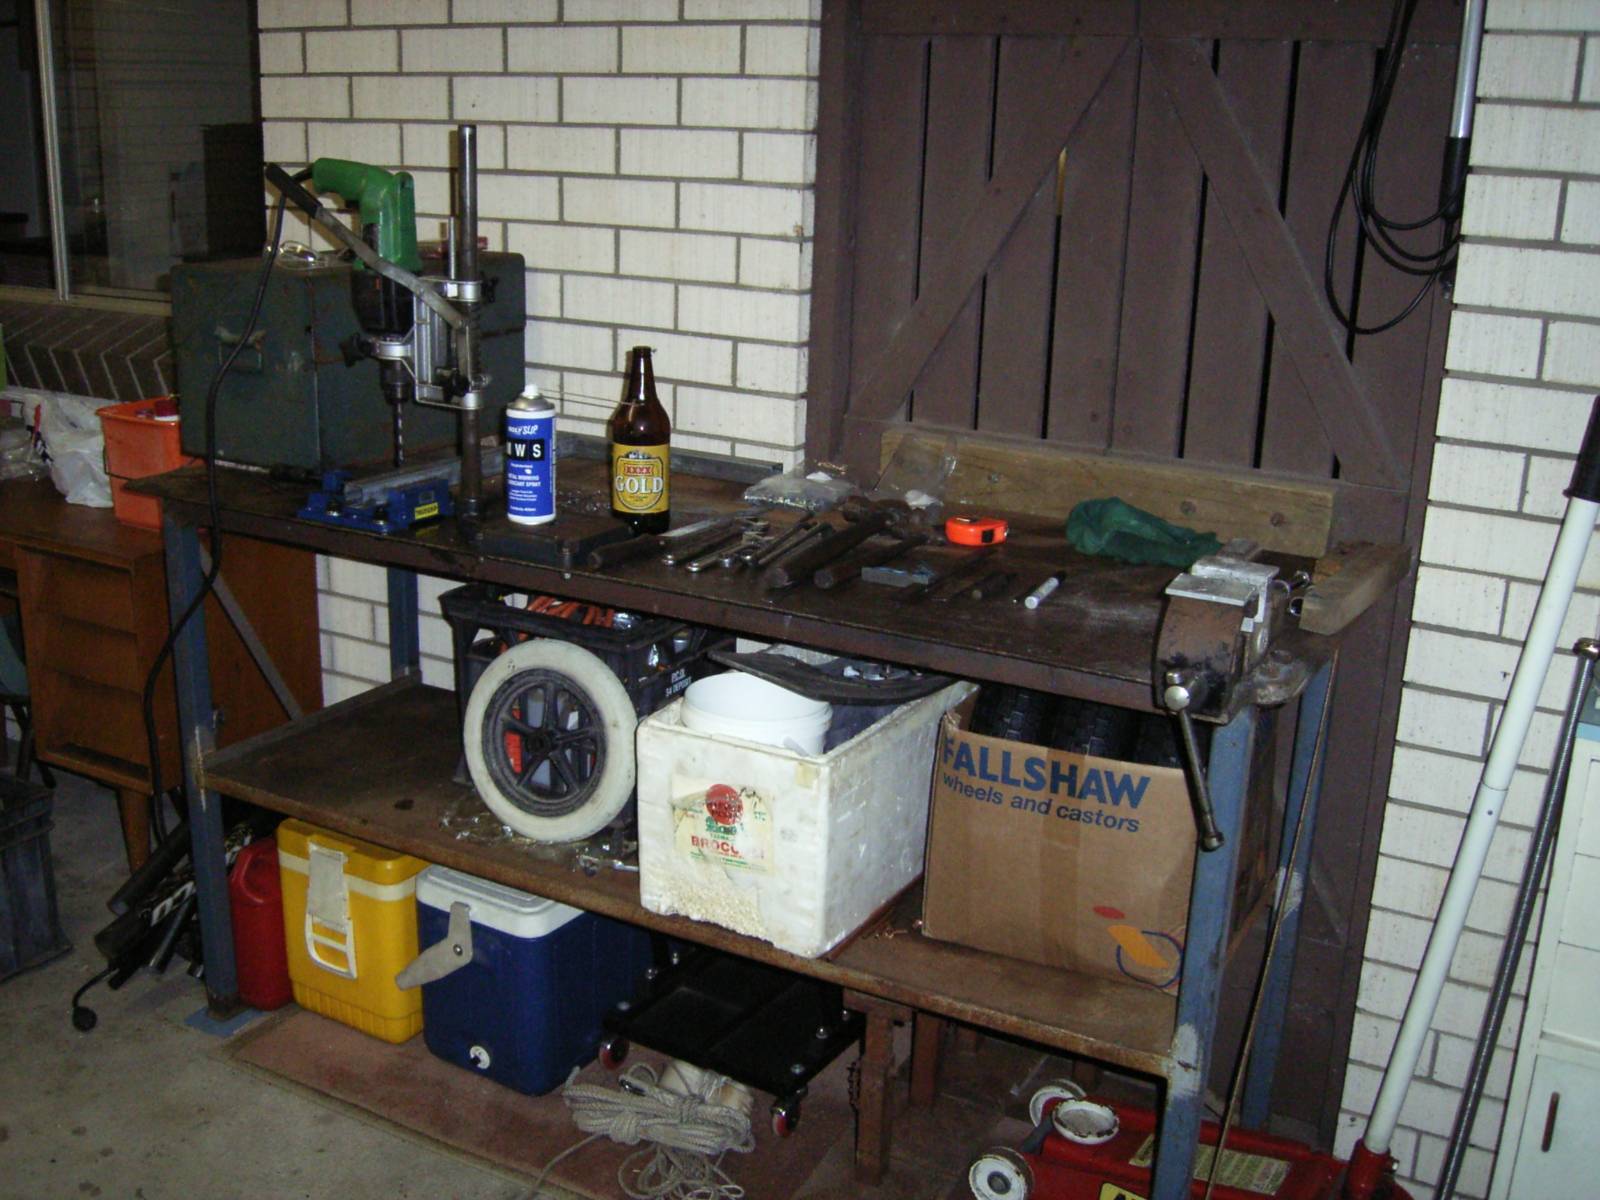
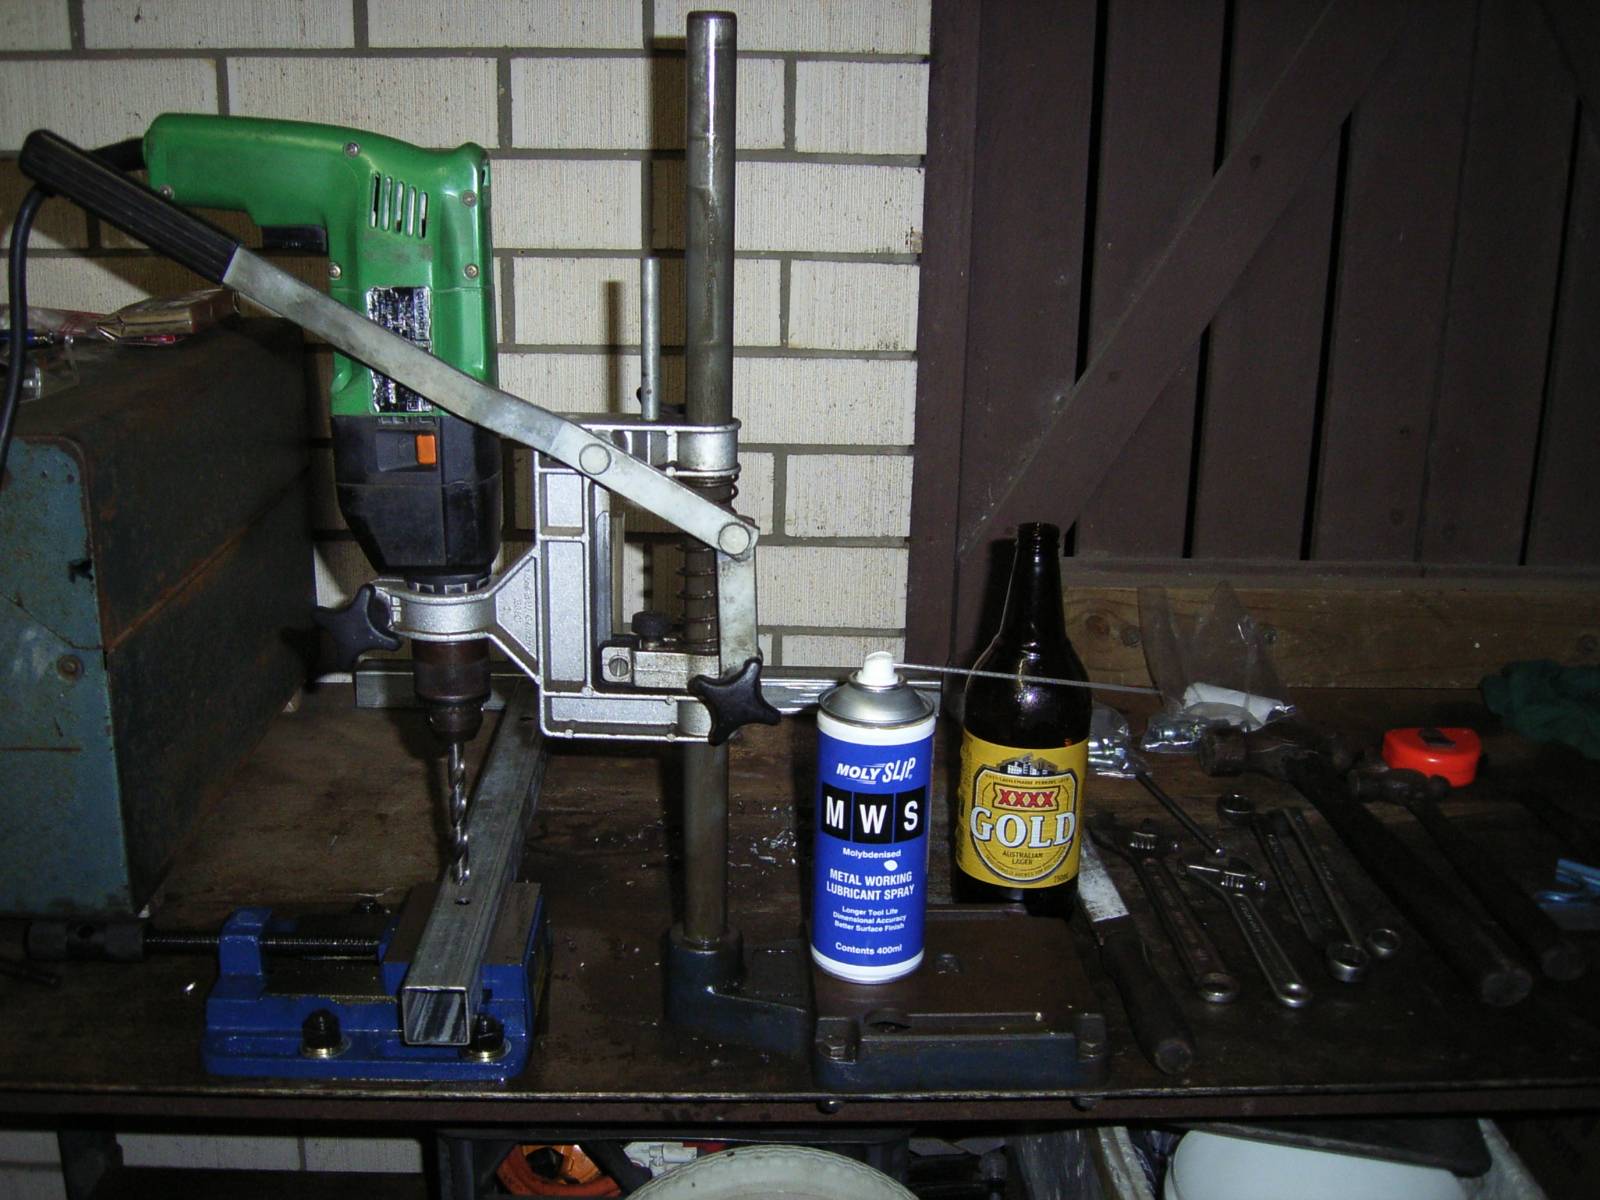
Bench, 6'x2'6", steel, 40th birthday present from my darling wife, fitted with vise, drill press and $15 machine vise from Repco.
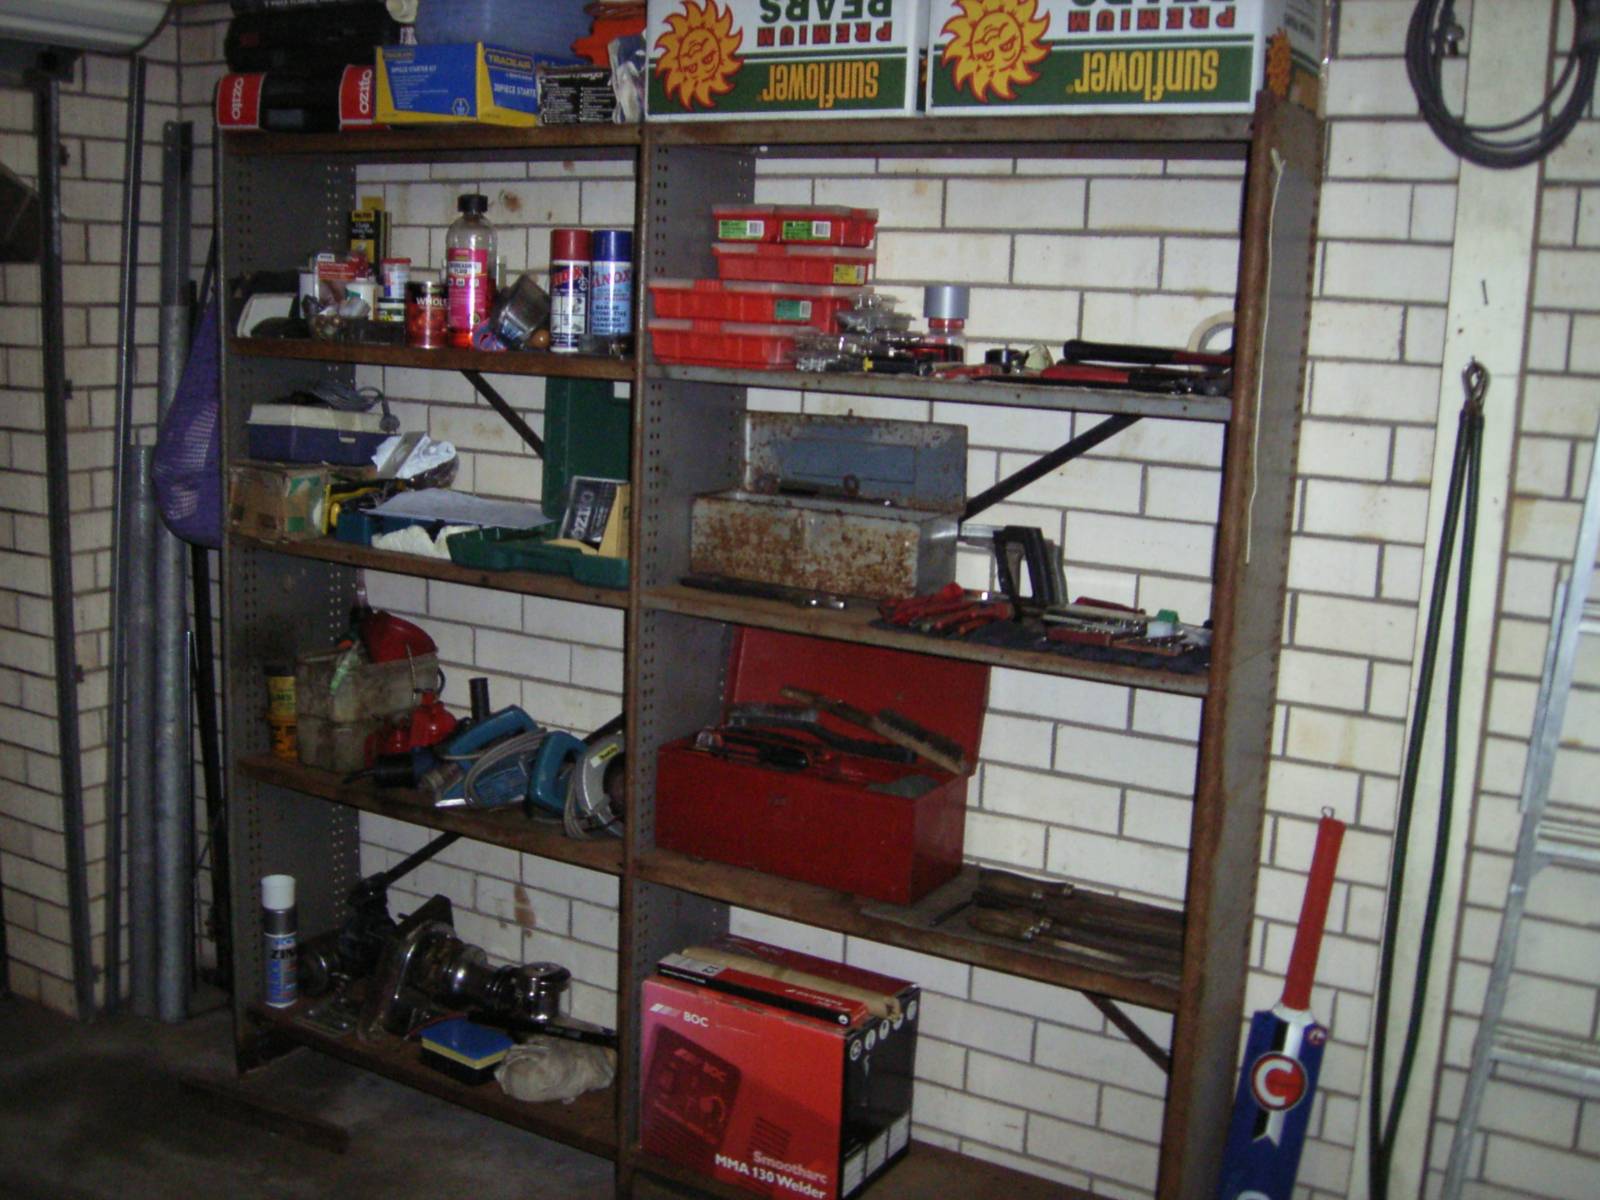
Shelves with just the usual array of tools and a good selection of files. A 12" bastard file, 12" hand smooth or second cut, 10 or 12" half round bastard and a couple of round bastards are very handy.
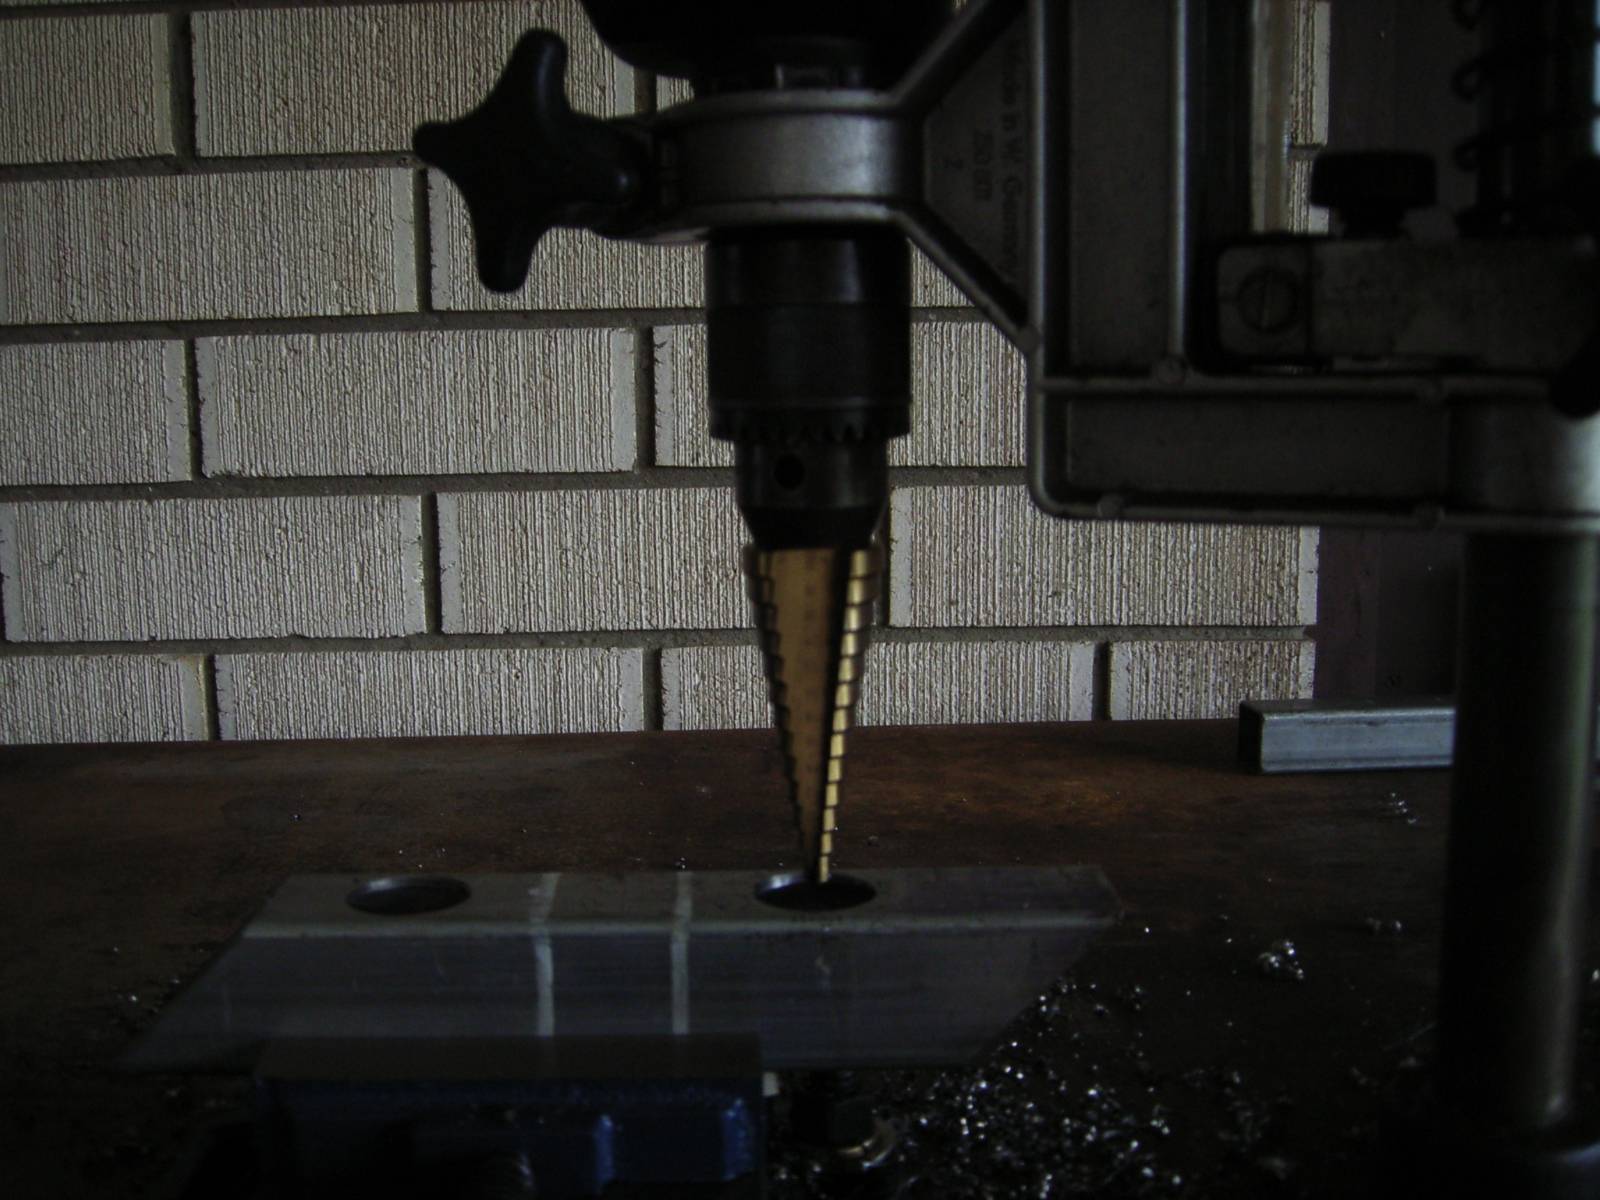
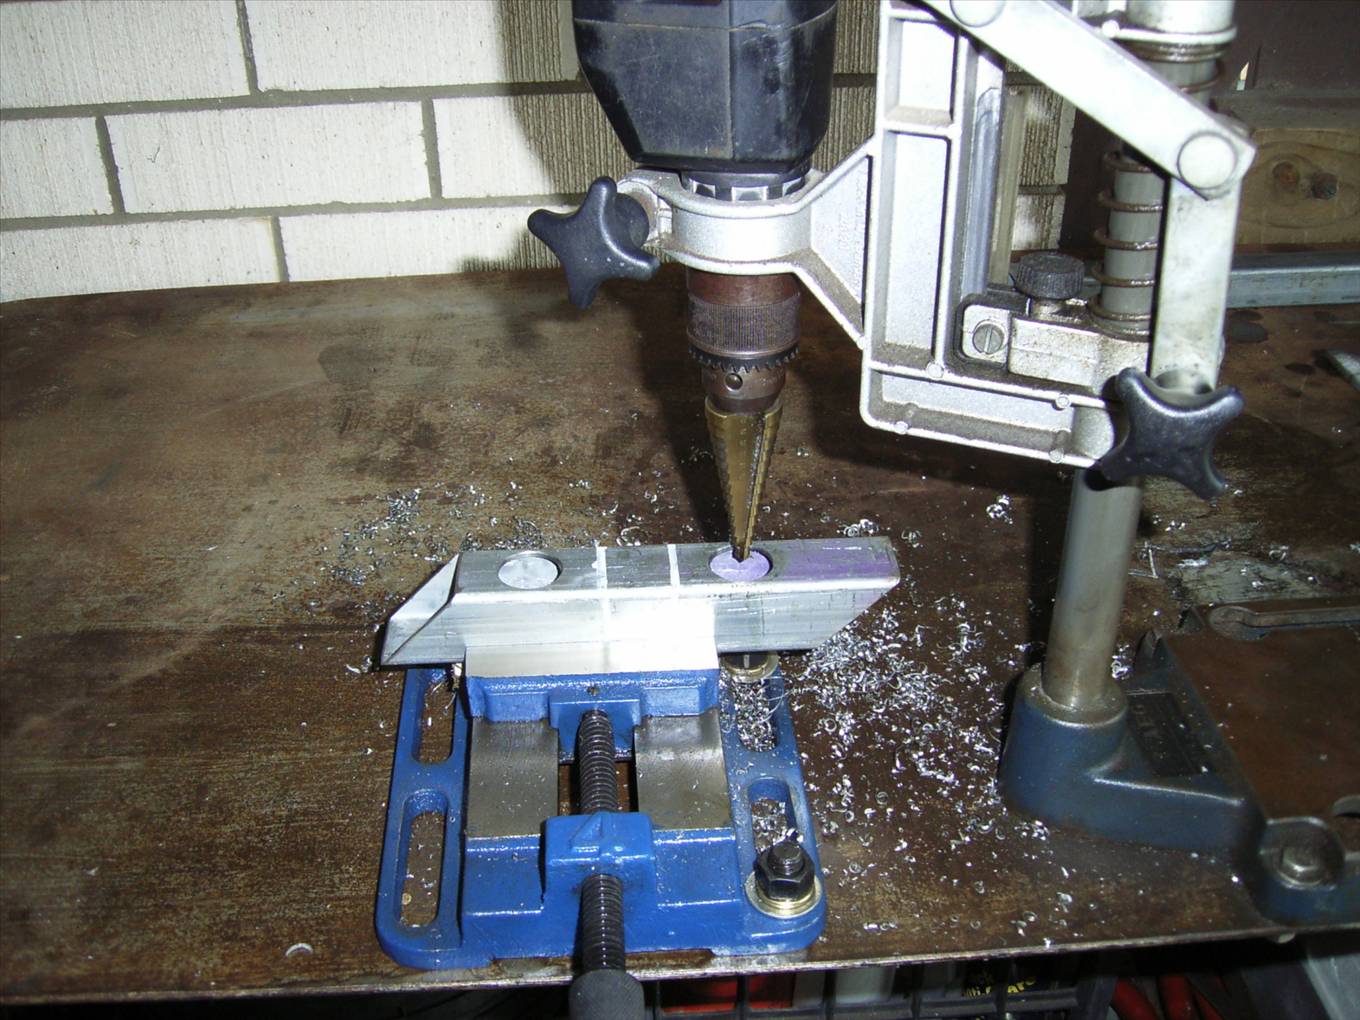
A really handy item. The Medalist brand step drill for $36. This one goes to 32mm I think.

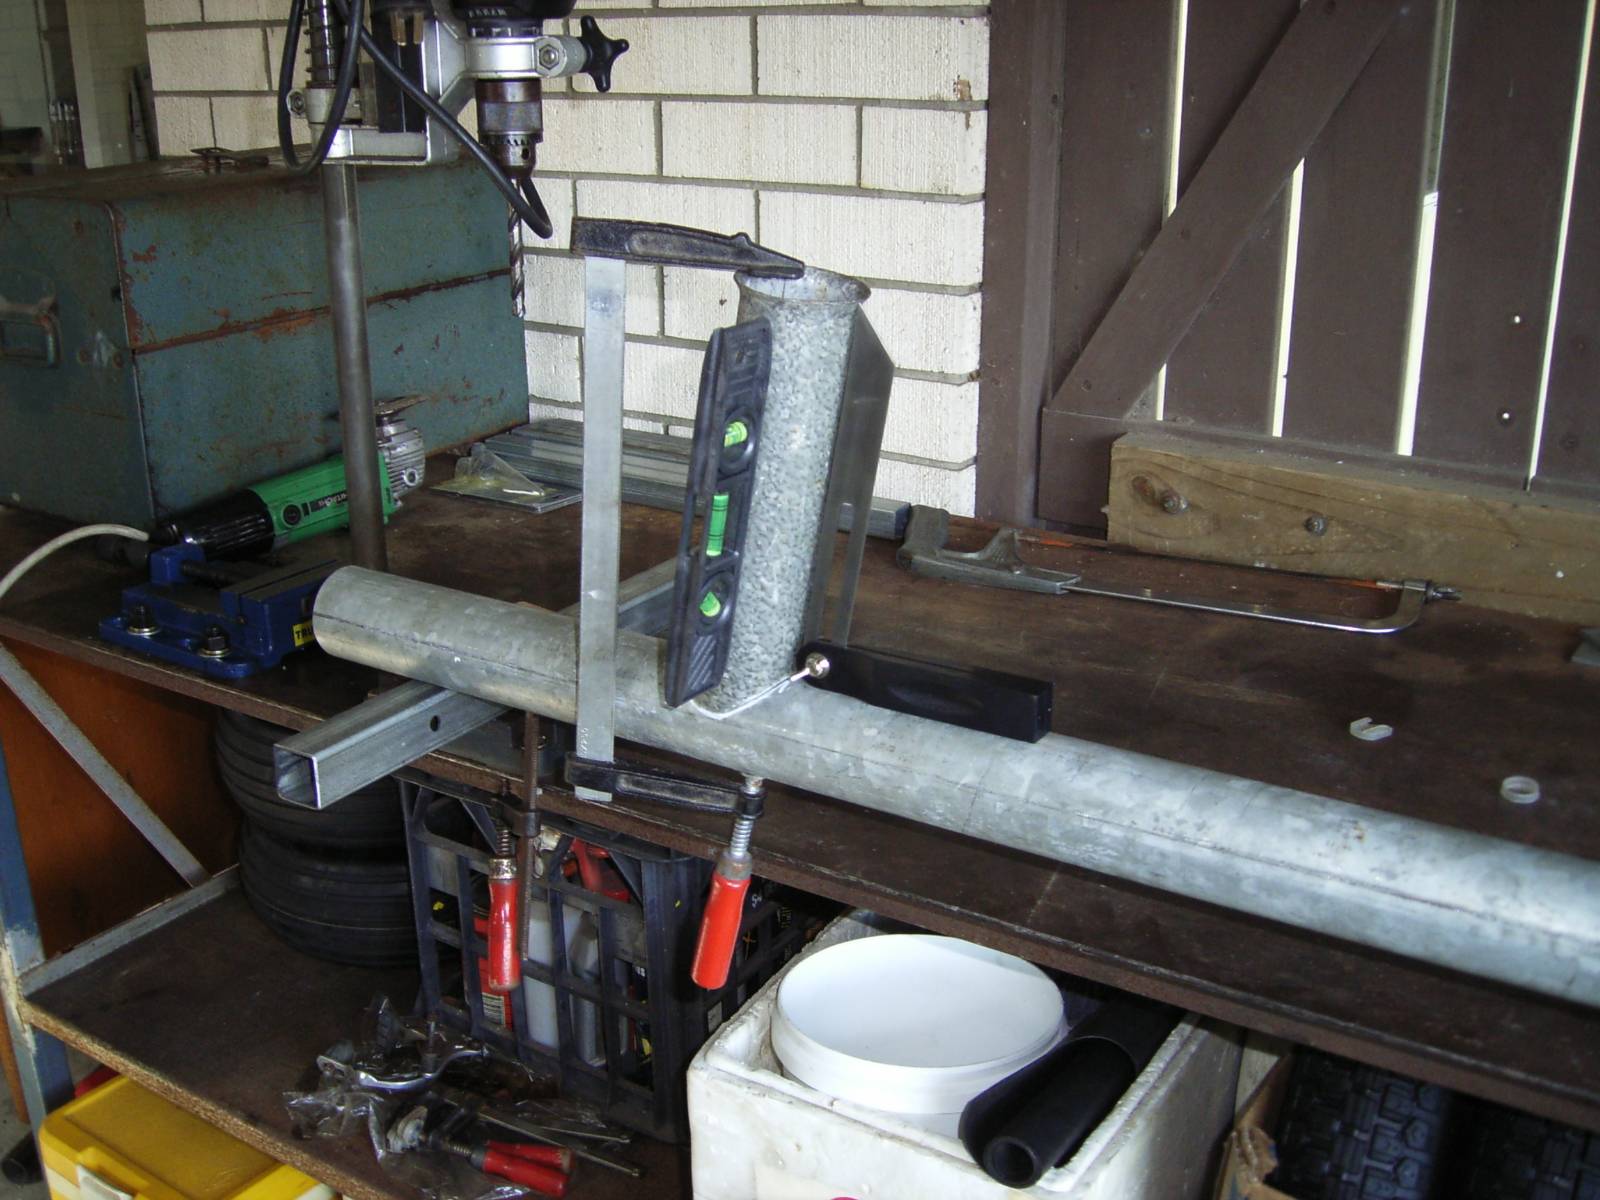
When using your cut off saw do not trust the angle markings on the base plate. use your square or protractor to set the back fence. Francis Fairmont keeping an eye or two on proceedings from the background.
Main frame.
Rear X member has been cut to length, ends filed smooth and is drilled for axle extension retainer bolts (3/8"). Drill accurately in the middle.
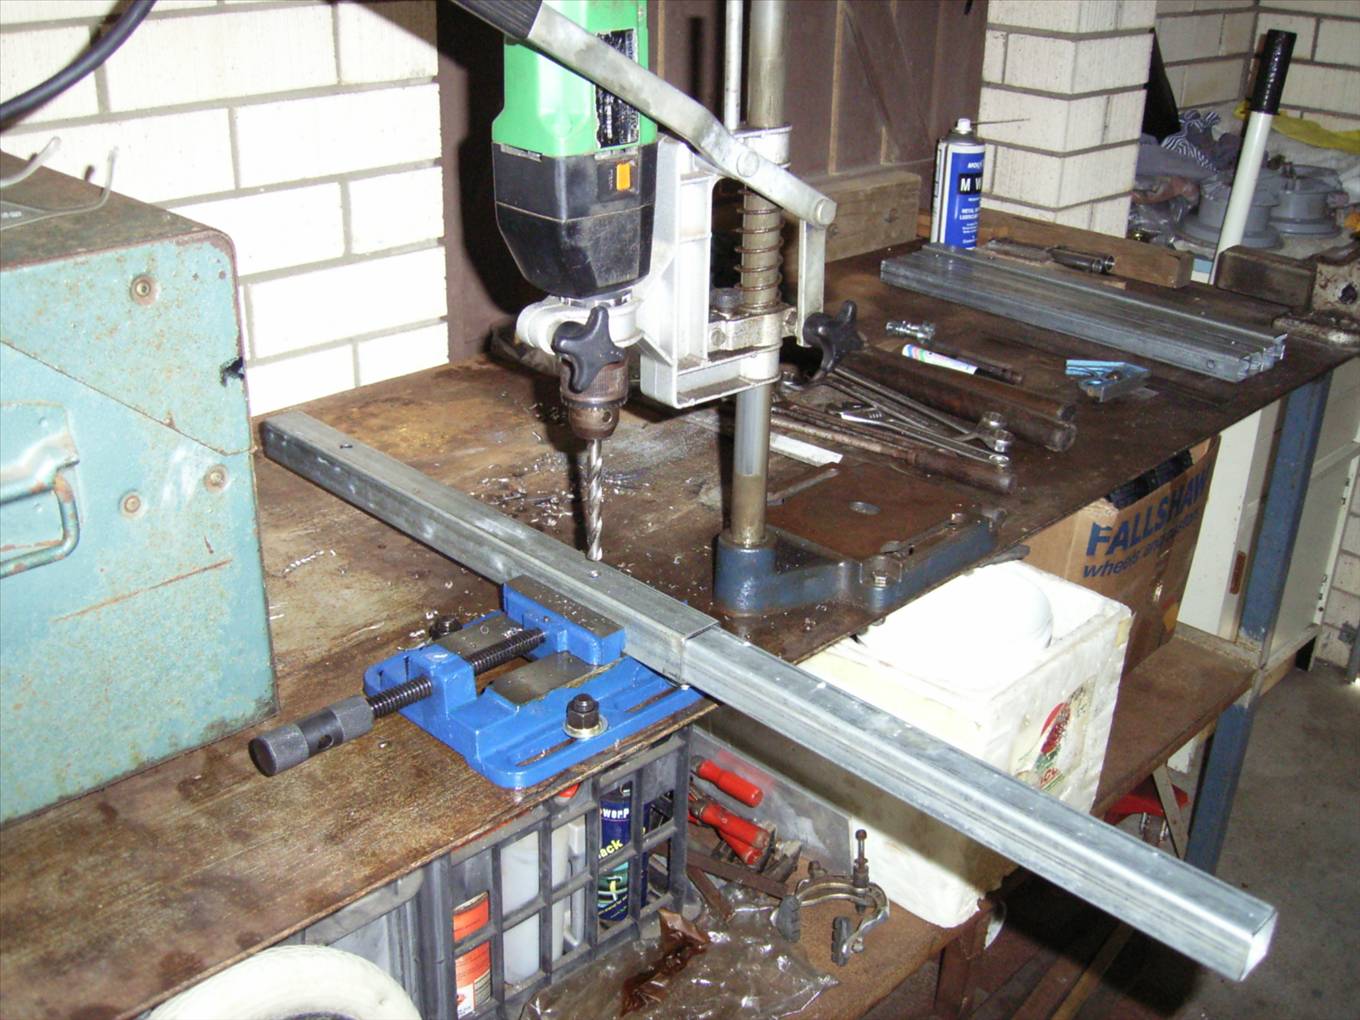
Then use the X member as a drill jig to drill the axle extensions. Run the drill through the X member and extensions on both sides so that you do not get a left and right axle extension.
Use MWS (Metal Working Spray,blue can in foreground)for easier cutting and not scorching your drills. Use XXXX HWS (Human Working Spray, brown bottle in background) for cooling of temper when asked some inane question by family member when you are in the midst of a critical operation.
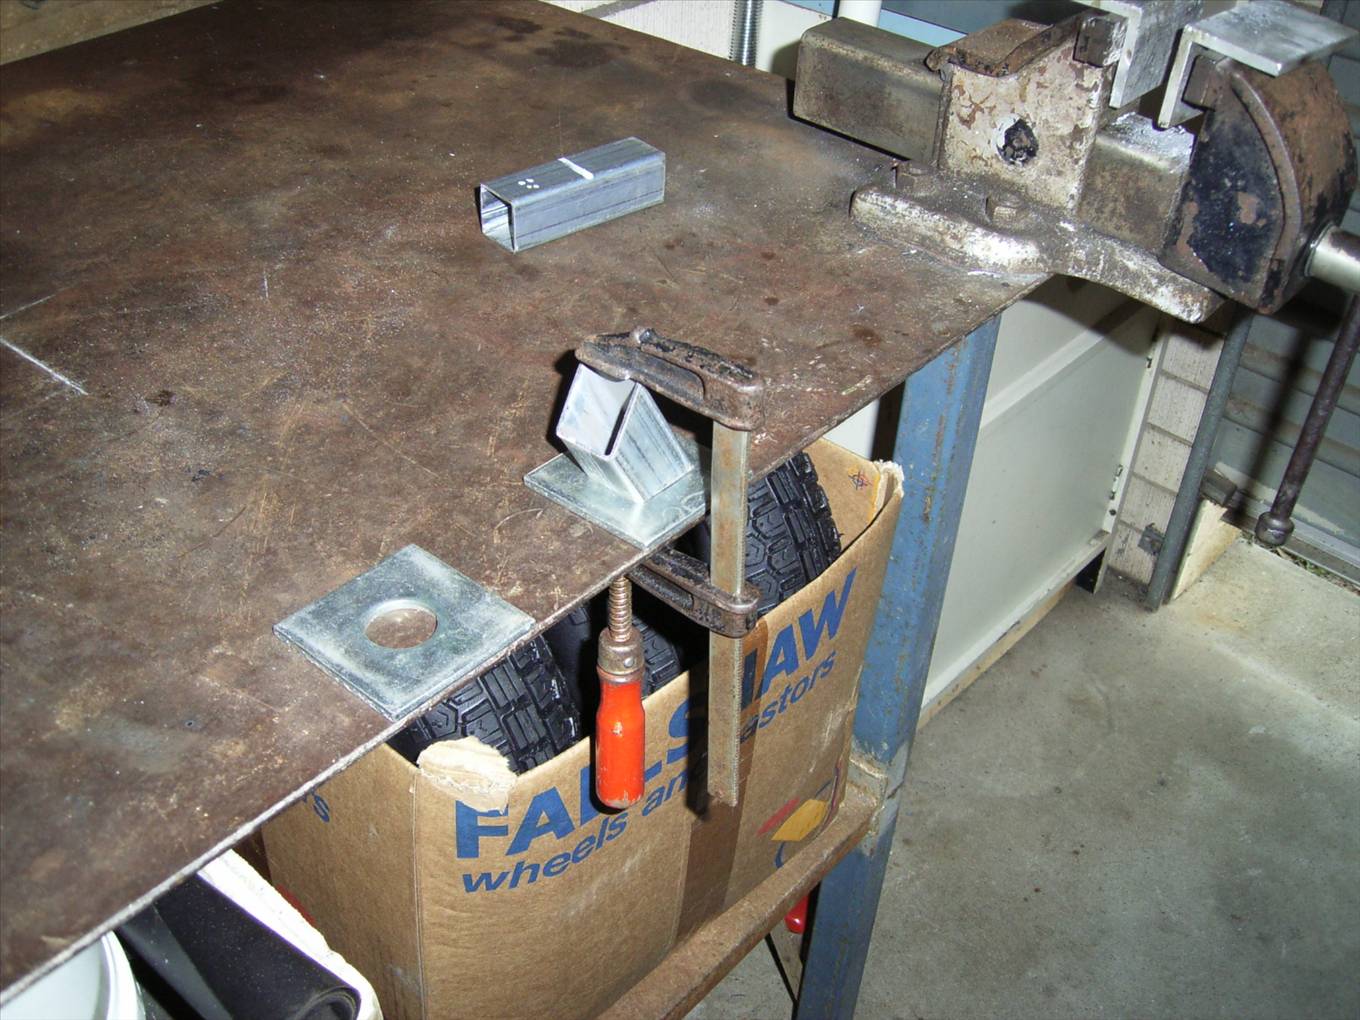
Spine has been cut and notched to accept rear x member, both set level and square and clamped ready for welding.
Axle extensions. This is one area where I deviated from Paul's plan. It just seemed like a simpler way to me. The unexpected result was a 1 1/2" ground clearance which works just fine. However by cross drilling the extensions at 90 degrees and inserting the extensions at 90 or 180 degrees the ground clearance can be raised to 3 1/4" or 5" respectively. To accommodate this though you will need to make extra front forks to keep the yacht level fore and aft.
Drilling the axle droppers/risers before cutting at the white lines.

Set square and clamped ready for welding. Fork head tomorrow.
The fork head is another slight variation mainly due to my lack of skill and lack of good clamps.
The end plate for the spine is a 1" structural washer of some kind that was at the steel merchant's for about $1 each. It was easier for me to cut the appropriate length of RHS at 60 deg each end than to make the two small plates as per Paul's drawing. Also easier to clamp and weld.
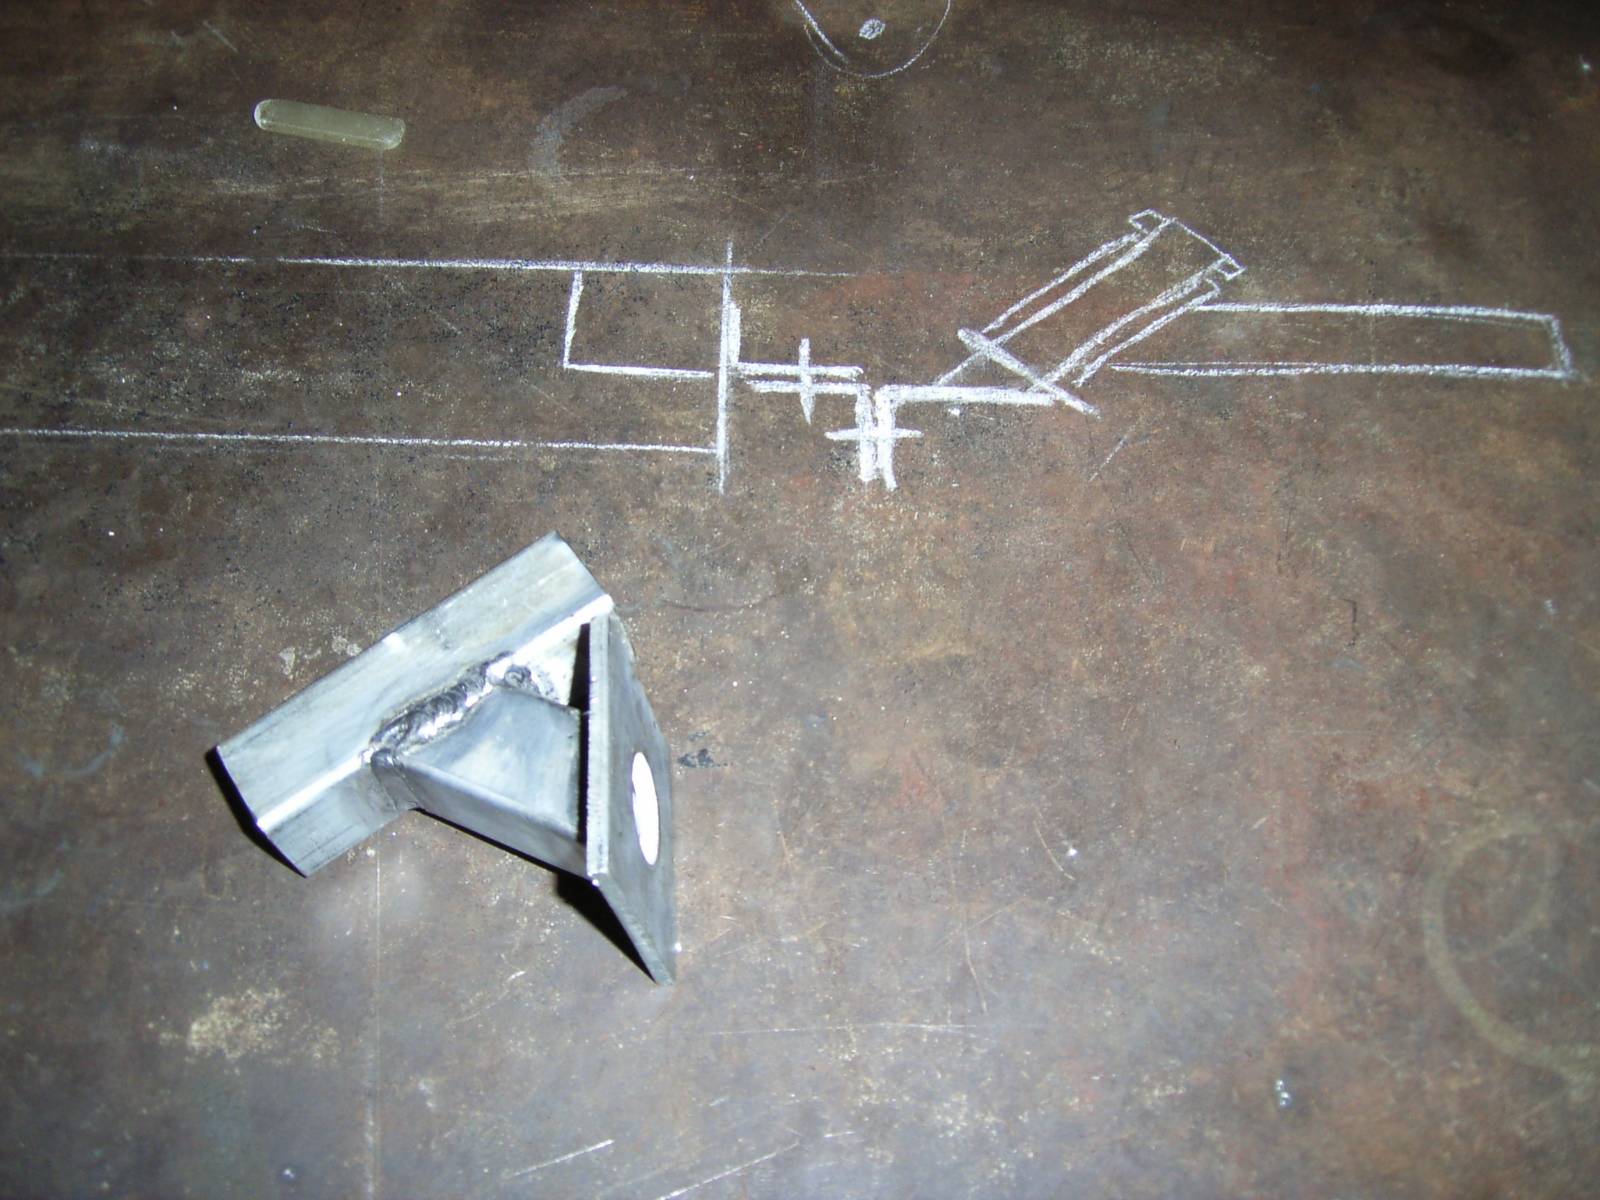
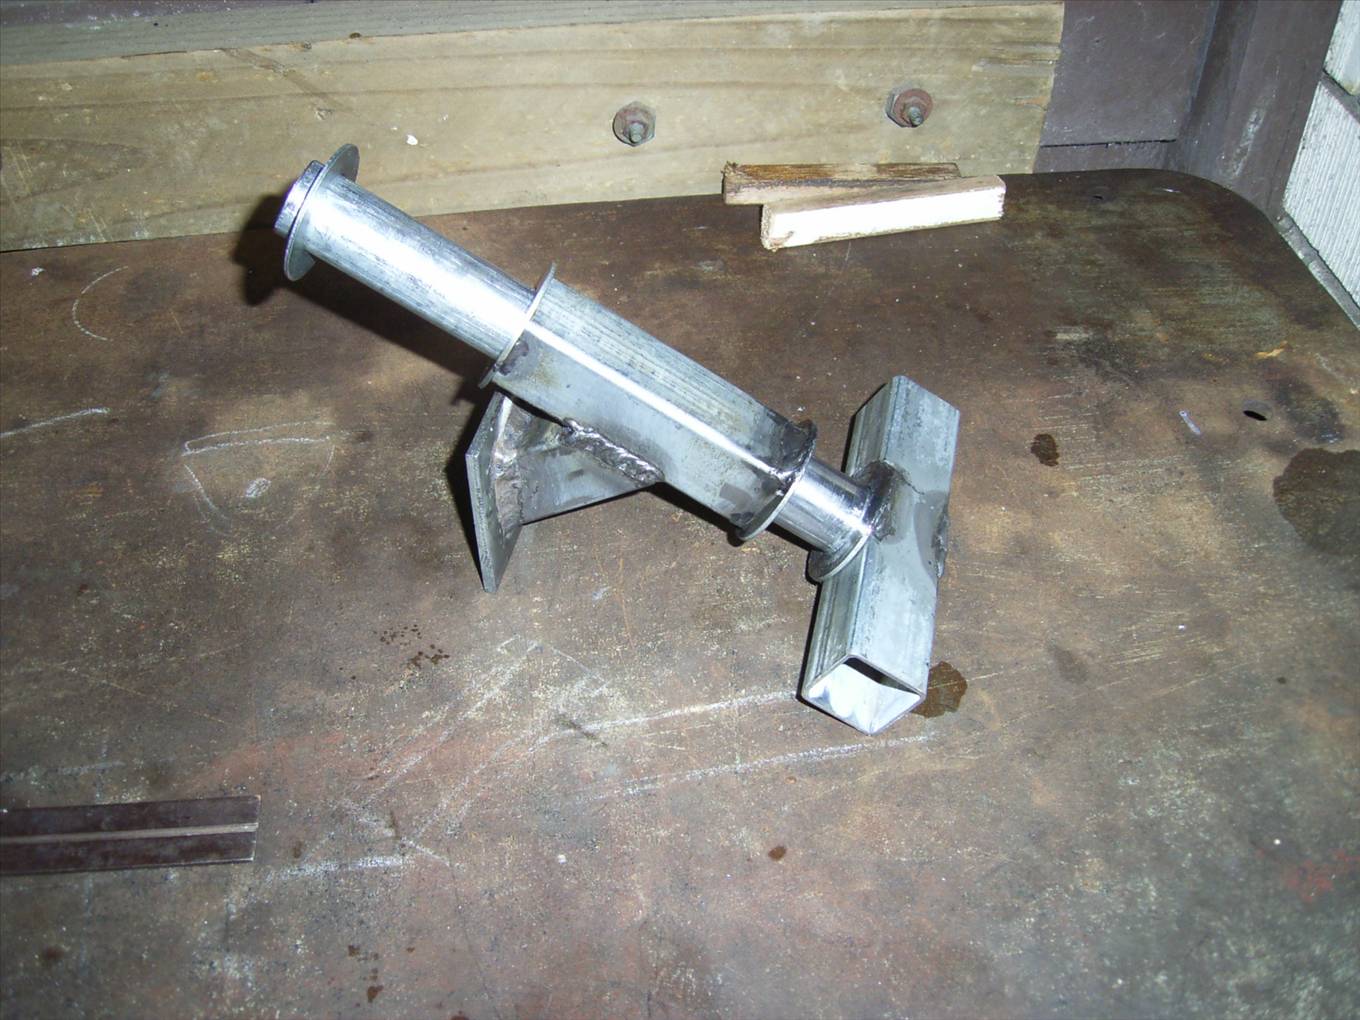
Washers yet to be welded onto steering head tube. Sketch on bench is of an attachment linkage for sailing two yachts in tandem similar to duece bar set up for blokarts.
Steering shaft (tube) and x member. I used tube of a size that will accept a steering stem from a BMX bike to minimise manufacturing and to utilise common off the shelf components.
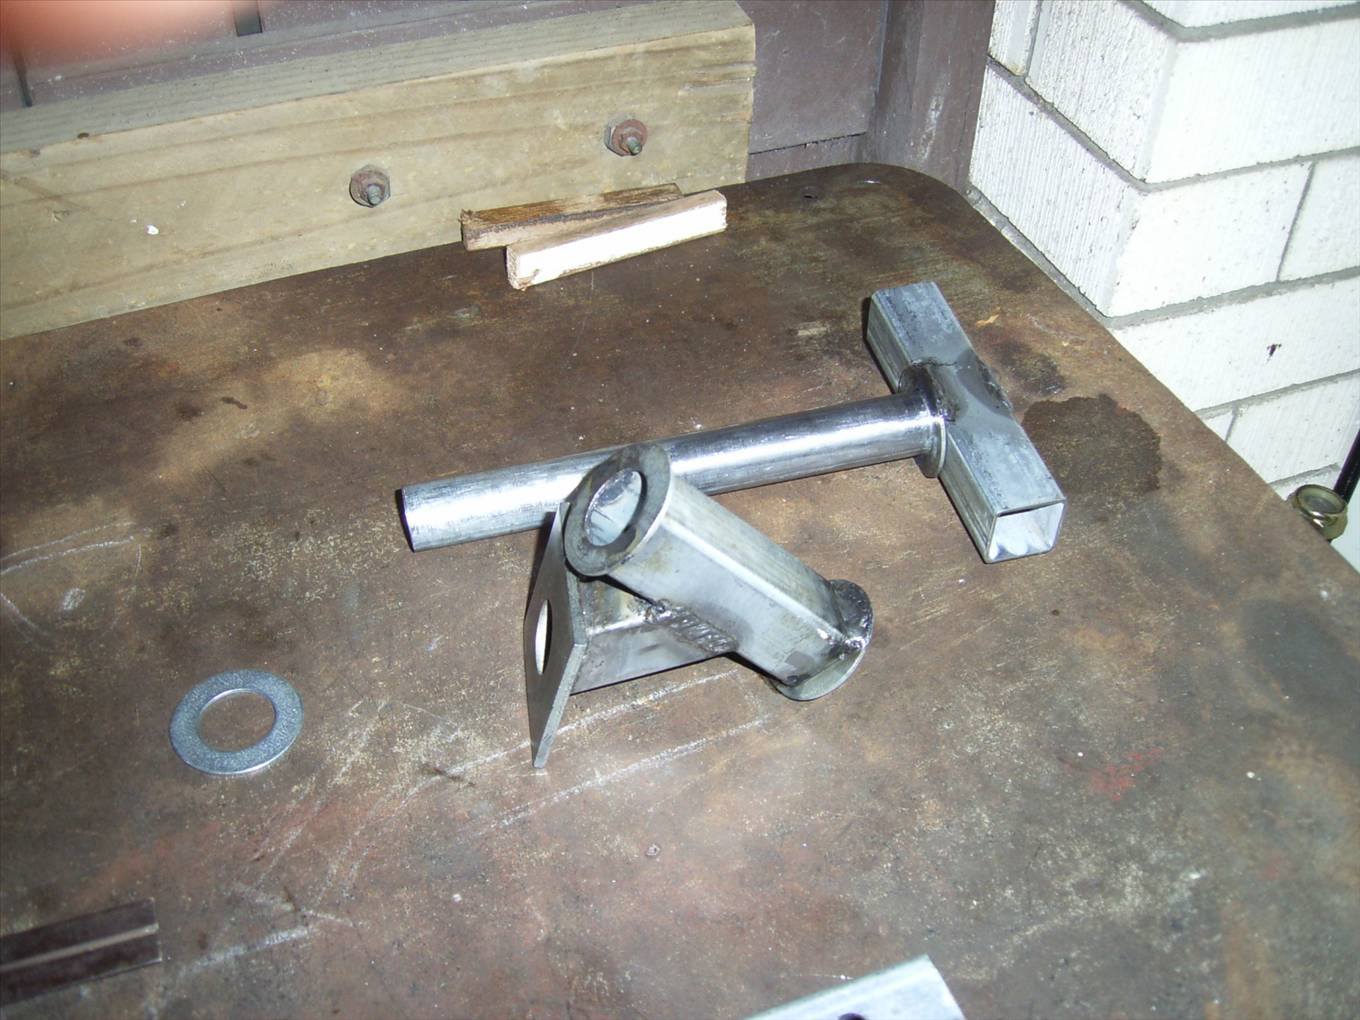
I used standard thickness washers on the steer head due to the difficulty of welding light gauge to heavy gauge material.
Tight fitting plastic washers are placed on the top and bottom sides of the steering head when the yacht is assembled and the steering shaft is retained by a 3/16" bolt with washers and nyloc nut.
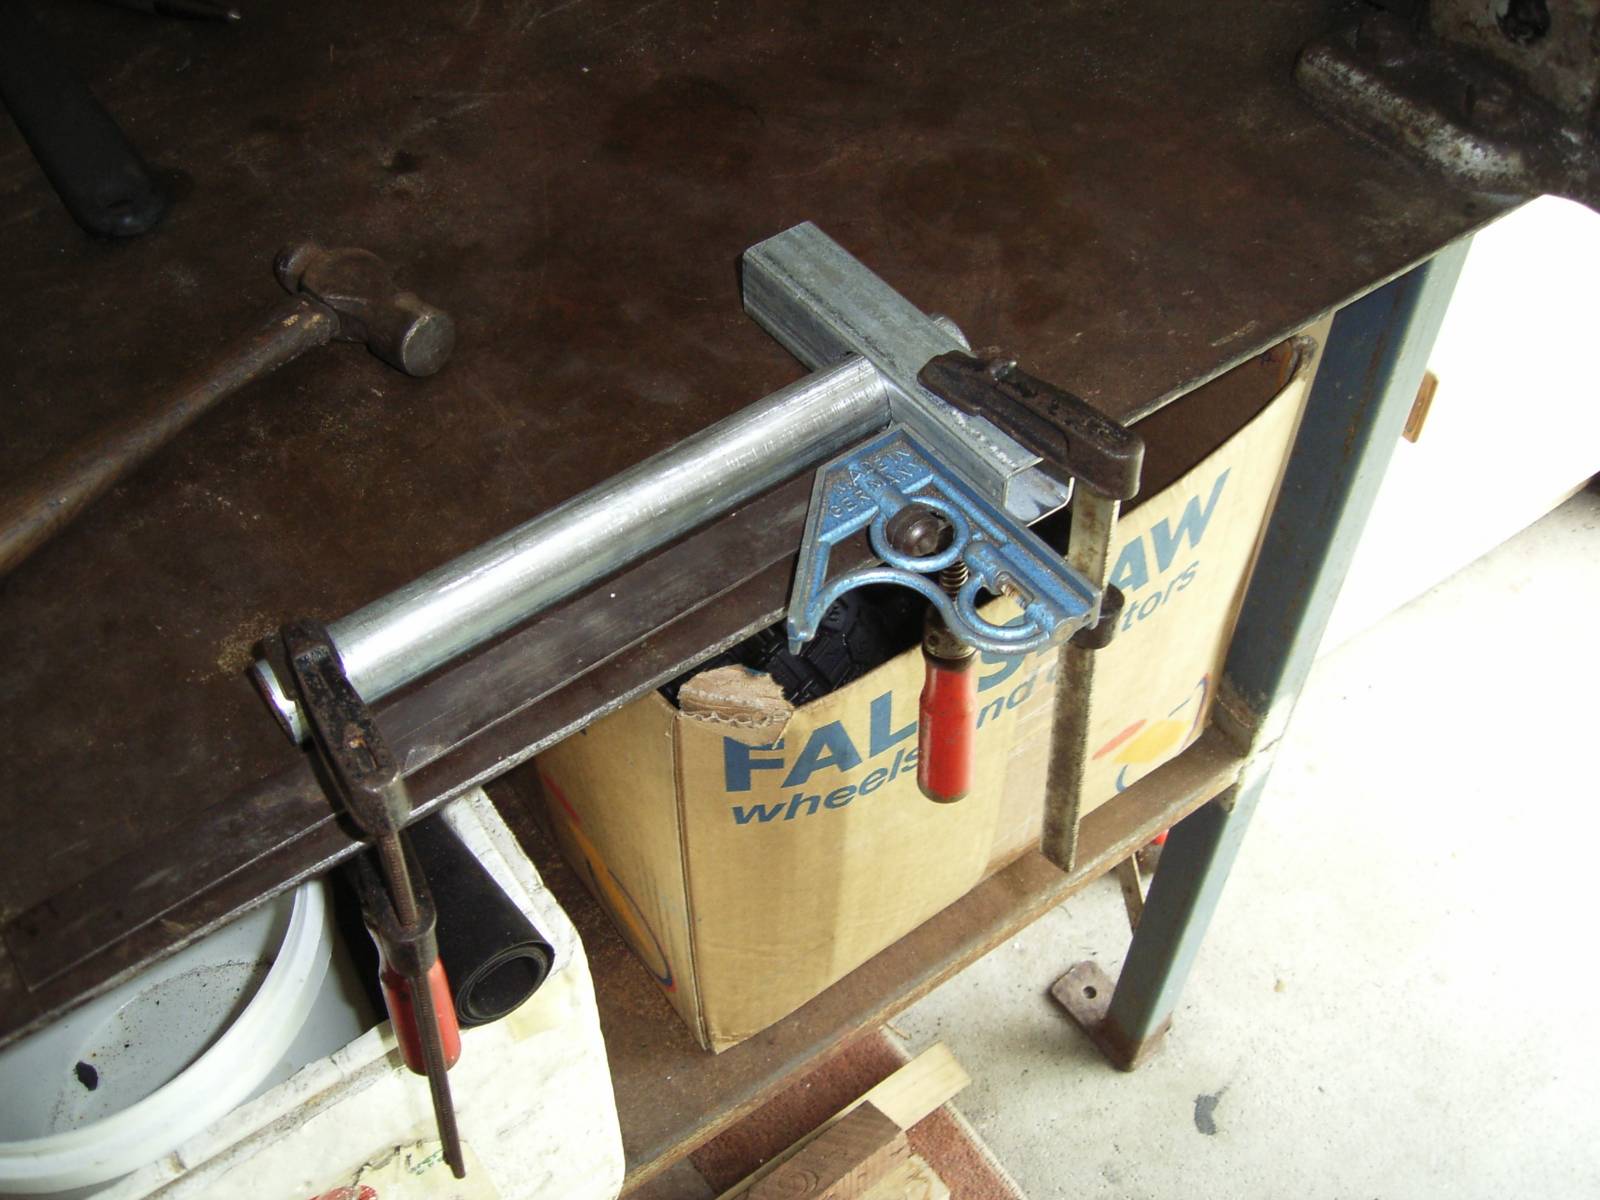
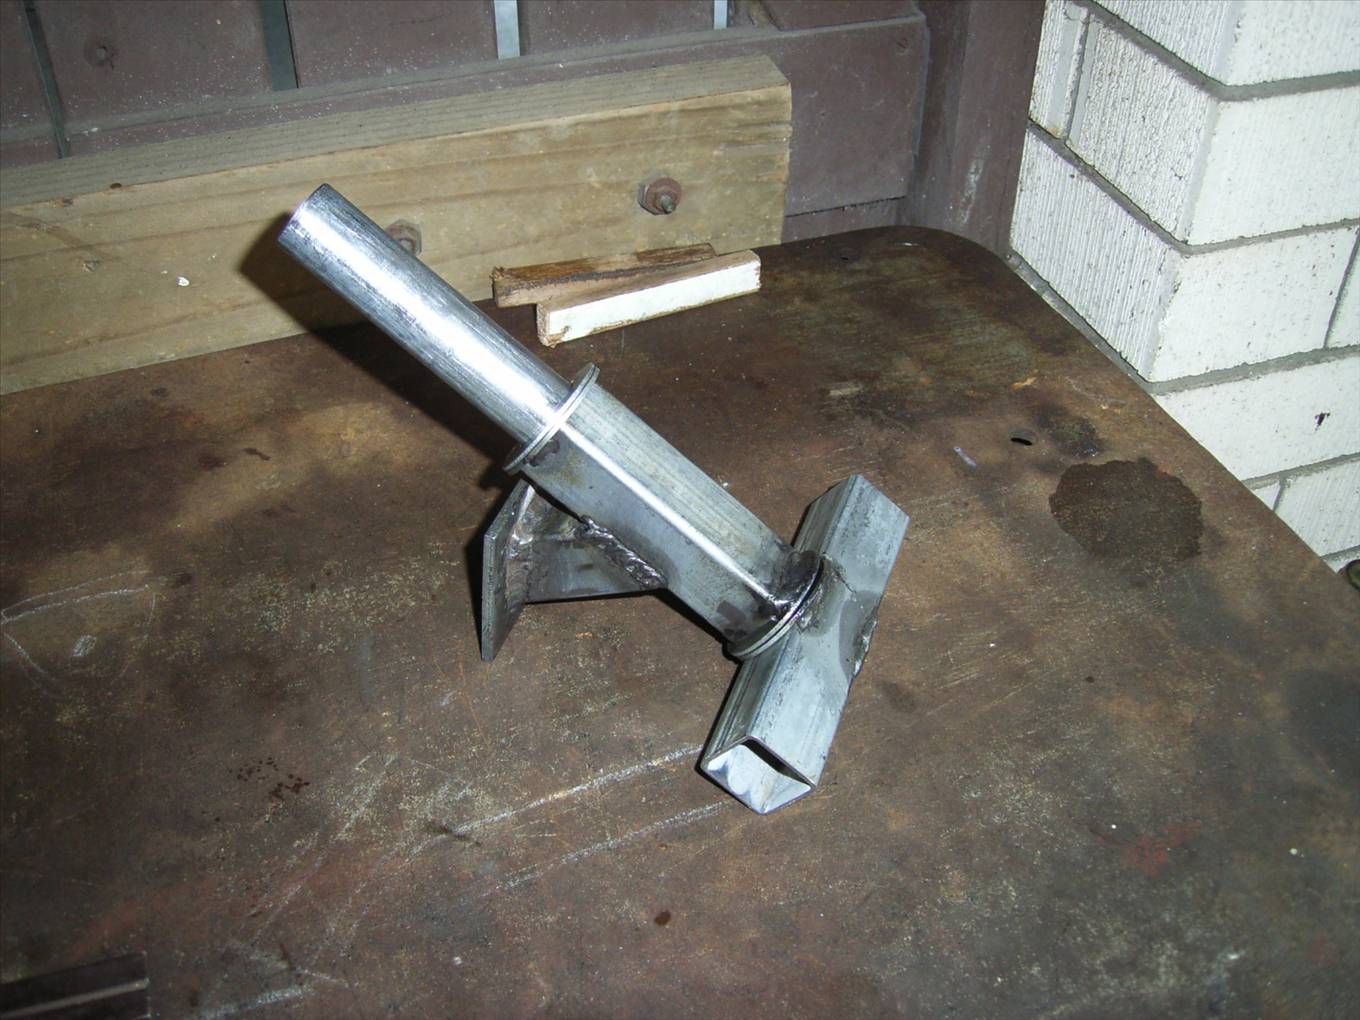
Attaching mast step and steering head to main spine. Paul has made up a jig for this but I suspect he used his first yacht as a jig for the jig. No jiggyjigging around is allowed here.![]() My method was to clamp the spine levelled and securely in the vise and then set the mast step perpindicular to the rear x member. Accuracy is important here because you might end up with a yacht that sails better/worse on the one tack than the other.
My method was to clamp the spine levelled and securely in the vise and then set the mast step perpindicular to the rear x member. Accuracy is important here because you might end up with a yacht that sails better/worse on the one tack than the other.
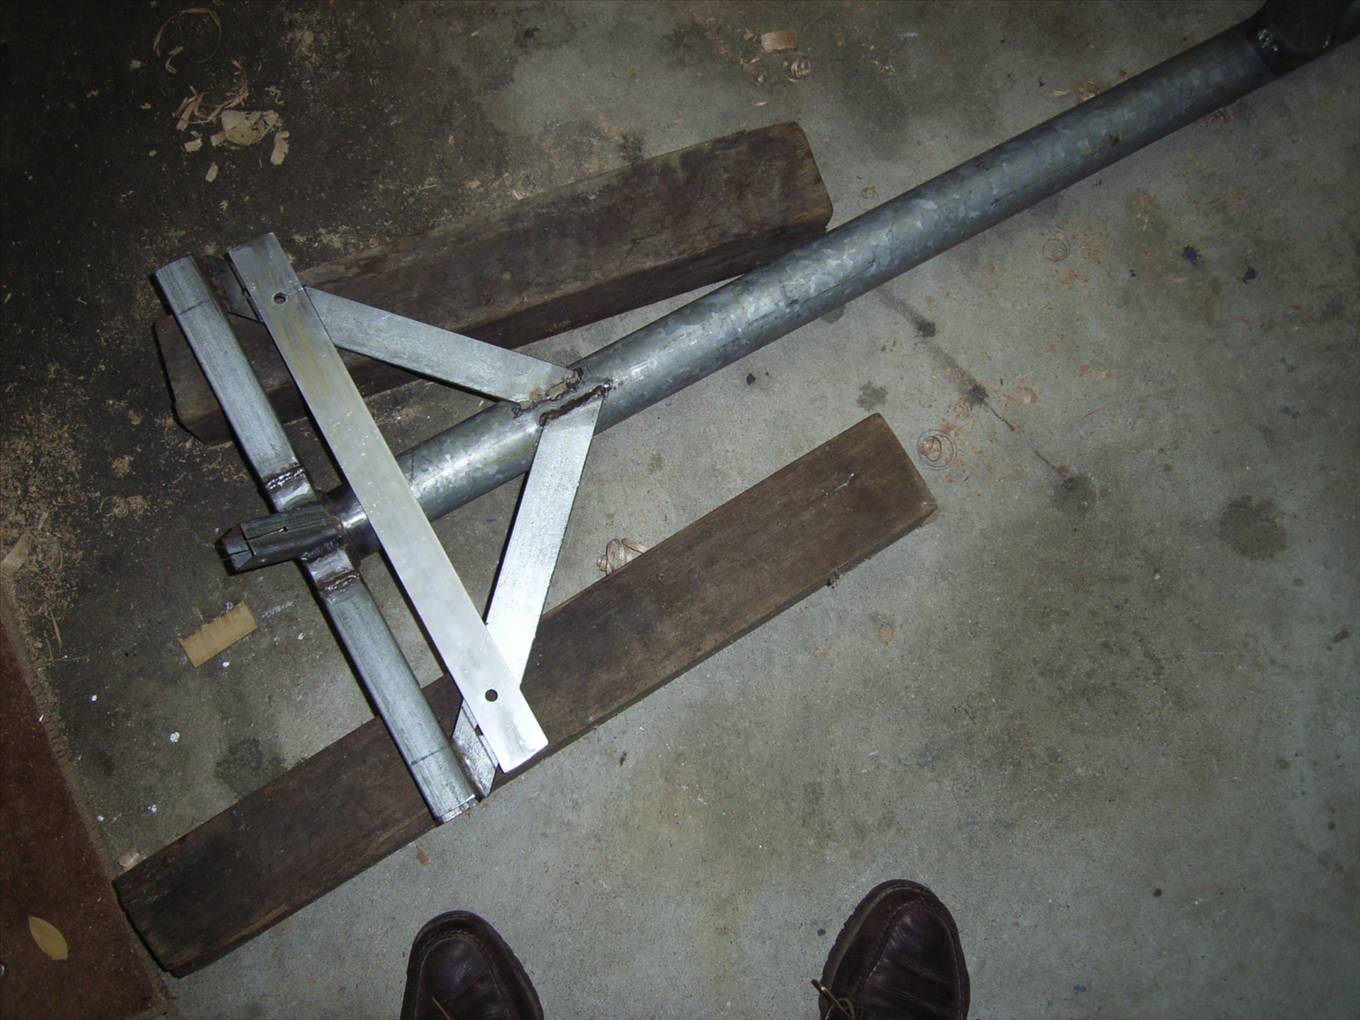
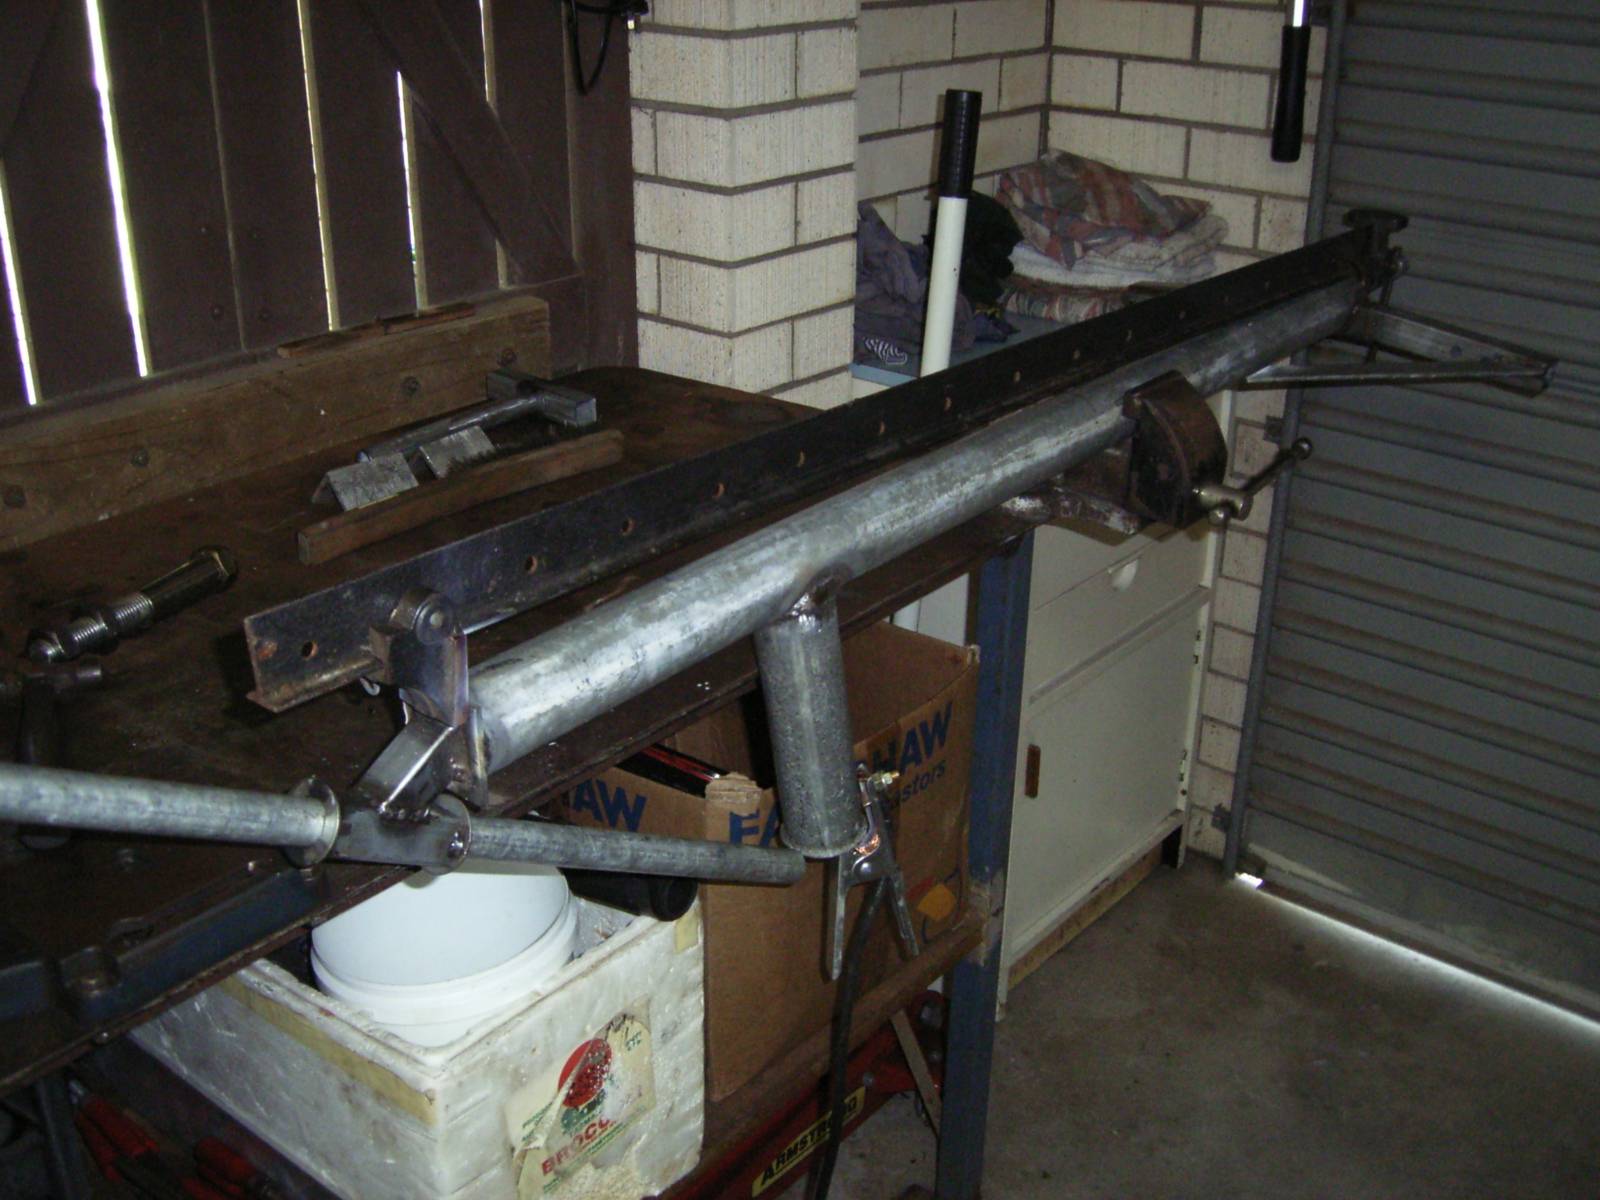
I combined the rear struts and seat mounts by using 40mm x 4mm gal flat bar.
The metal strip lying on top is aluminium of the same dimensions and is later epoxy glued to the bottom of the seat. The 3/8" bolts that go through here attach the seat belt as well as the seat to the frame.
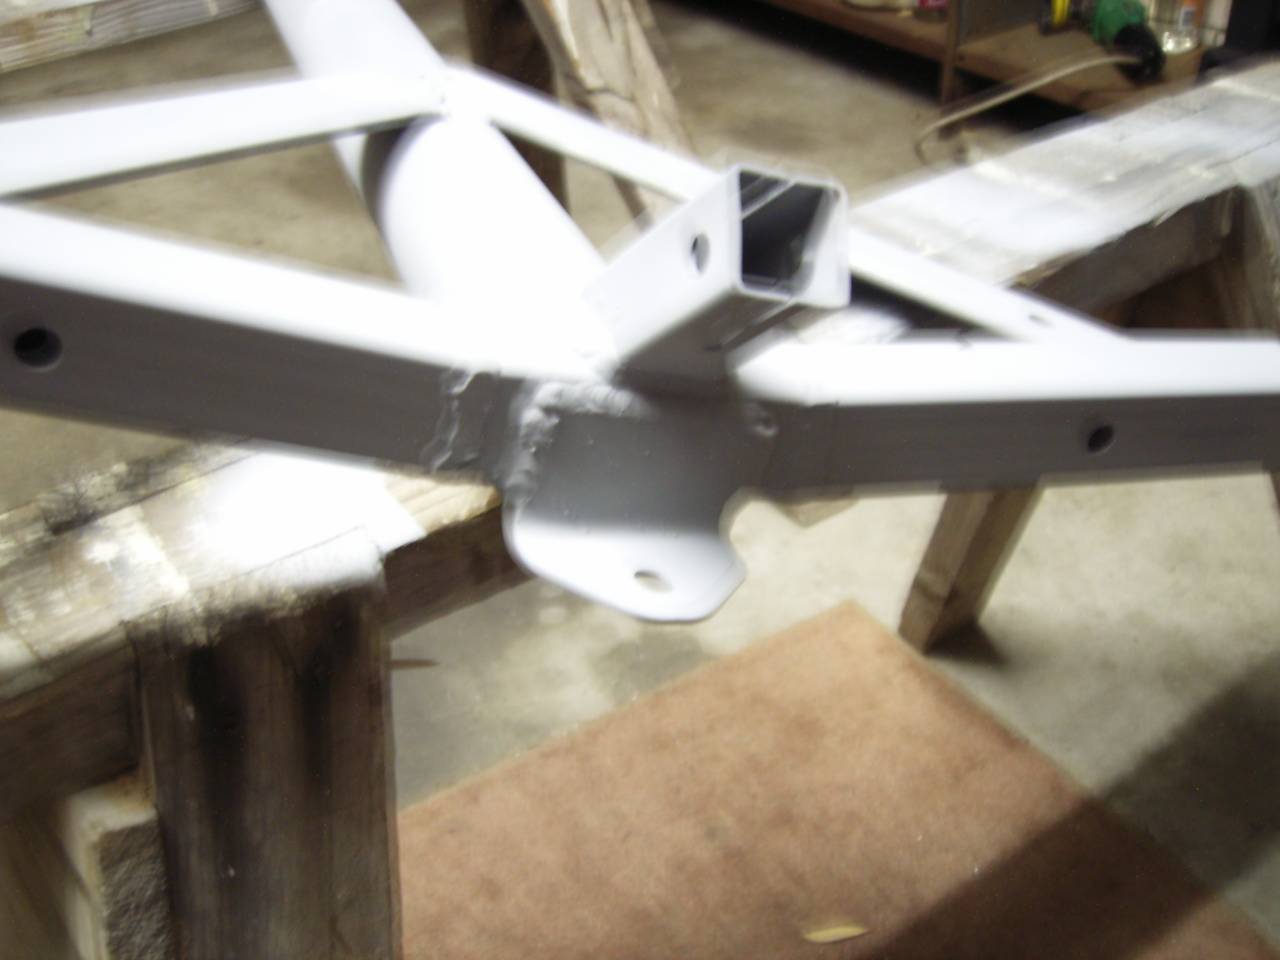
Note also that this photo shows the seat back mount welded on top of the x member not on the back. This was done to accommodate a towing lug on the back of the x member for the attachment of a blokart duece bar for tandem sailing. This is the reason my seat back is at 45 deg not 30 deg. The cut off saw vise will not swing enough to cut the 60 deg angle.
The mast step must be attached before the steering head as the steering head is set up to be central to the mast step. Again accuracy is important as you may get progressive error.
It was a little bit fiddly to clamp and align but I was ablely assisted by wonderful wife when I went under the welding hood to tack weld it.
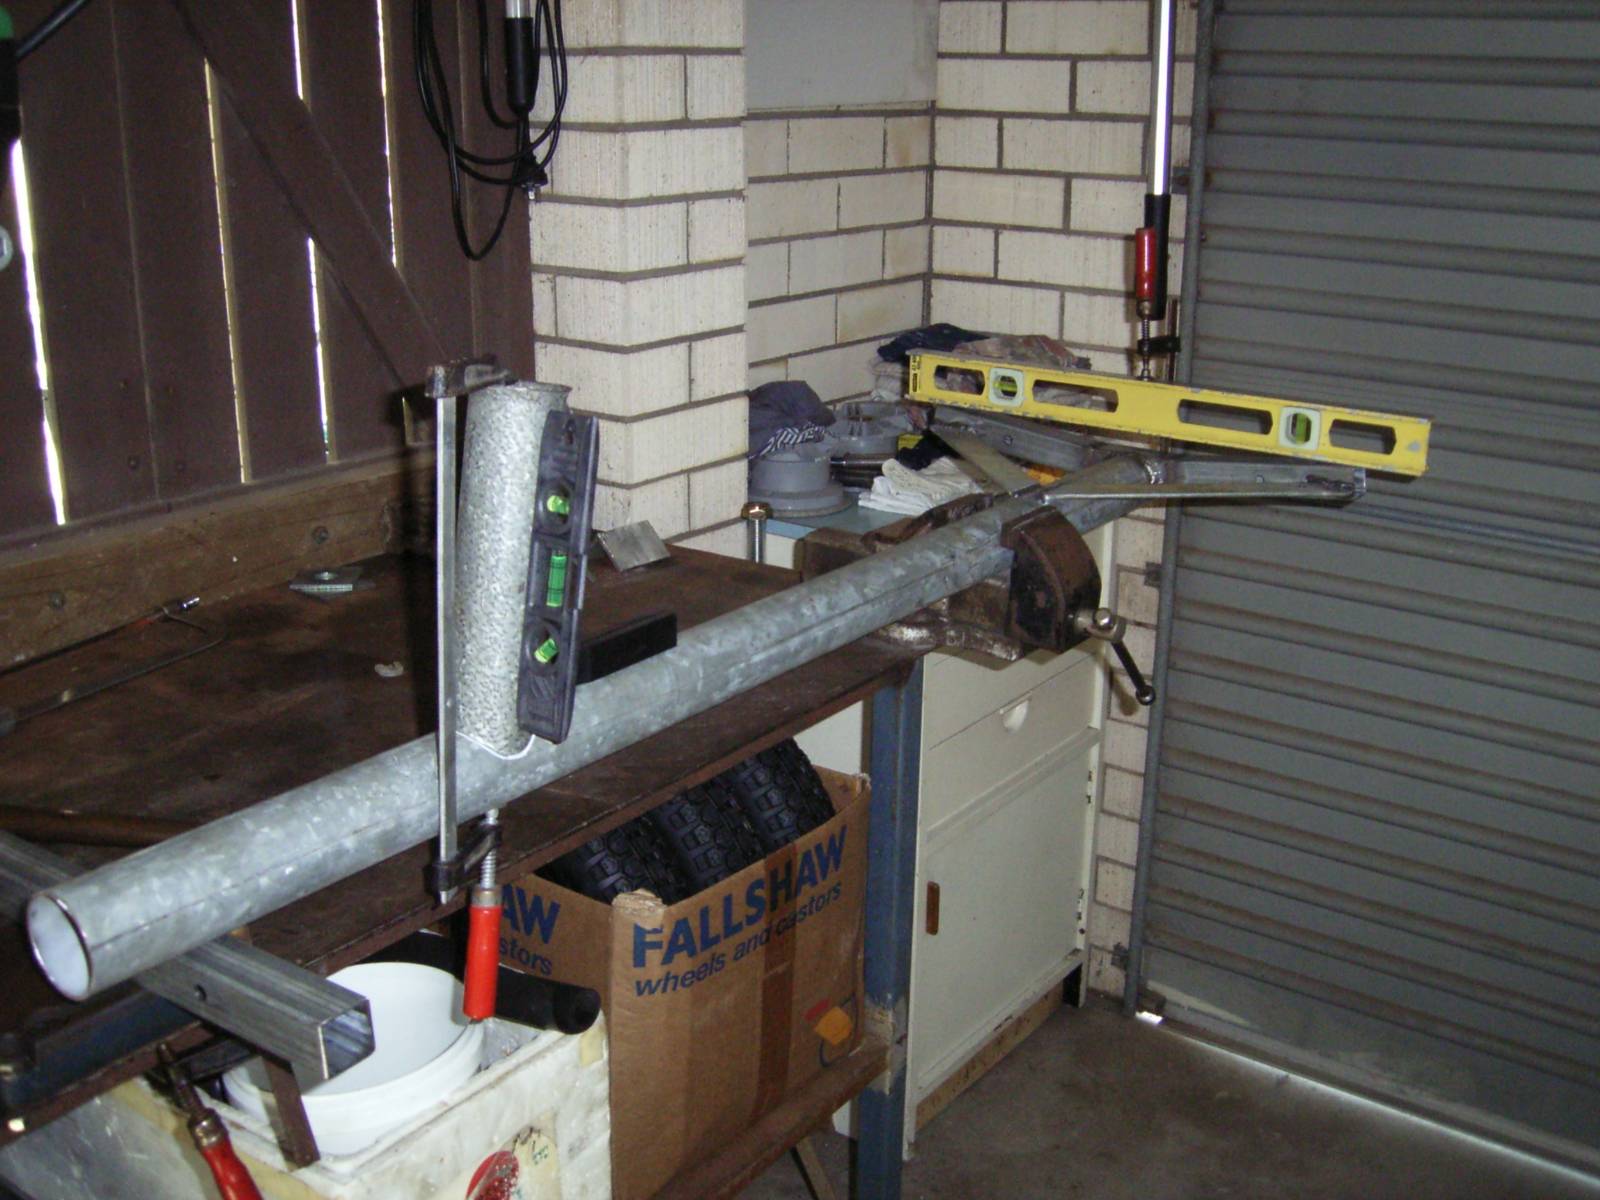
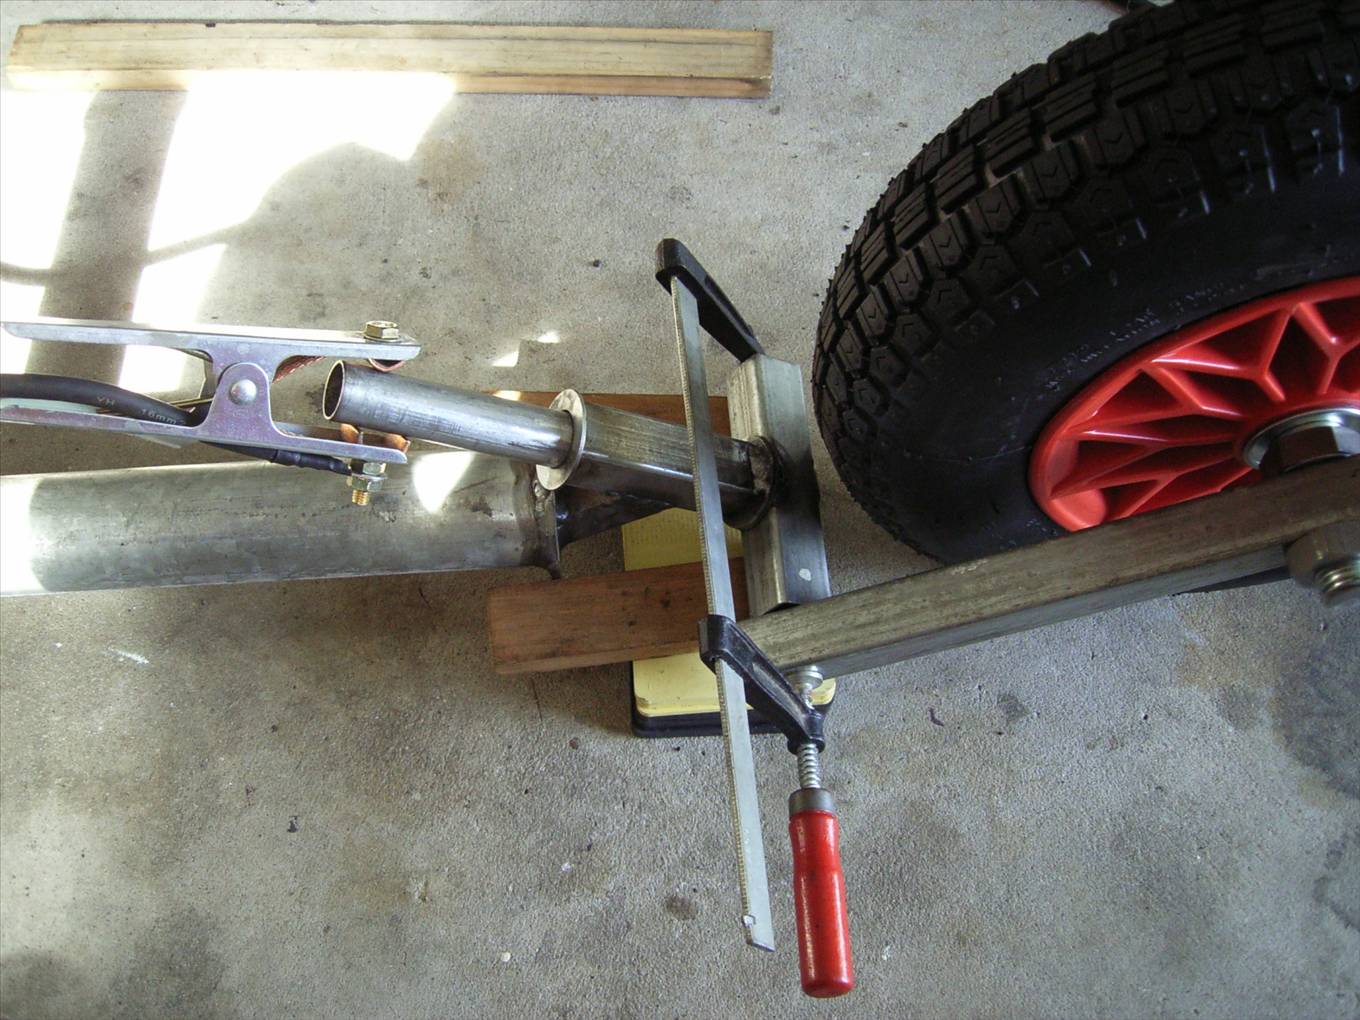
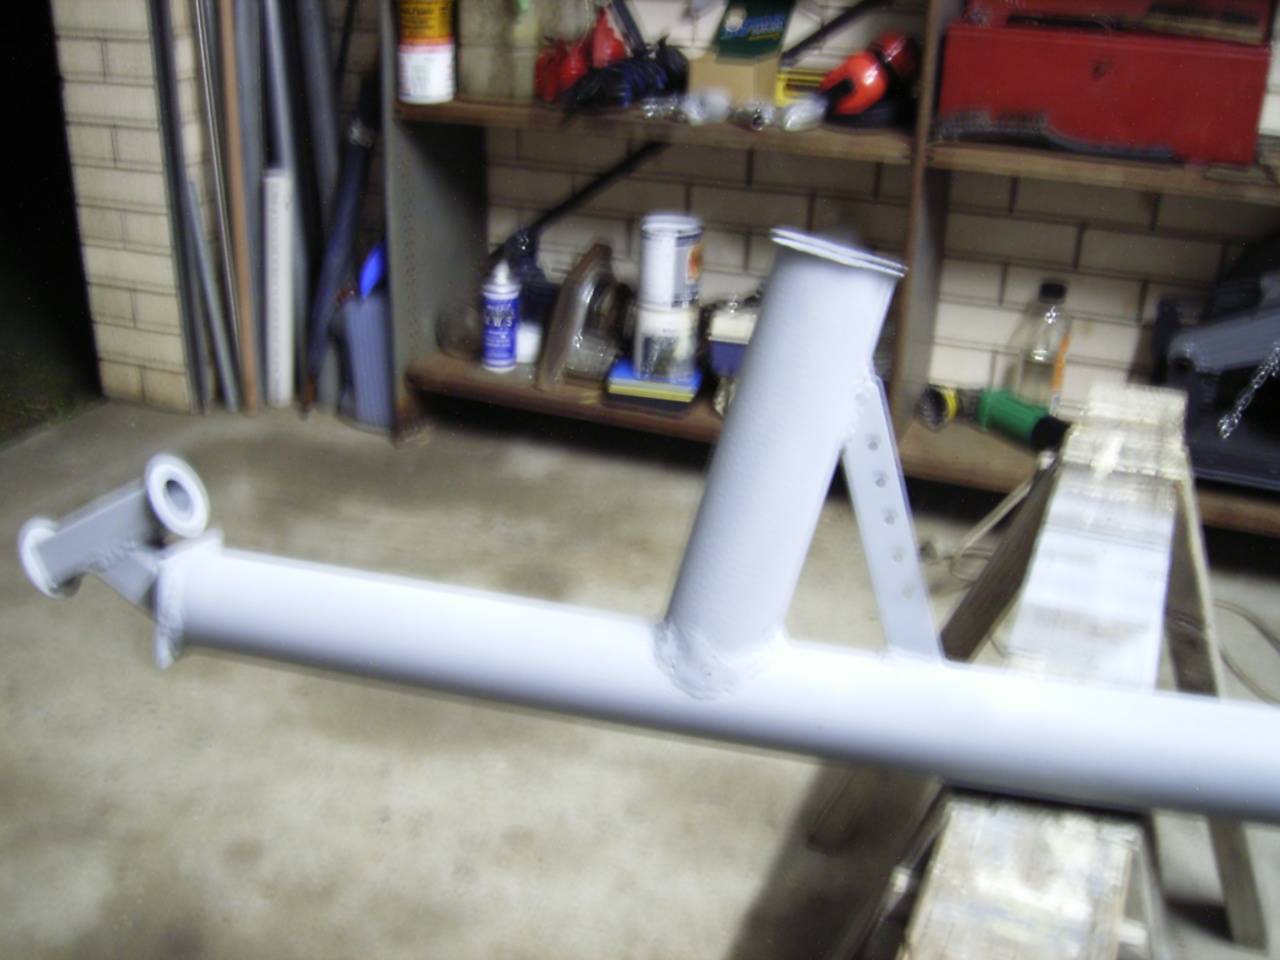
Setting up to attach the front fork leg.
I assumed that Paul had the angle of the steering head correct to suit the Fallshaw wheels so I did not see the necessity of going through his described method for attaching the fork leg.
The aim of course is to get the steering pivot line to intersect the tyre contact patch or at least pretty close to it.
My logic was that if I set the chassis level with the rear wheels in, all that would be required would be to clamp the fork leg to the steering x member with the front wheel in a vertical position and weld it on to result in a set up that was very close to what is desired. It seems to have worked.
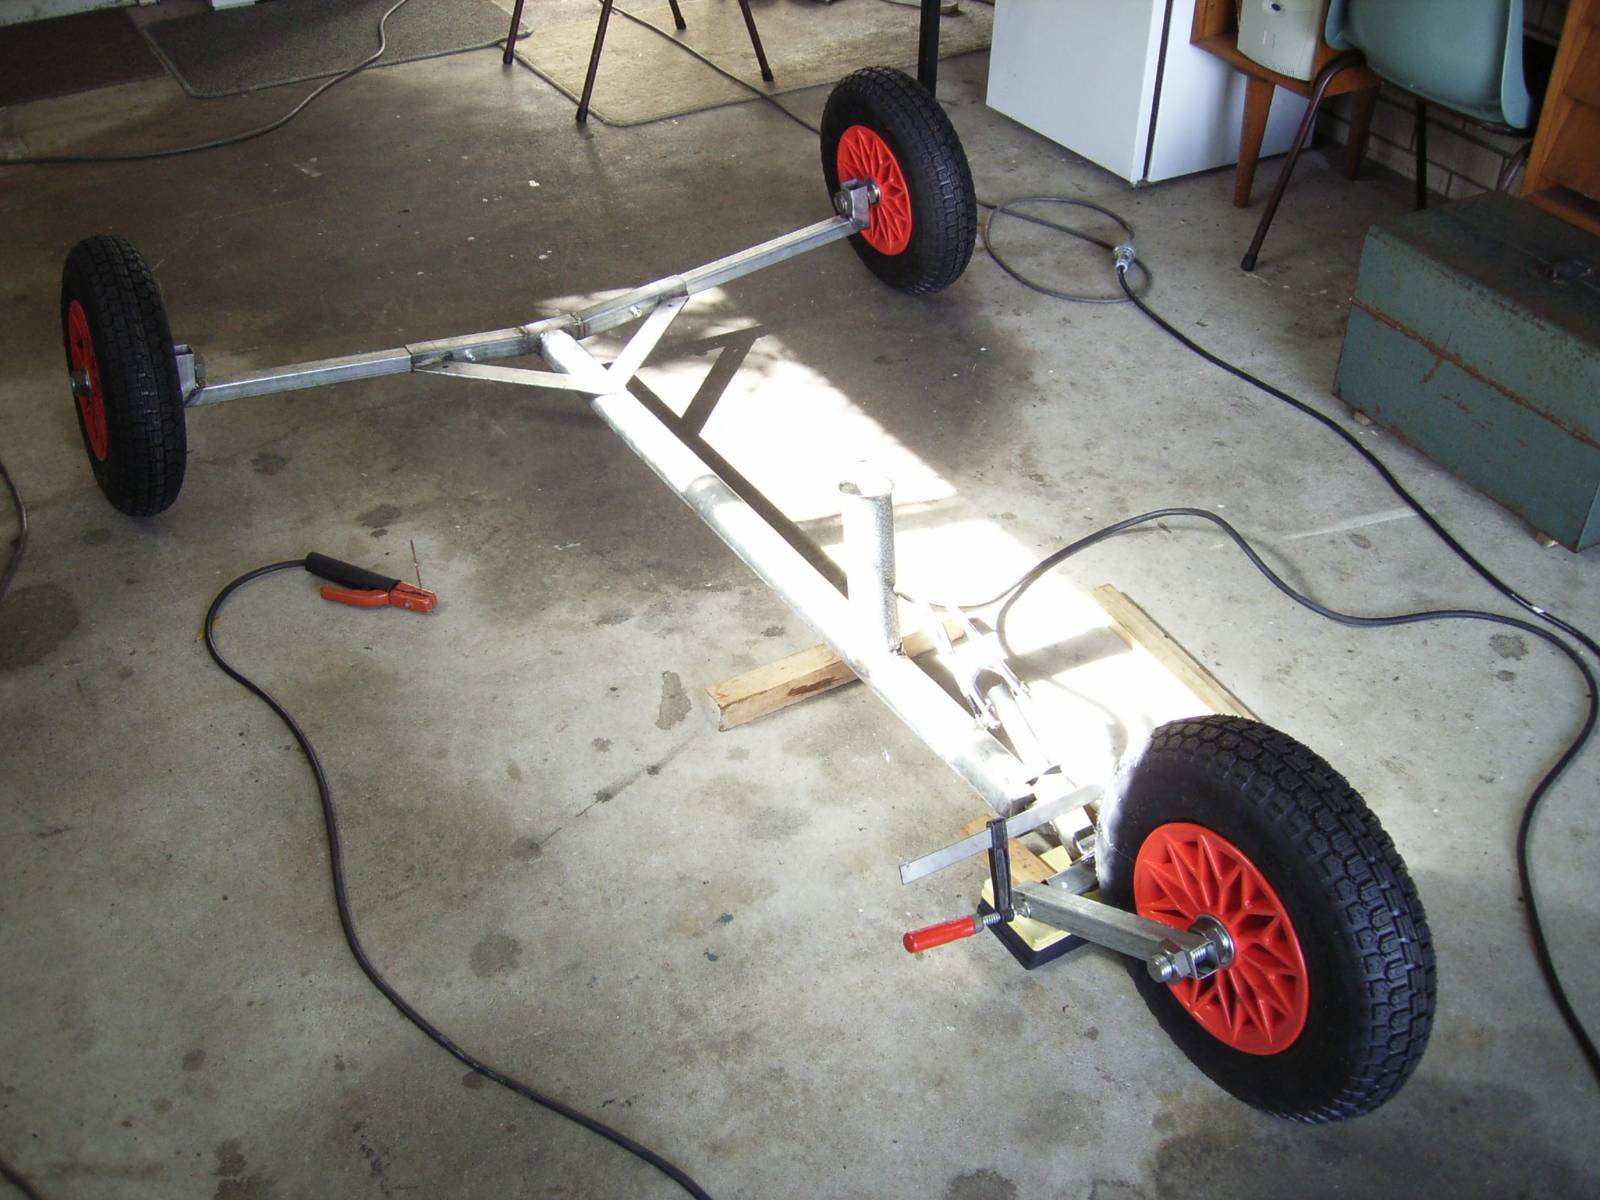
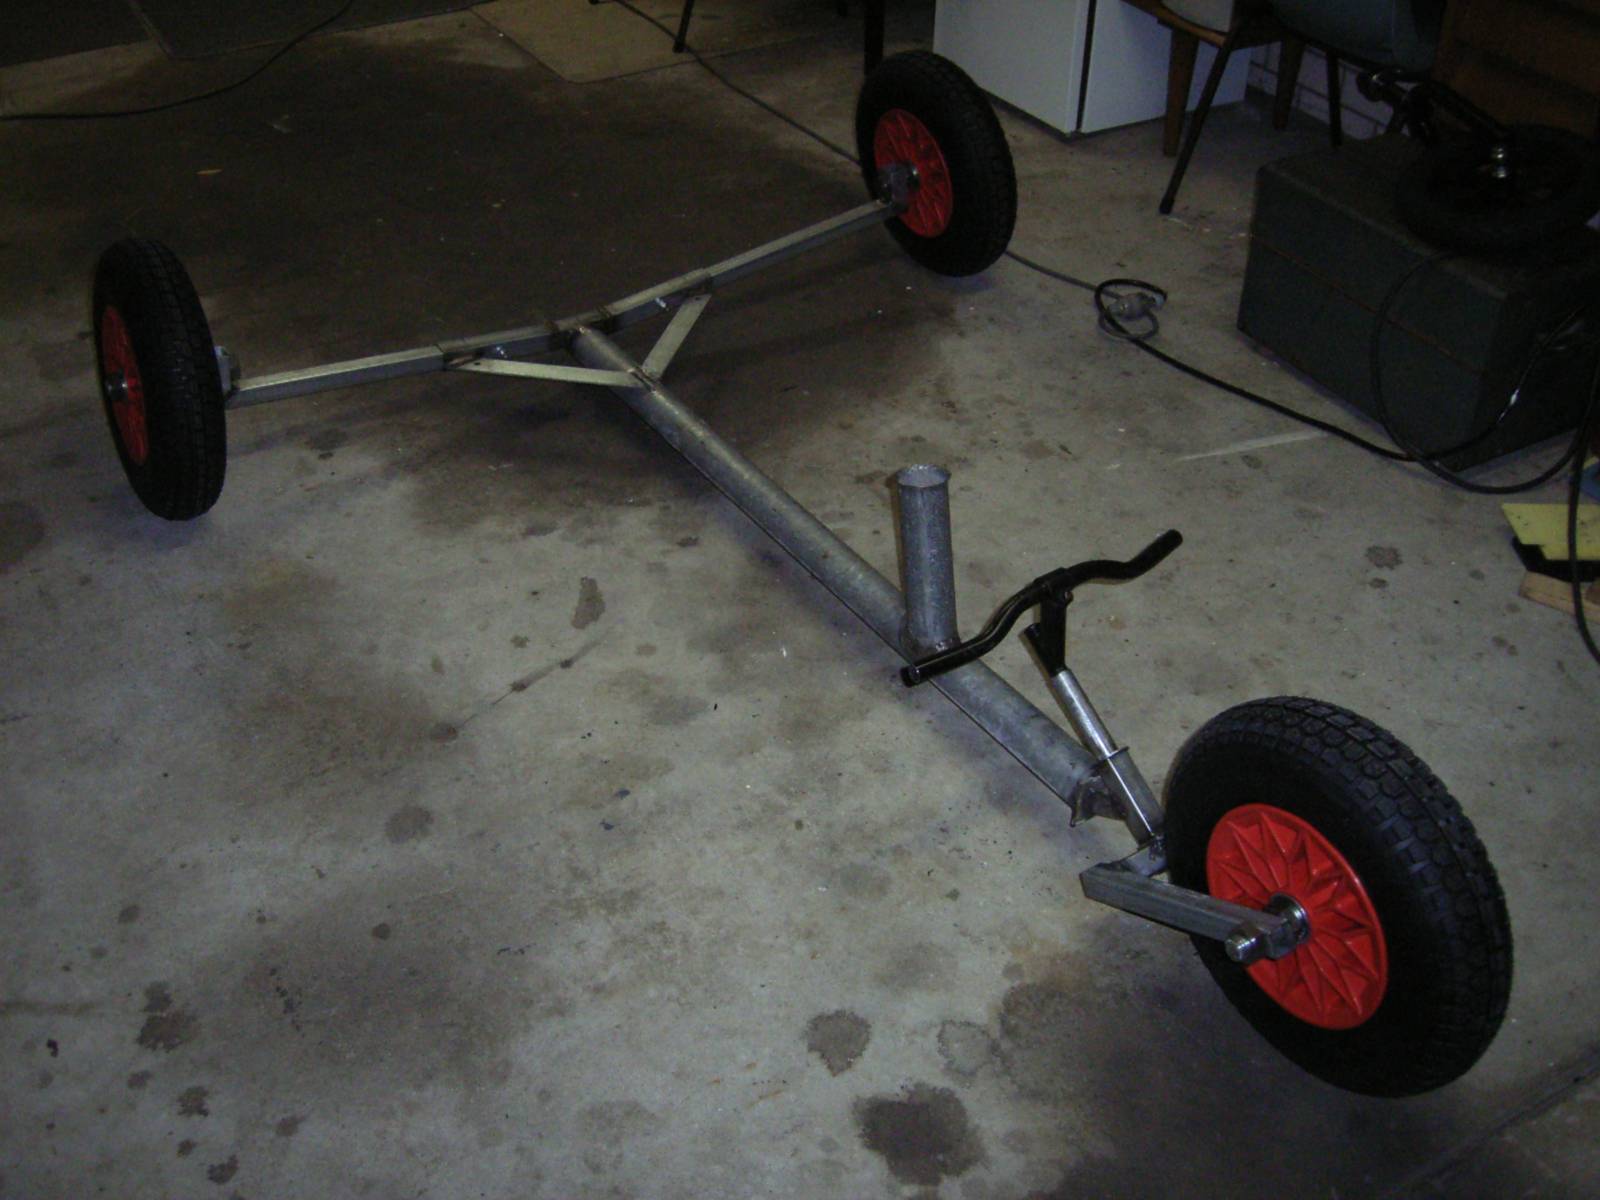
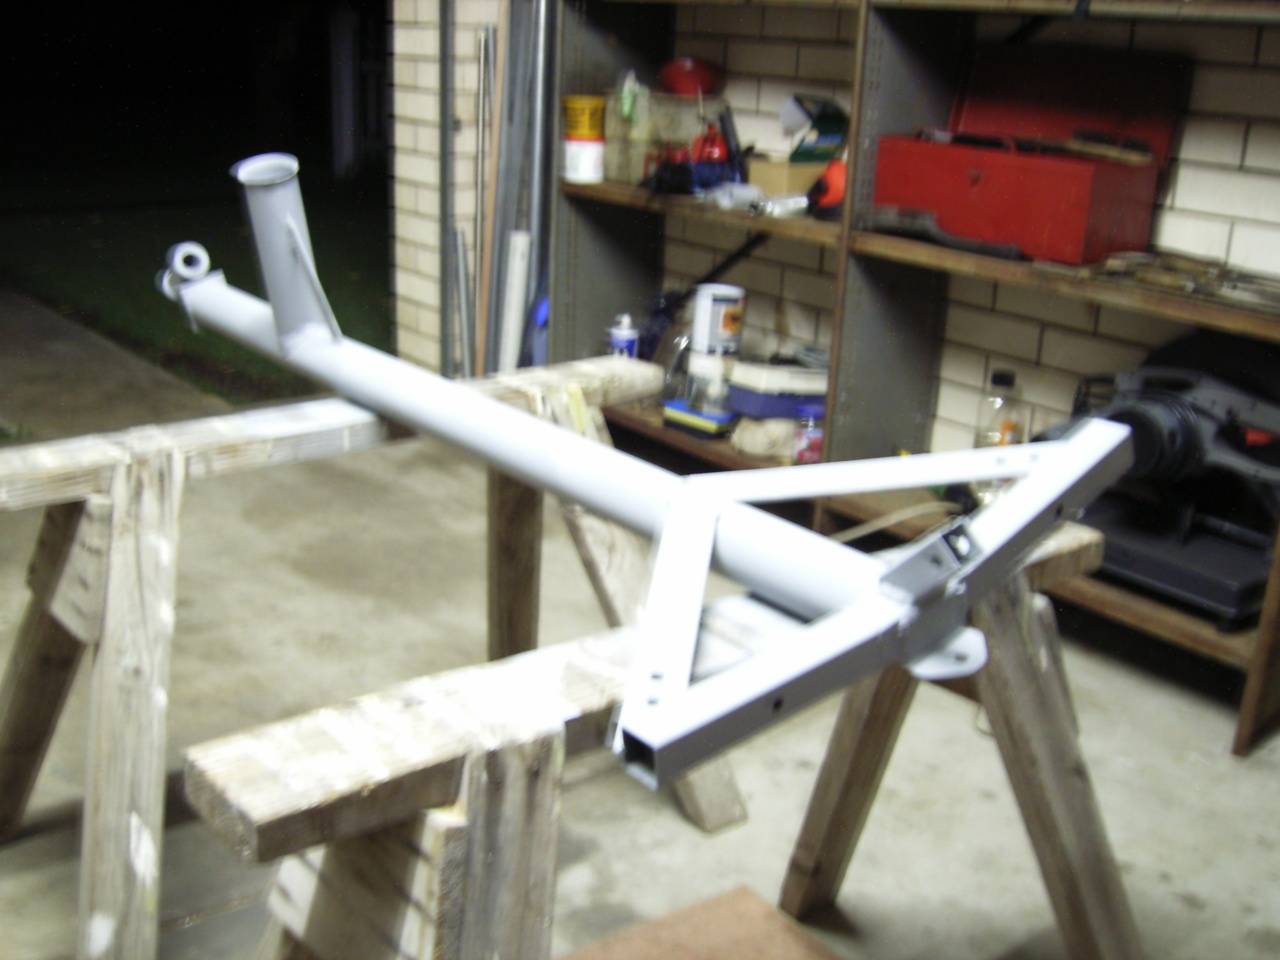
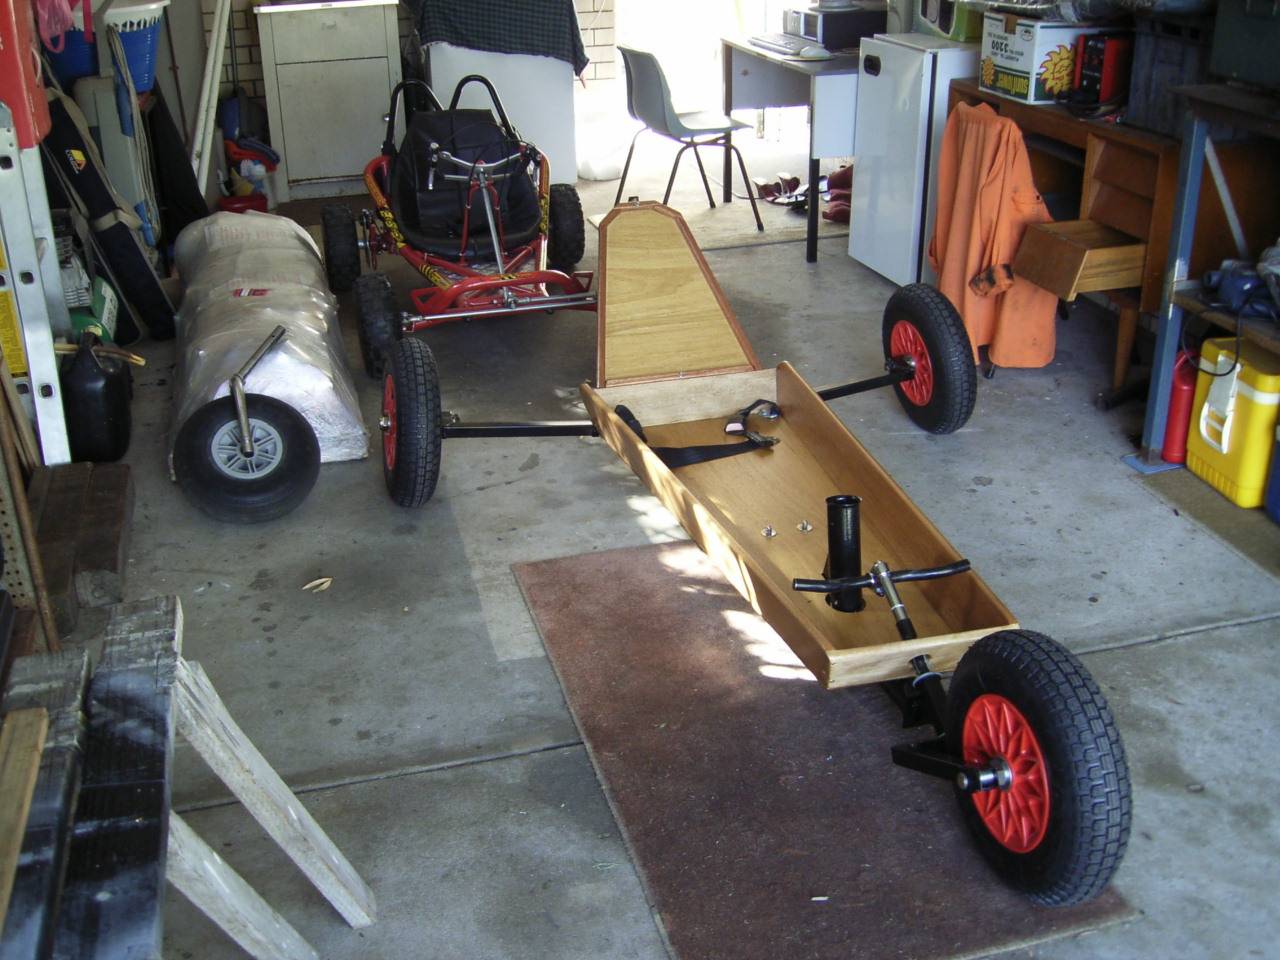
We're getting excited now. Bicycle steering stem and handle/foot bar fitted and the front wheel does not flop over to one side when stationery or when the chassis is given a soft shove forward. This steering stem is later replaced with one with less offset.
The first major goal has been reached. Now comes the art part; furniture, fittings, creature comforts and decore.
It even looks like a devil with it's little horns at the front.![]()
P.S. I actually made two front forks to suit 1 1/2" and 3 1/4" ground clearances. I do not intend riding on surfaces that require a 5" clearance. I'd rather be a "Bangalee Bum Scraper" than a "Brigalow Bush Basher" apologies to Lachlan.![]()
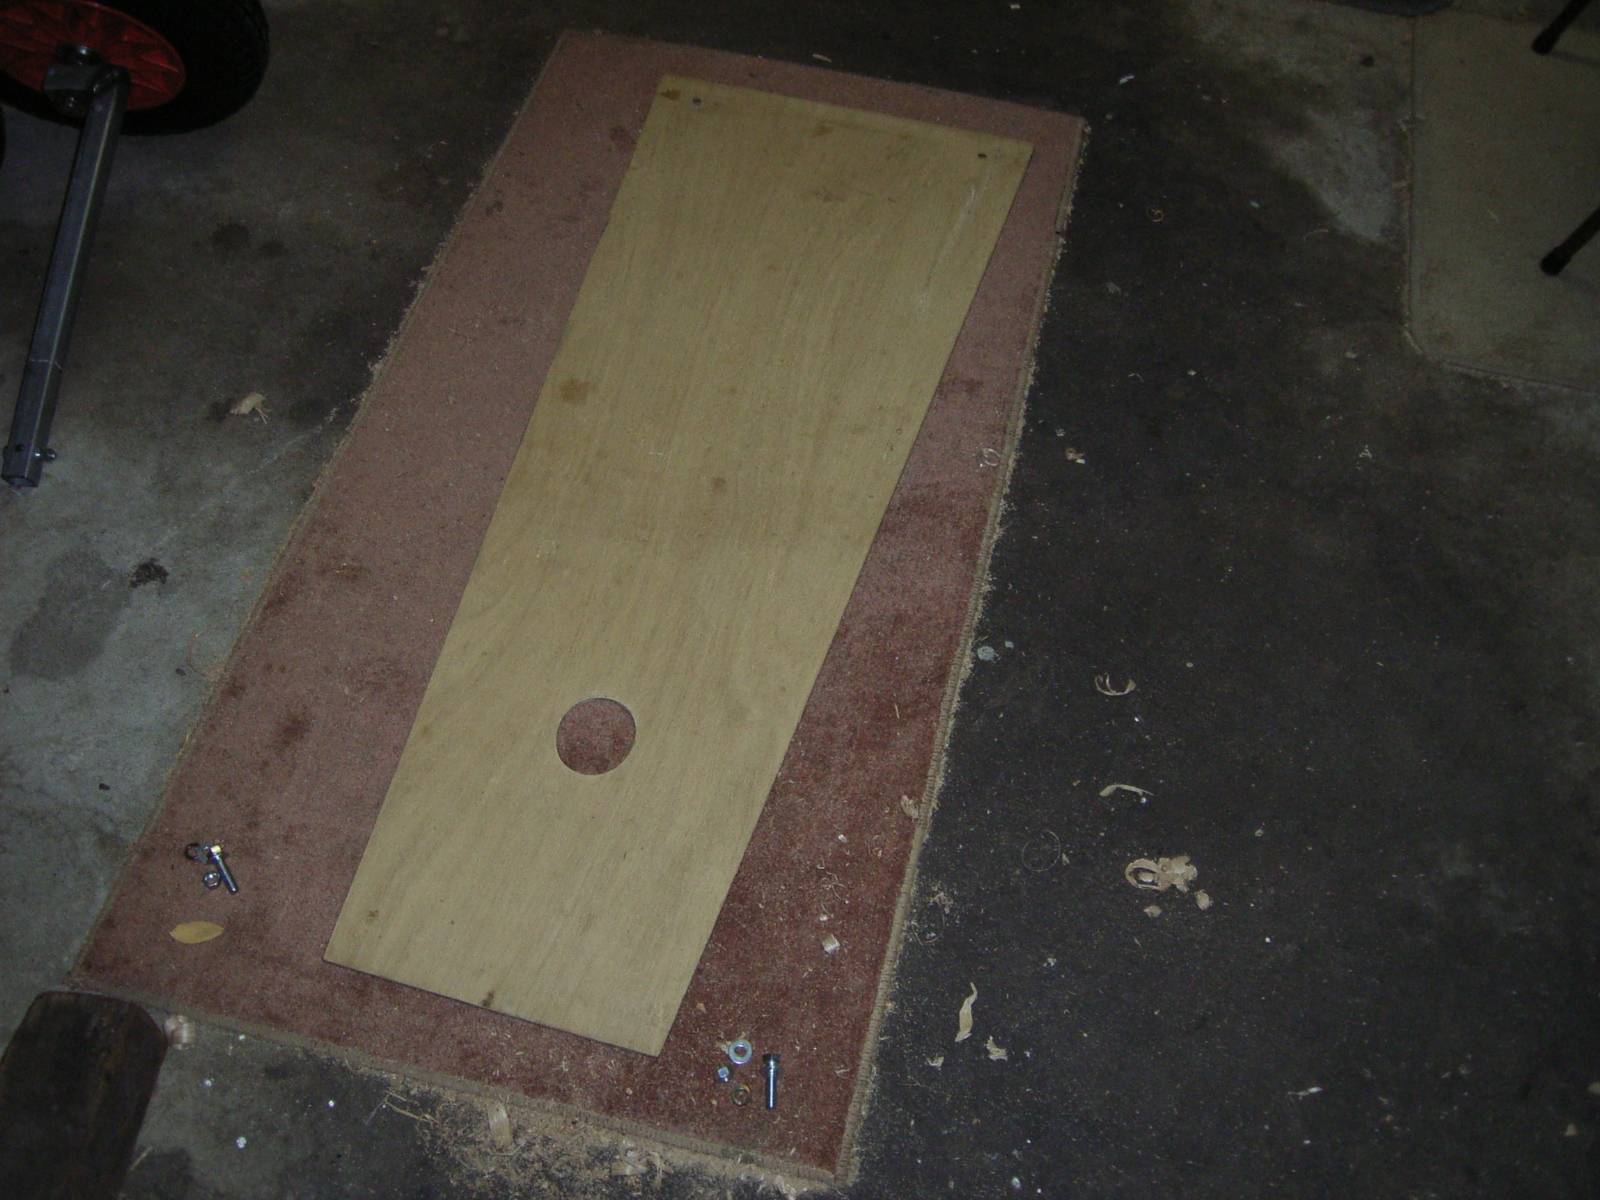
The seat. The base is made of 6mm hardwood construction ply which has 5 plys instead of 3 and has a nice grain to it. The sides, front and back are made from meranti 19mm x 115mm which I love working with. It is a rain forest timber and I select the reddest pieces from the rack when I buy it. So does everybody else.![]()
I believe the red timber is from closer to the centre of the tree trunk and stronger. It looks fabulous when sanded and varnished.
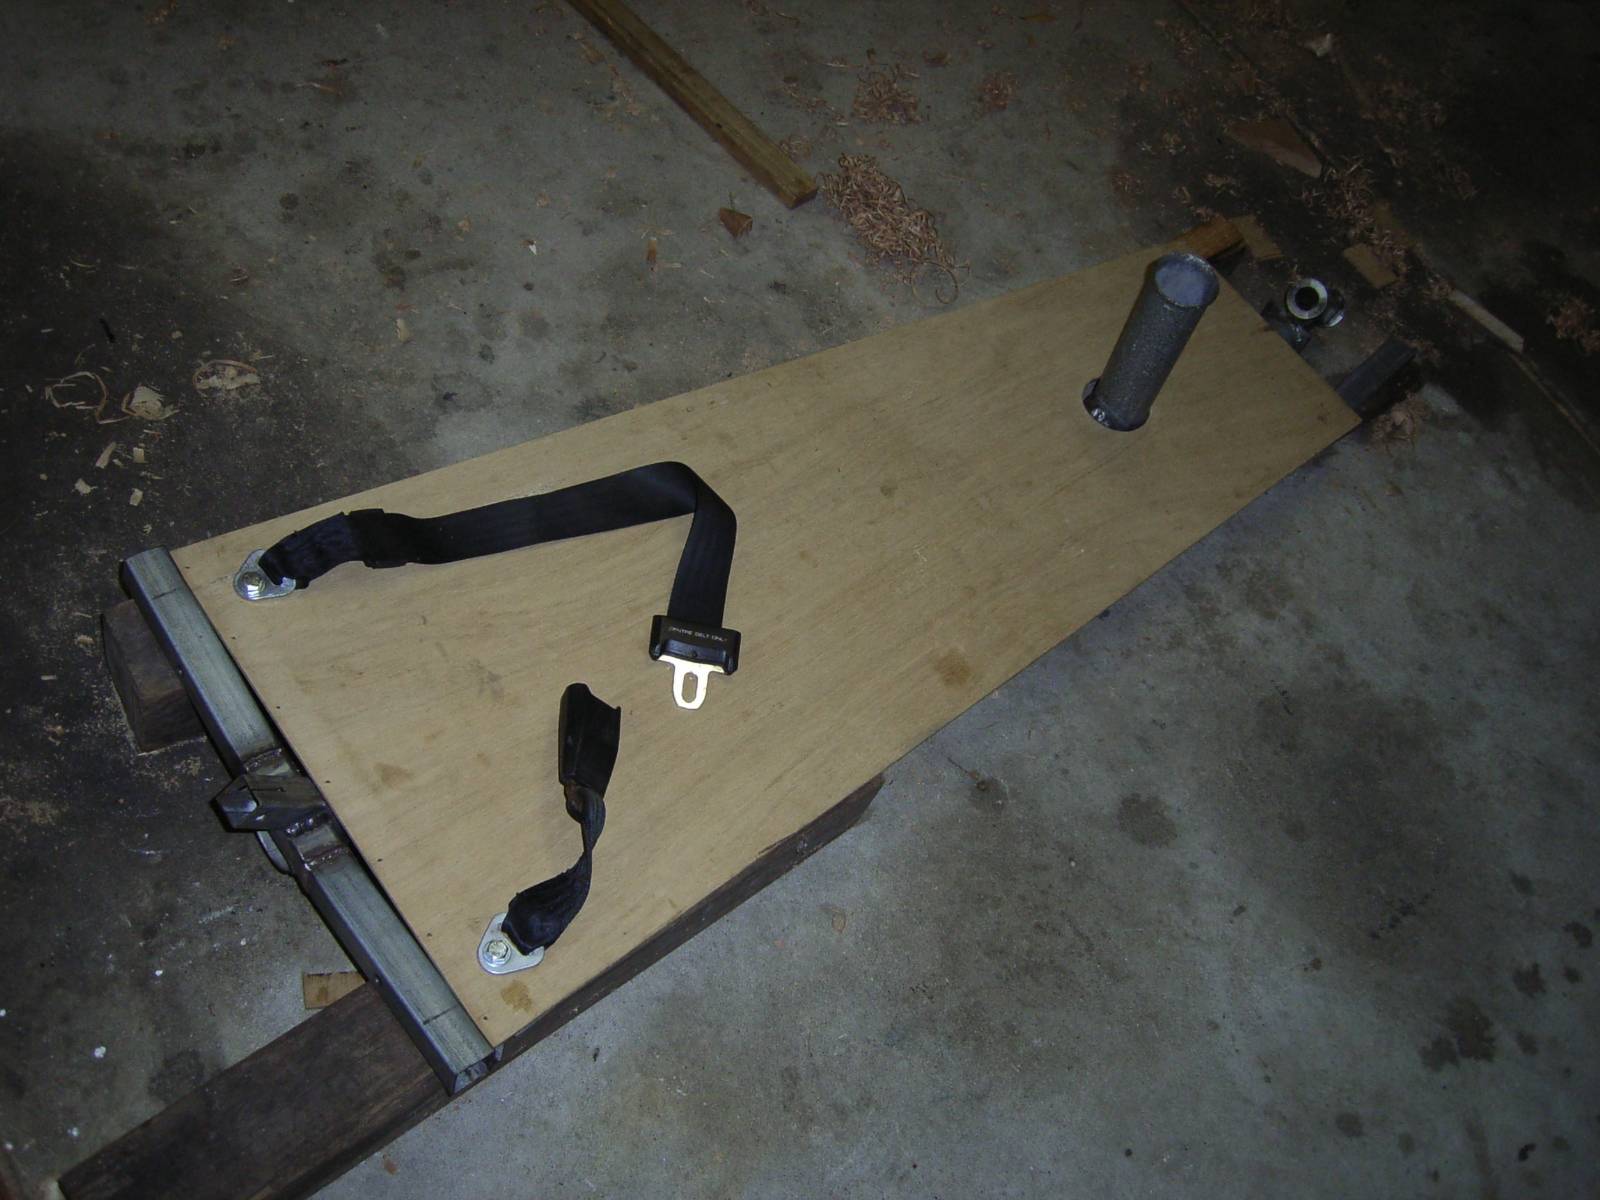
Seat belt is from the centre rear of a Ford and cost $5 at the wreckers. Could come out of just about any car as they are nearly all exactly the same.
It is still possible to buy seat belts from wrecks in Qld but I believe it is not in some other states.
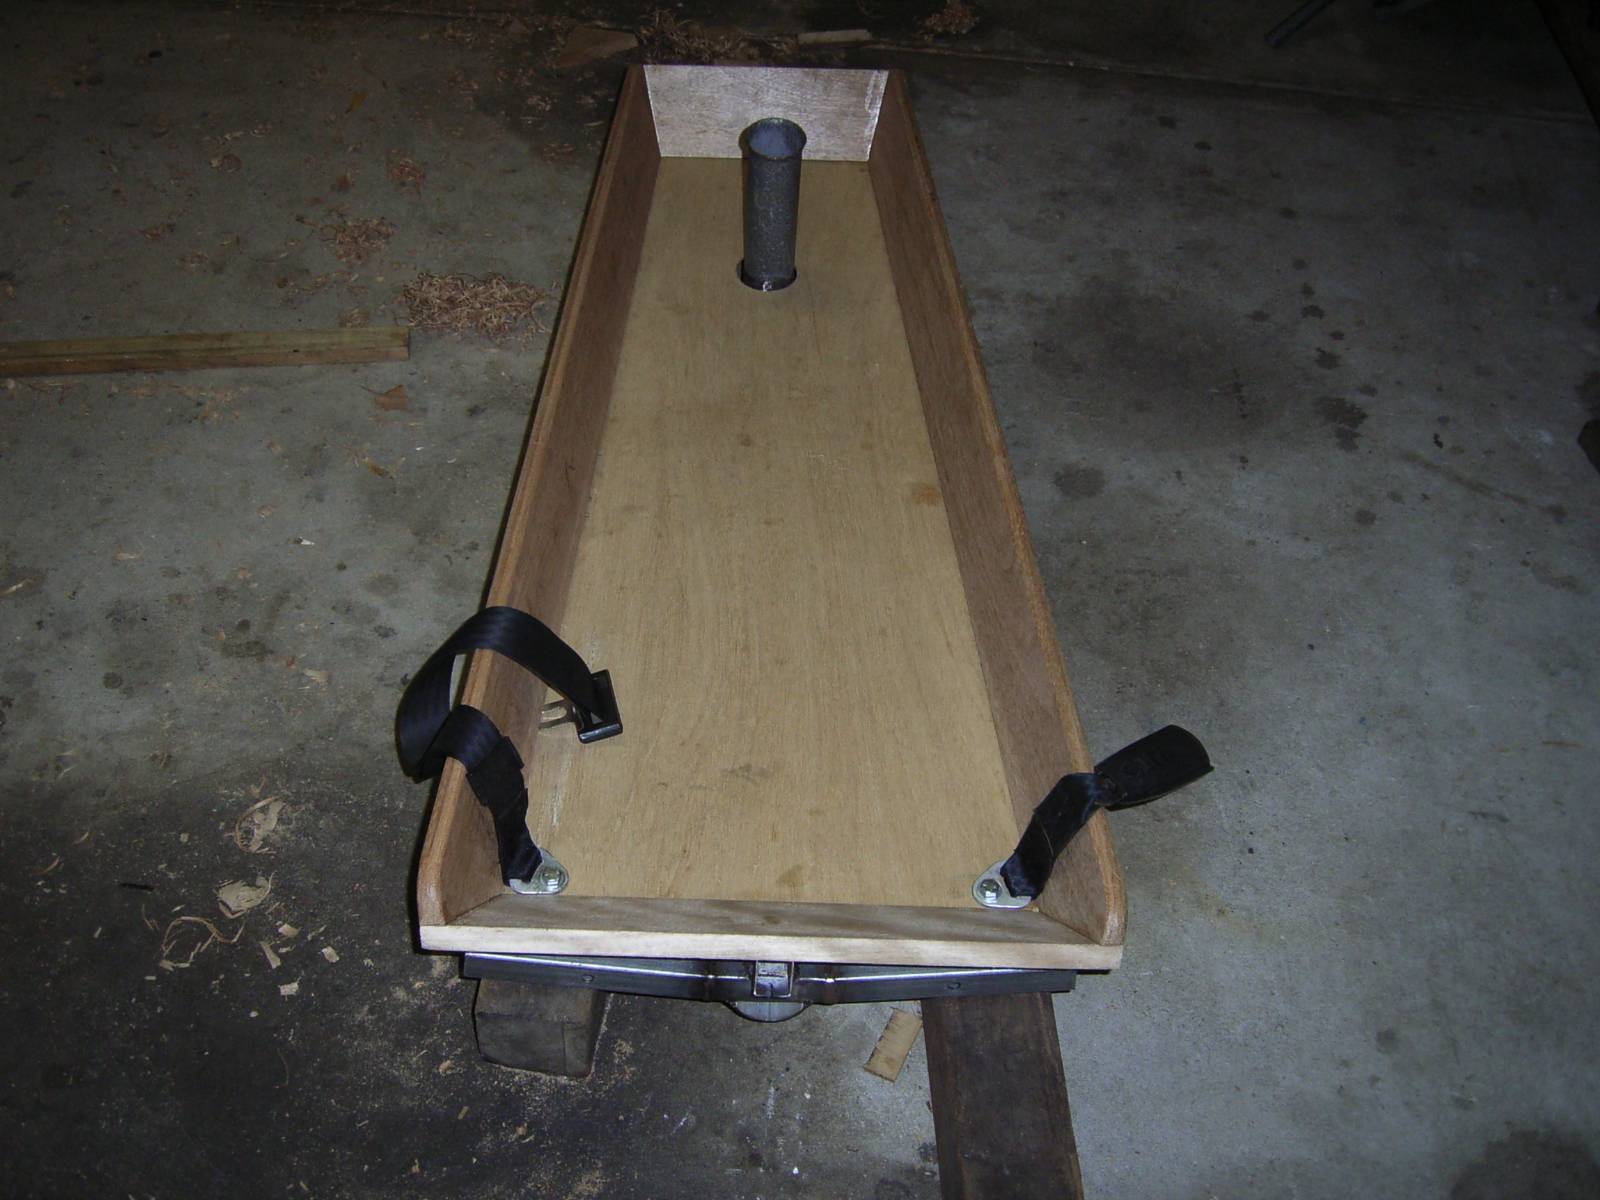
The sides, front and back are angled out because it felt like a coffin when I held them vertical, it looks more stylish and it is an easy shape to take a fibreglass mould off. It is more difficult to get neat mitre joints but the result is worth the effort.
Final attachments and painting. After wire buffing all the welds, wiping the whole chassis with a clean rag soaked with epoxy thinners to remove grease etc, it was spray can painted with zinc rich "Cold Gal" which was overcoated with spray can Kill Rust single pack epoxy black gloss paint. This is a Wattyl product and doesn't seem to be particularly resistant to abrasion. Maybe the White Knight brand paints perform better.
The seat got two coats of oil based interior/exterior varnish. There is another product which is an exterior timber oil which may be more suitable as it does not need any prep work to touch up scuffs and scrapes. The varnish is what I had on the shelf so I used it up.
Towing lug. Sorry about the blurrieness of these pics. The paint fumes and beer got to me and I certainly felt it the next day.![]()
Mast step strut drilled to take downhaul block in top hole and the other holes could be used to attach GPS brackets, camera brackets or even a stubby holder.![]()
Cold Gal.
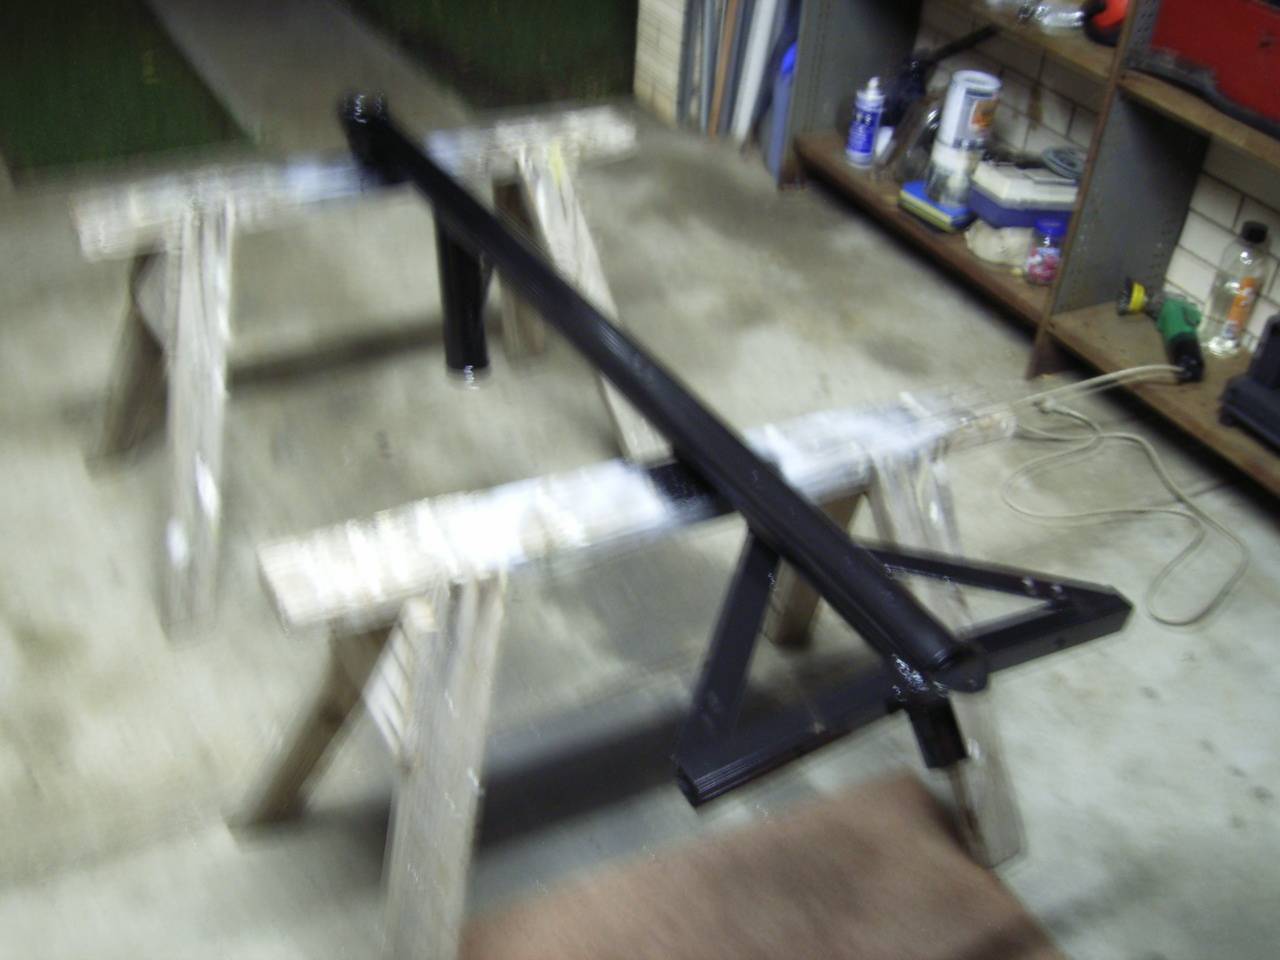
Top Coat.
Seat is U bolted half way along and may get another in front of the mast.
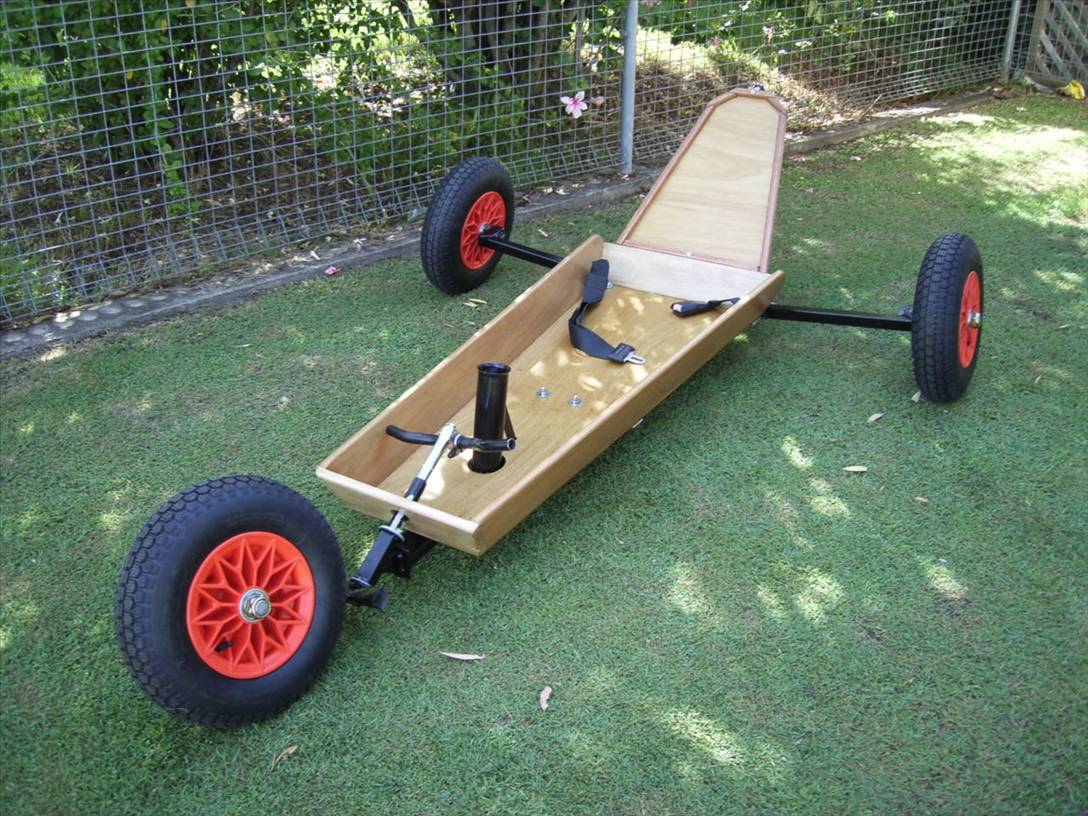
Just add beach, boom, mast and sail.
There is more to come but it will be a little while coming.
P.S. You may notice that in the last two photos the axles are set for 3 1/4" ground clearance. At Yeppoon it stayed at 1 1/2" ground clearance and never bottomed out.
At Yeppoon after the first day of sailing with the supplied pressed metal trolley wheel bearings which nearly deafened me I fitted the precision sealed bearings ($85).
The cost without mast, sail and boom is probably just under $400. Paul says the aluminium mast cost is about $270, add $100 for blocks and rope and allow $600 for a sail from a sailmaker and you have a real hot yacht for less than $1300.
The beauty of it is that you can build it progressively as your budget allows with the biggest outlay being for the sail. However there are ways of minimising this cost.
Happy building and sailing all. Cheers Cisco![]()
To view or ask questions about this yacht click this link www.seabreeze.com.au/forums/topic.asp?TOPIC_ID=48685
